8.930-369.0 • 2848 • Rev. 4/13a
31
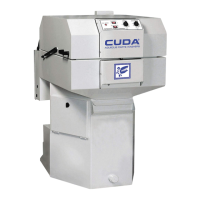
PARTS WASHER Maintenance Guide
SECTION 5: MAINTENANCE AND REPAIR
the rear of the machine through the slot in the housing
(See Previous Figure).
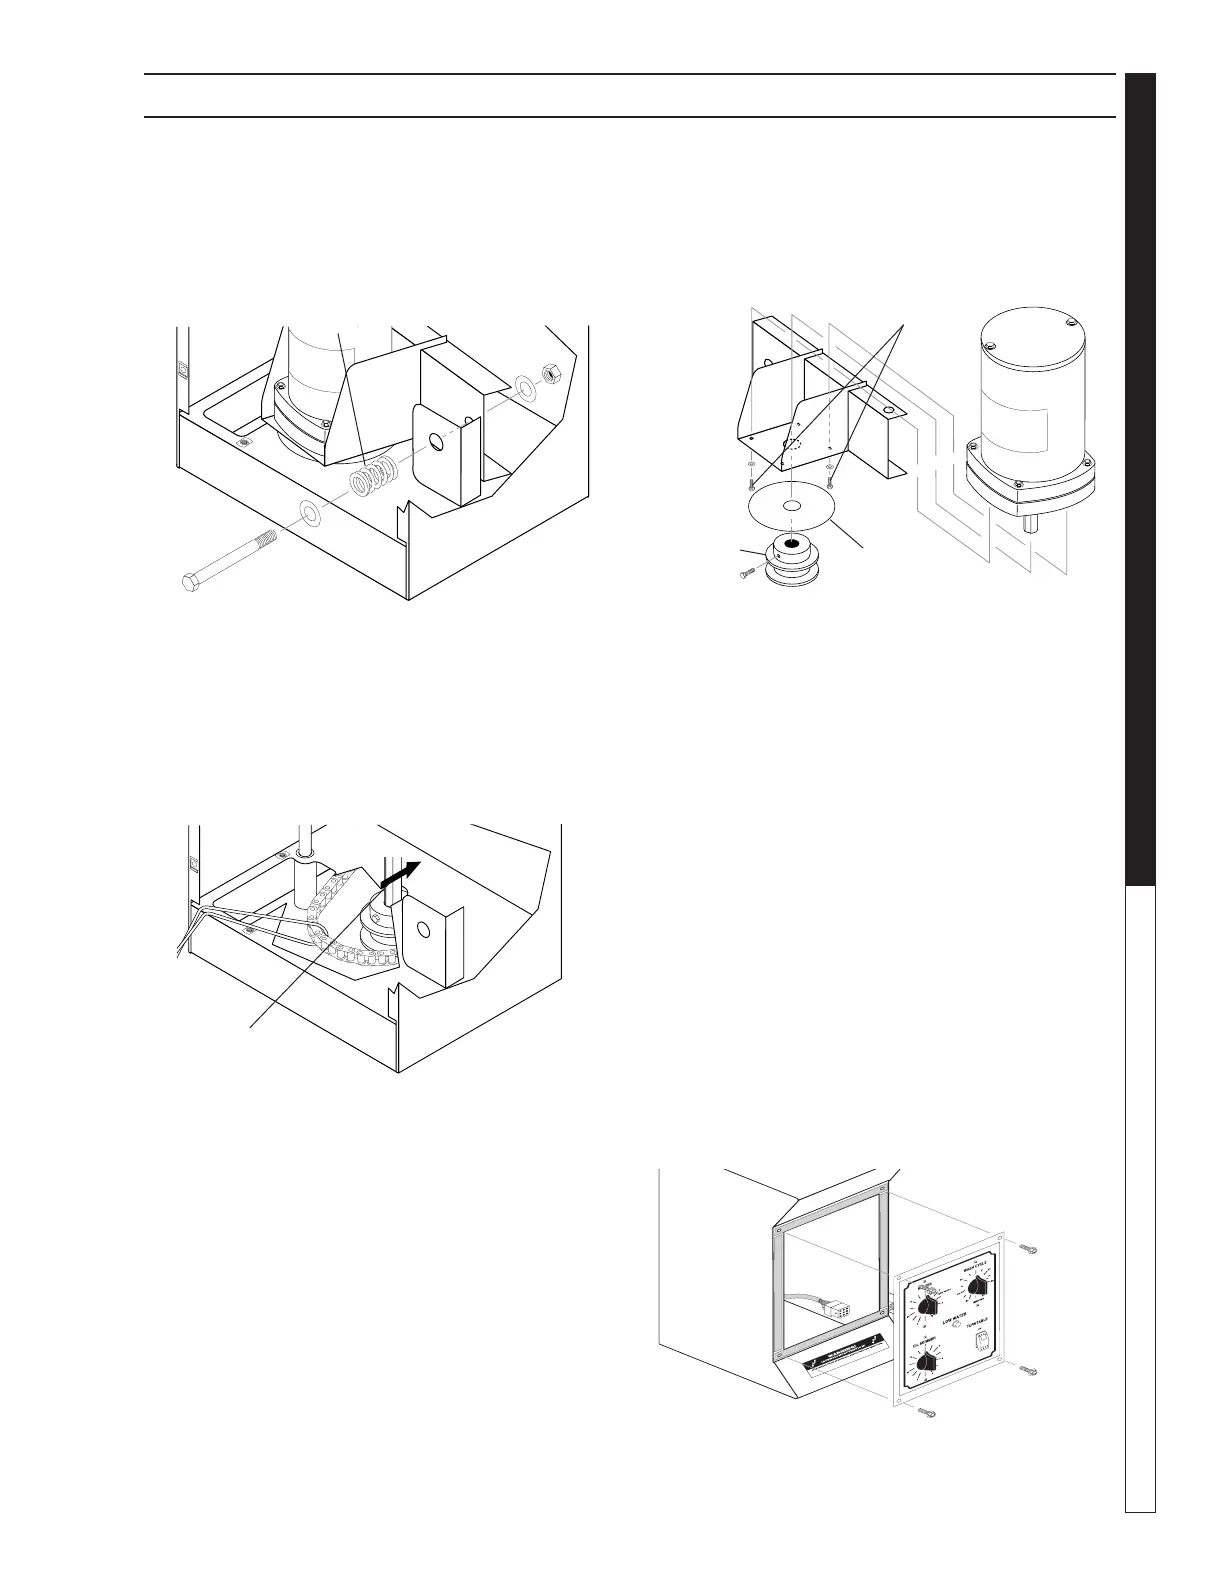
Step 4:
Remove the compression spring from the motor as-
sembly using a 9/16” wrench and socket.
Step 5:
Push the motor assembly toward the front of the ma-
chine, then reach into the drive pulley access hole with
your fingers to free the chain from the drive pulley. Take
care not to let the chain slip into the wash chamber. Use
a piece of wire to secure the chain while you replace
the motor (See Figure Below).
Step 6:
Disconnect all power leads from the motor, taking care
to mark them for reassembly.
Step 7:
Raise the motor and bracket to remove the assembly
from the pivot pin.
Step 8:
Use a 3/32” hex key to remove the pulley and steam
shield disk from the drive motor shaft, then remove the
four mounting screws holding the motor to the mounting
bracket (See Figure Below).
Step 9:
Install the new motor. Installation is the reverse of
removal.
Timers and Switches on the Control
Panel
Required Tools and Equipment
•5/16”wrenchorsocket
•1/2”wrenchordeepsocket
•smallphillips-headscrewdriver
•smallat-headscrewdriver
Replacement Procedure
Step 1:
Disconnect power to the machine.
Step 2:
Remove the control panel face plate (four 10/32” screws;
See Figure Below).
Compression
Spring
Motor Pulley
Hex Bolt
Steam
Shield
Disk
Mounting
Screws