8.930-369.0 • 2848 • Rev. 4/13a
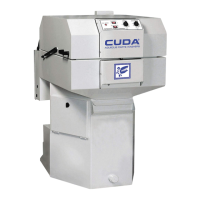
PARTS WASHER Maintenance Guide
30
Step 4:
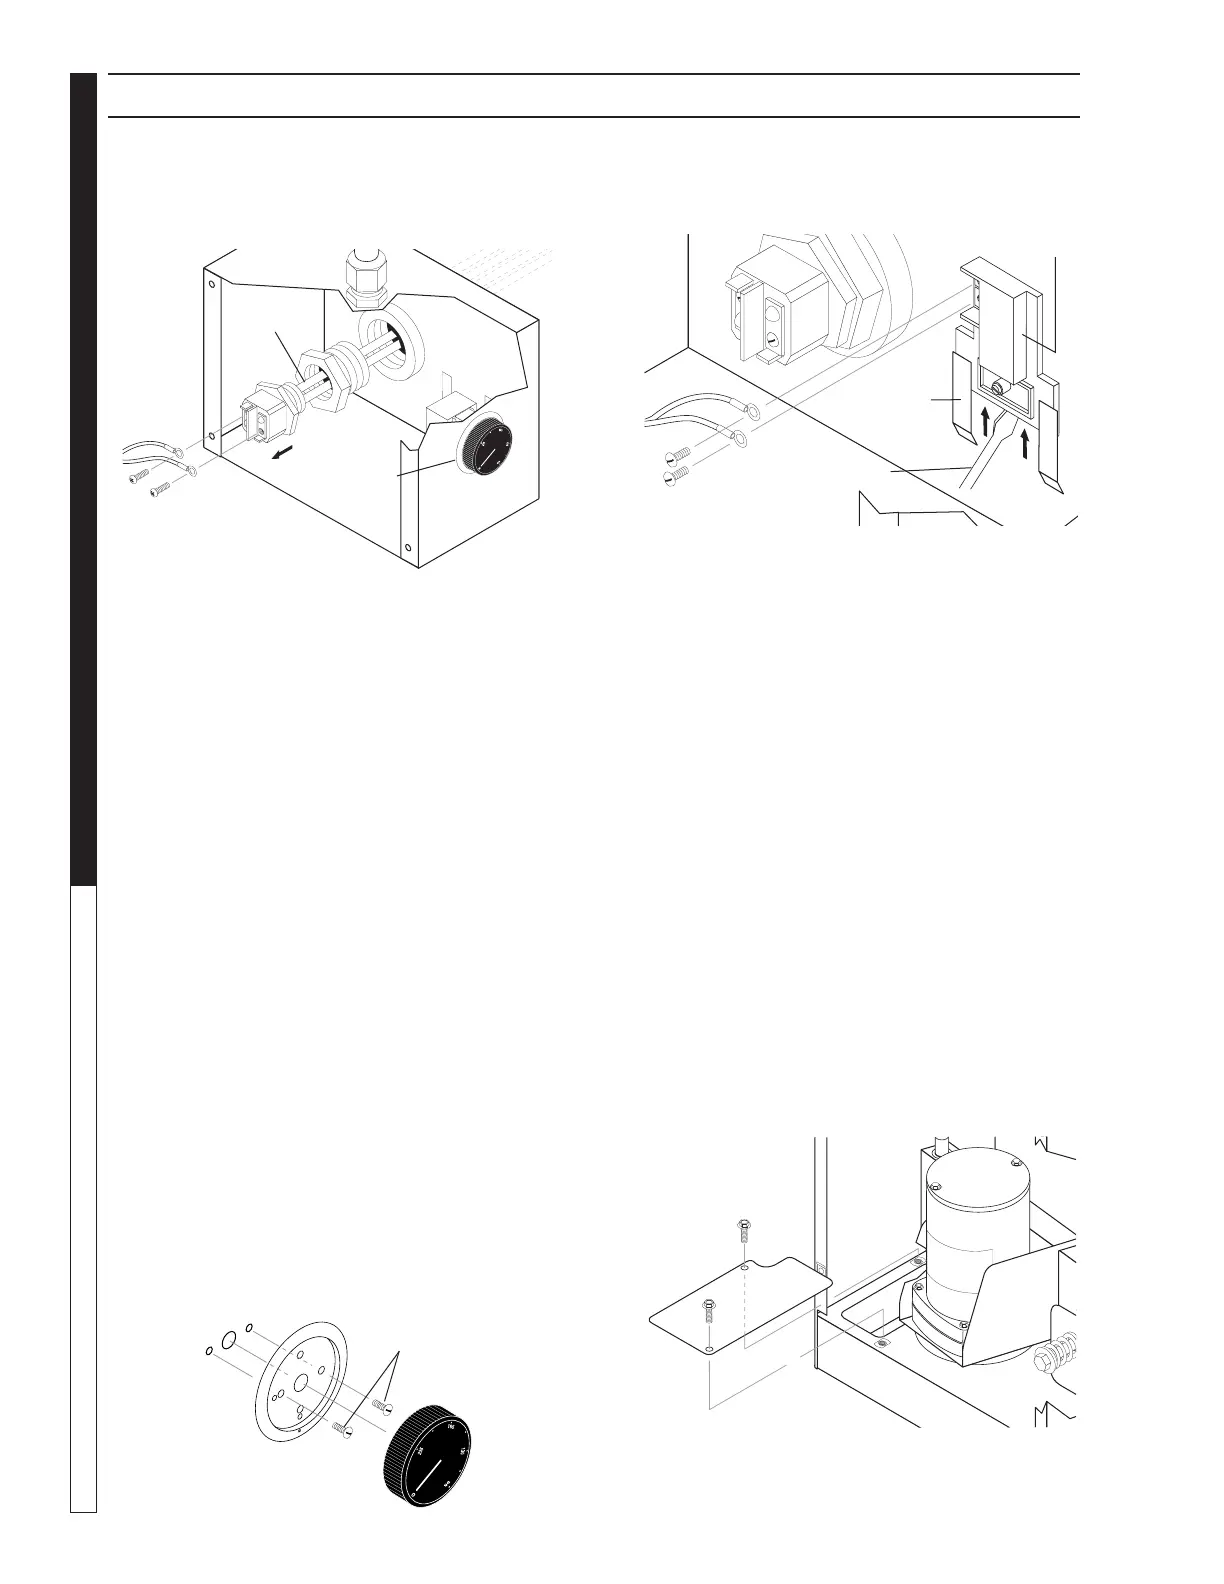
Detach the power leads from the heating elements,
taking care to mark them for reassembly (See Figure
Below).
Step 5:
Using a 2” socket and breaker bar, unscrew the heating
element(s) from the machine.
NOTE: Since the heating element is in continuous con-
tact with the cleaning solution the threads may corrode
slightly. The element may be difficult to remove. When
you install a new heating element, use sealing tape or
compound on the threads to deter corrosion.
Step 6:
Install the new heating element(s). Installation is the
reverse of removal.
Thermostat
REQUIRED TOOLS AND EQUIPMENT
• 5/16”wrenchorsocket
• mediumphillips-headscrewdriver
• largeat-headscrewdriver
REPLACEMENT PROCEDURE
Step 1:
Disconnect power to the machine.
Step 2:
Remove the cover from the heating element and
thermostat enclosure (two 5/16” screws).
Step 3:
Remove the thermostat knob and the two screws to
remove the thermostat from the housing (See Figure
Below).
SECTION 5: MAINTENANCE AND REPAIR
Step 4:
Detach the electrical leads from the thermostat (See
Figure Below).
Step 5:
Remove the thermostat from the machine.
Step 6:
Install the new thermostat. Installation is the reverse
of removal.
Turntable Motor
Required Tools and Equipment
•5/16”wrenchorsocket
•1/8”hexkey
•mediumphillips-headscrewdriver
Replacement Procedure
Step 1:
Disconnect power to the machine.
Step 2:
Remove the main electrical panel cover (eight screws;
use a 5/16” wrench or socket). The turntable motor
assembly is located just below the electrical panel.
Step 3:
Remove the drive pulley access plate (See Figure
Below).
To remove the plate, remove the two screws using a
5/16” wrench or socket, then slide the plate toward
Power
Leads
Heating
Element
Thermostat
Screwdriver
Power
Leads
Thermostat
Mounting
Bracket
Screws
Drive Pulley
Access