8.930-369.0 • 2848 • Rev. 4/13a
29
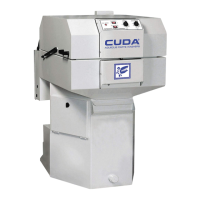
PARTS WASHER Maintenance Guide
SECTION 5: MAINTENANCE AND REPAIR
Step 7:
Replace the sump covers and heat the wash water to
operating temperature.
Step 8:
Add the appropriate amount of detergent and run the
machine through a 30-minute wash cycle. Use a pH kit
to determine the proper amount of detergent to use.
NOTE: Our detergent is the only detergent approved
for use with our automatic parts washers. It is specially
formulated with rust inhibitors and anti-foaming agents
to optimize performance and minimize maintenance.
The use of any other detergent during the warranty
period will void the warranty.
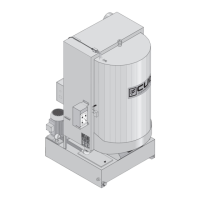
Cleaning the Filters
Our filtration systems are available in single or multiple
canister configurations. Each canister uses a nylon or
polyester felt filter bag to remove solid particles from the
wash solution. Nylon bags are reusable; polyester felt
bags are designed for a single use. To clean or replace
the filters, perform the following procedure:
Step 1:
Turn off the machine and open the door.
Step 2:
If your machine is equipped with the Auto-Fill feature,
turn off the water at the supply line.
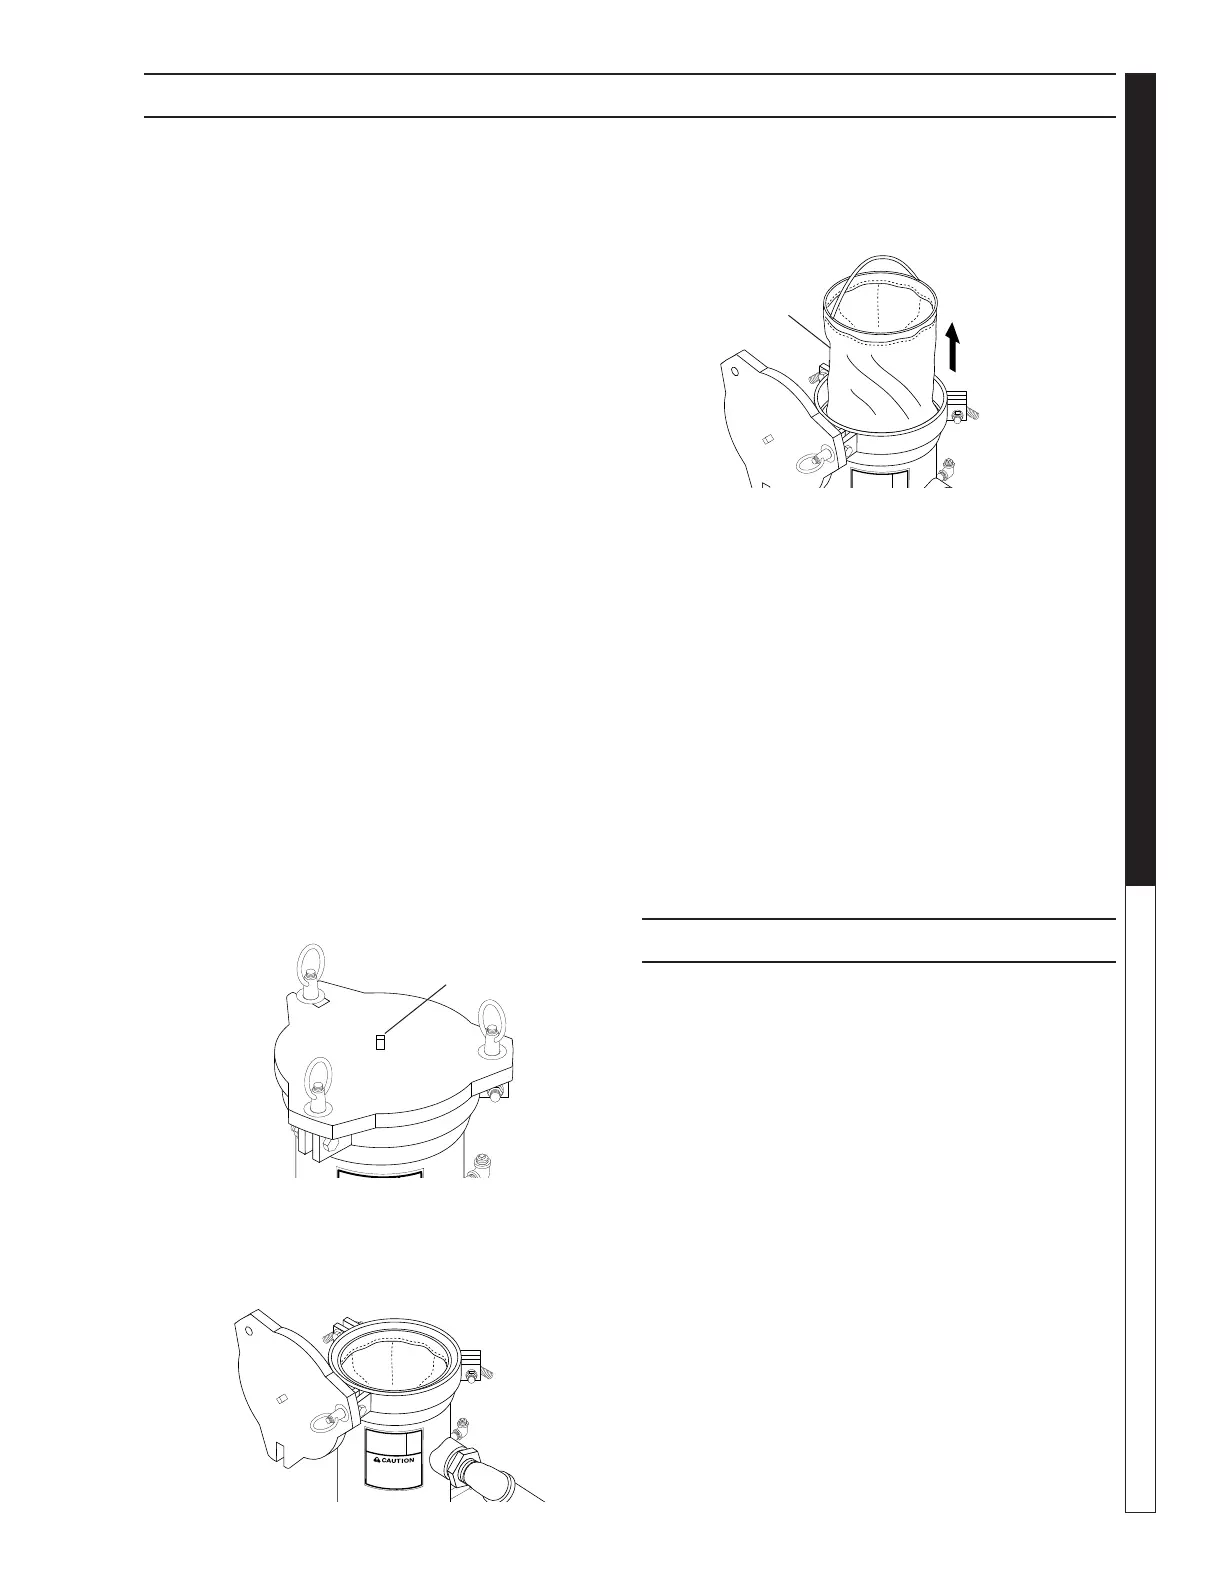
Step 3:
Slowly unscrew the pressure-release plug on the lid of
the filter canister to release the pressure in the filtration
system (See figure below).
Step 4:
Loosen the three lid nuts, then swing the lid free of the
canister (See figure below).
Step 5:
Remove and empty the filter bag and screen
(See figure below).
Step 6:
If you are using a nylon filter bag, you can clean and
reuse it several times before replacing it. If you are using
a polyester felt filter bag, you must replace it. Contact
your distributor or call customer service for filter bag
recommendations and ordering information.
Step 7:
Replace screen and filter bag in the filter canister.
Step 8:
Install and tighten the lid.
Step 9:
Tighten the pressure-release plug.
Step 10:
Turn on machine and continue washing.
REPAIRING THE MACHINE
The following procedures outline the steps necessary to
replace specific items on the machine that could wear
out or otherwise fail.
Heating Elements
REQUIRED TOOLS AND EQUIPMENT
• 5/16”wrenchorsocket
• 2”socketandbreakerbar
• sealingtapeorcompound
• mediumphillips-headscrewdriver
REPLACEMENT PROCEDURE
Step 1:
Disconnect power to the machine.
Step 2:
Drain the wash solution from the sump.
Step 3:
Remove the cover from the heating element and
thermostat enclosure (two 5/16” screws).
Filter Bag
Pressure
Release Plug
Filter
Lid