USB
237
Set up the print server
Attach the USB printer to the CyberGuard SG.
Select Shares from the Networking section of the main menu. Click the Printing tab.
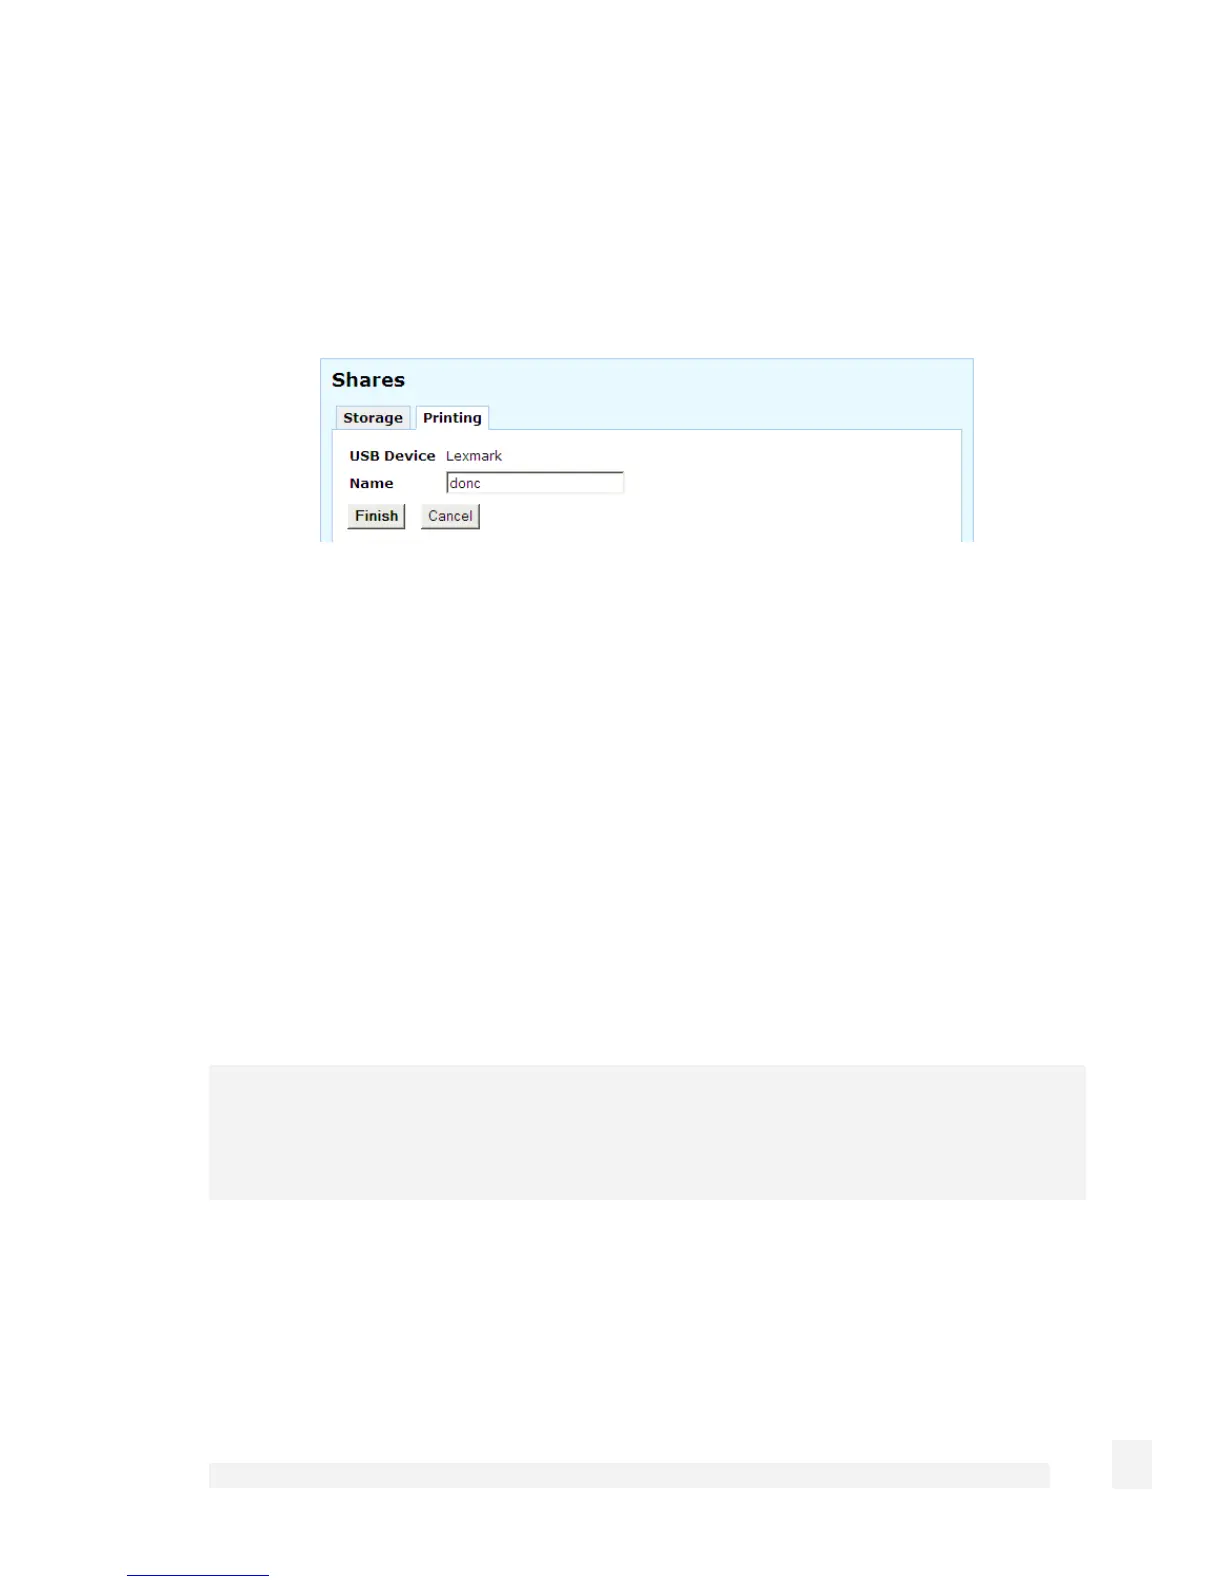
Locate the printer to share and click its Edit icon.
Enter a short descriptive Name for the printer. This is the name that is displayed when
browsing your Windows workgroup or domain, and the name of the queue for LPR / LPD
connections. Click Finish.
Set up the print spool
By default, the CyberGuard SG appliance spools incoming print jobs into memory (RAM)
before sending them to the printer. This can be an issue if you have many services
running on the CyberGuard SG appliance (e.g. many VPN connections, Intrusion
Detection, Web Cache, etc.) and it is low on memory, or you are intending to print large
documents or images.
When a Windows PC sends a document or image to the printer attached to the
CyberGuard SG appliance, it first converts it into a format that the printer can read. The
resulting file that the CyberGuard SG appliance has to store in memory can be many
times larger than the size of the original document or image.
Note
To avoid the CyberGuard SG running out of RAM and print jobs failing, we recommend
that you use a USB mass storage device to spool print jobs.
If you wish to spool to memory or set up the spool later, proceed to Set up Windows PCs
for remote printing.
 Loading...