20
• ,IWKH,62),;DQFKRUDJHSRLQWVRI\RXUYHKLFOHDUH
GLI¿FXOWWRDFFHVVSOHDVHXVHWKHSURYLGHG,62),;LQVHUW
JXLGHVWKDW¿[RQWKH,62),;DWWDFKPHQWSRLQWV
permanently.
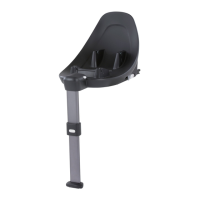
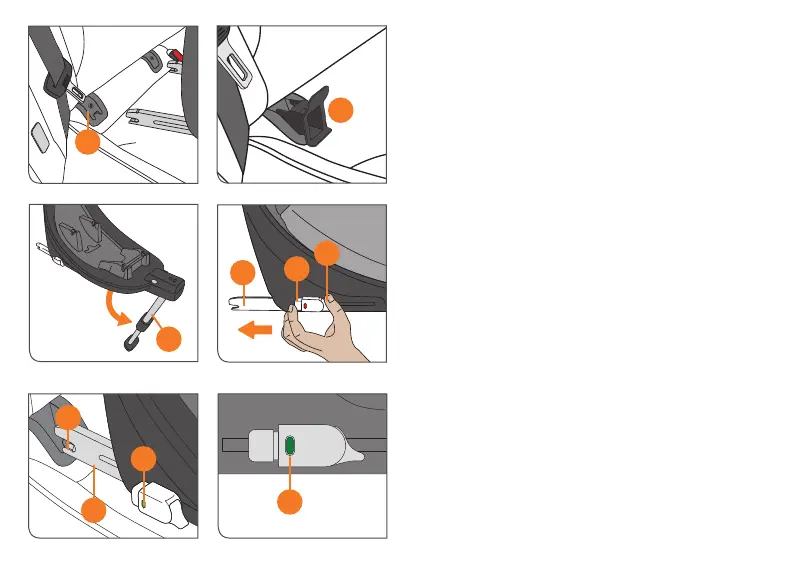
Installation of the base
NOTE!7KH,62),;DQFKRUDJHSRLQWVDUHWZRPHWDO
lugs per seat and are located between the backrest and the
seat of the car. If you are in any doubt, consult your car‘s
instruction manual for assistance.
NOTE! Do not put any objects in the foot area in front of
the child seat.
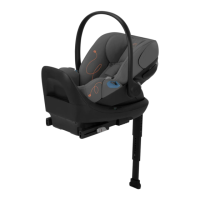
CONNECTING THE INFANT CAR SEAT WITH BASE
Please select an appropriate seat in the vehicle. If your
vehicle does not have an i-Size seating position, please
check the vehicle typelist that is included whether the
installation is allowed.
• $OZD\VIROGRXWWKHVXSSRUWLQJOHJXQWLOLWORFNV
• 5HOHDVHWKHORFNRIWKH,62),;FRQQHFWRUV
Both locks can be adjusted independently. Push both
EXWWRQVDQGVLPXOWDQHRXVO\DQGSXOOWKH,62),;
connectors out of the base to the endstopper.
• 7KH,62),;FRQQHFWRUVKDYHWRORFNLQWRWKH,62),;
DQFKRUDJHSRLQWVZLWKDQDXGLEOHFOLFN
• 0DNHVXUHWKDWWKHEDVHVWD\V¿UPO\LQSODFHE\WU\LQJWR
pull it out of the ISOFIX connect guides.
• 7KHJUHHQVDIHW\LQGLFDWRUPXVWEHFOHDUO\YLVLEOHRQ
both ISOFIX release buttons.
• Next, push the base in the direction to the backrest until it
is fully aligned with the backrest.
21
12
13
14
12
16
17
15
15
18
18
 Loading...