motor cover of each Cybex Pro+ treadmill. By performing these procedures you can evaluate the
performance of your drive motor and help prevent premature failure.
Tools Required
• Phillips head screwdriver
• Voltage meter
1. Measure current draw.
A. Enter Test Mode by holding down any key on the display while turning the power switch
to the on (I) position.
B. Press the Quick Start key. The belt will move at 1 mph (1.6 kph).
C. Without standing on the belt, bring the speed of the treadmill up to 3 mph (4.8 kph) and
take note of the load value in the top center display.
D. Have a second person walk on the belt at 3 mph (4.8 kph) and take note of the load value
in the top center display and the weight of the person. NOTE: Call Cybex Customer
Service to confirm that the load is within acceptable range. Loads over 200 are generally
unacceptable.
E. Press Stop to exit Test Mode.
2. Disconnect the external power source.
A. Turn the main power switch on the left side to the off (O) position.
B. Unplug the treadmill from the power outlet.
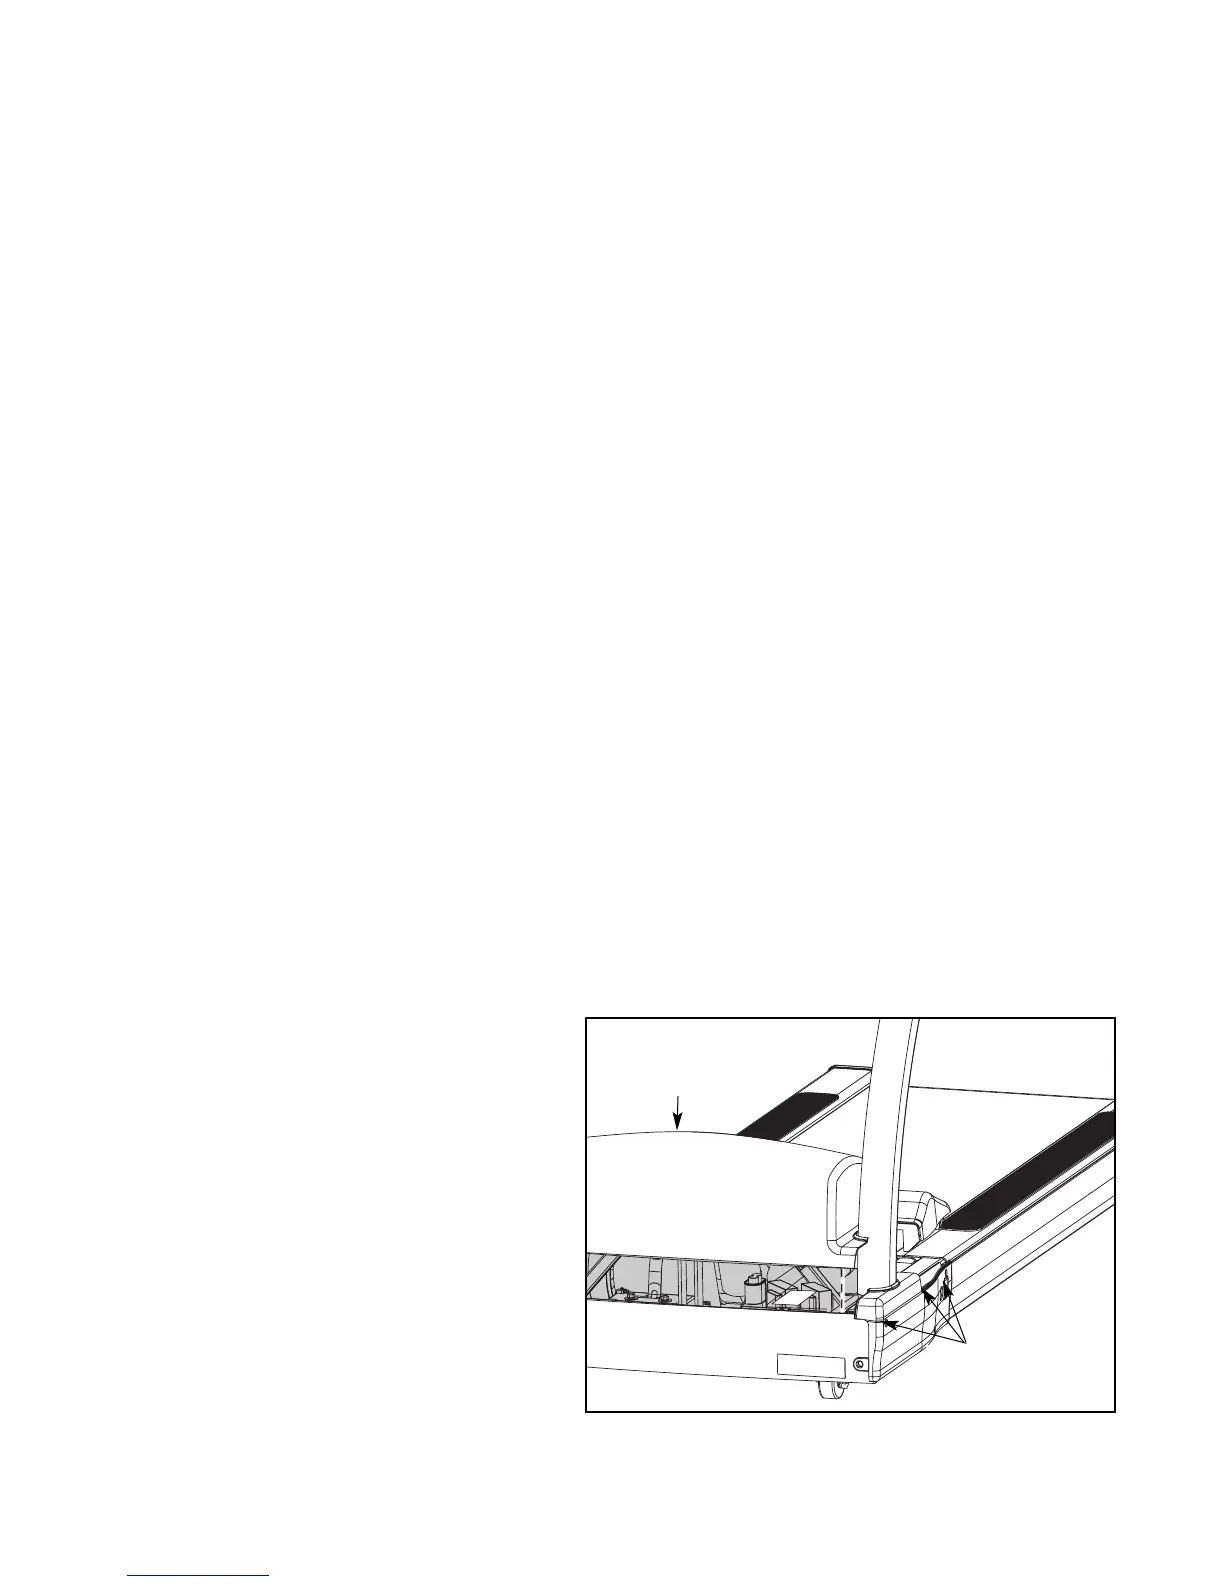
3. Remove the motor cover.
A. Using a Phillips head screwdriver, loosen three screws on each motor cover side (left and
right). See Figure 2.
B. Lift the motor cover center up and
off the treadmill. The screws
will stay in place.
4. Check the belt and deck condition.
A. Follow the Checking Belt and Deck
Surfaces procedure on page 4-4 of
the Preventive Maintenance
chapter of this manual and then
proceed with step 5.
Cybex Pro+ Treadmill Owner’s & Service Manual
Service
Page 7-5
Figure 2
Screws
(3 on Each Side)
Motor
Cover