Cybex Pro+ Treadmill Owner’s & Service Manual
Service
Page 7-12
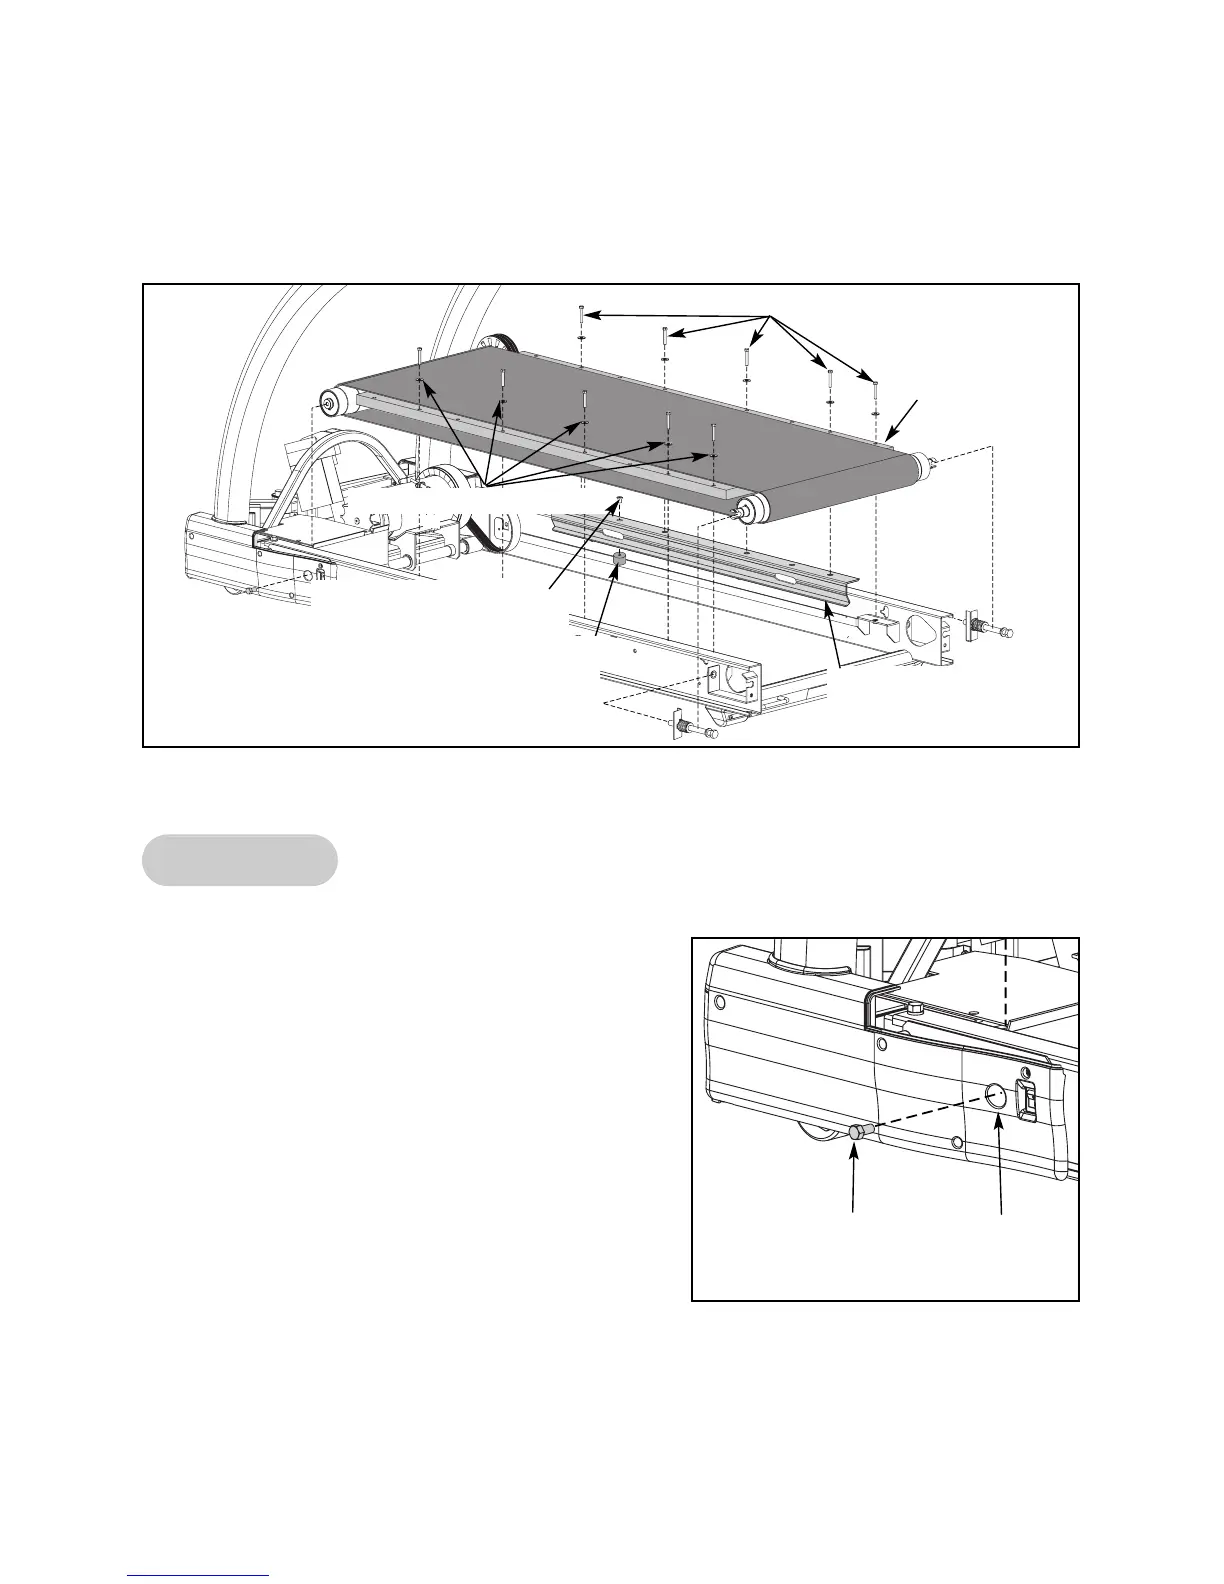
7. Loosen the deck.
A. Using a 7/16” open-end or socket wrench, remove the ten screws and ten washers
that hold the deck in place. See Figure 7. NOTE: Leave the deck in place until step 9B.
Front Roller
8. Loosen the front roller.
A. Place a 9/16” socket wrench with a 3”
extension in the right front roller access hole.
Loosen but do not remove the right front roller
screw. See Figure 8. NOTE: The right screw
will stay on the front roller. You do not need
to remove it for this procedure.
B. Place a 9/16” socket wrench with a 3”
extension in the left front roller access hole.
Remove the left front roller screw. See Figure 8.
NOTE: Leave the front roller in place until
step 9B.
9. Remove the running deck and running belt.
A. If rotating or flipping the deck, make a note on
the deck so you know which way it was positioned.
Figure 7
Screws (5 on Each Side)
Washers (5 on Each Side)
Figure 8
Screw
Front Roller
Access Hole
Deck
Screw Securing Deck
Stiffener (1 on Each Side)
Deck Stiffener
(1 on Each Side)
Rubber Mount
(1 on Each Side)