Cybex Pro+ Treadmill Owner’s & Service Manual
Service
Page 7-30
A. Using a Phillips head screwdriver, remove the nine screws that hold the console back
to the console front.
B. Gently pull off the console back.
3. Remove the display board.
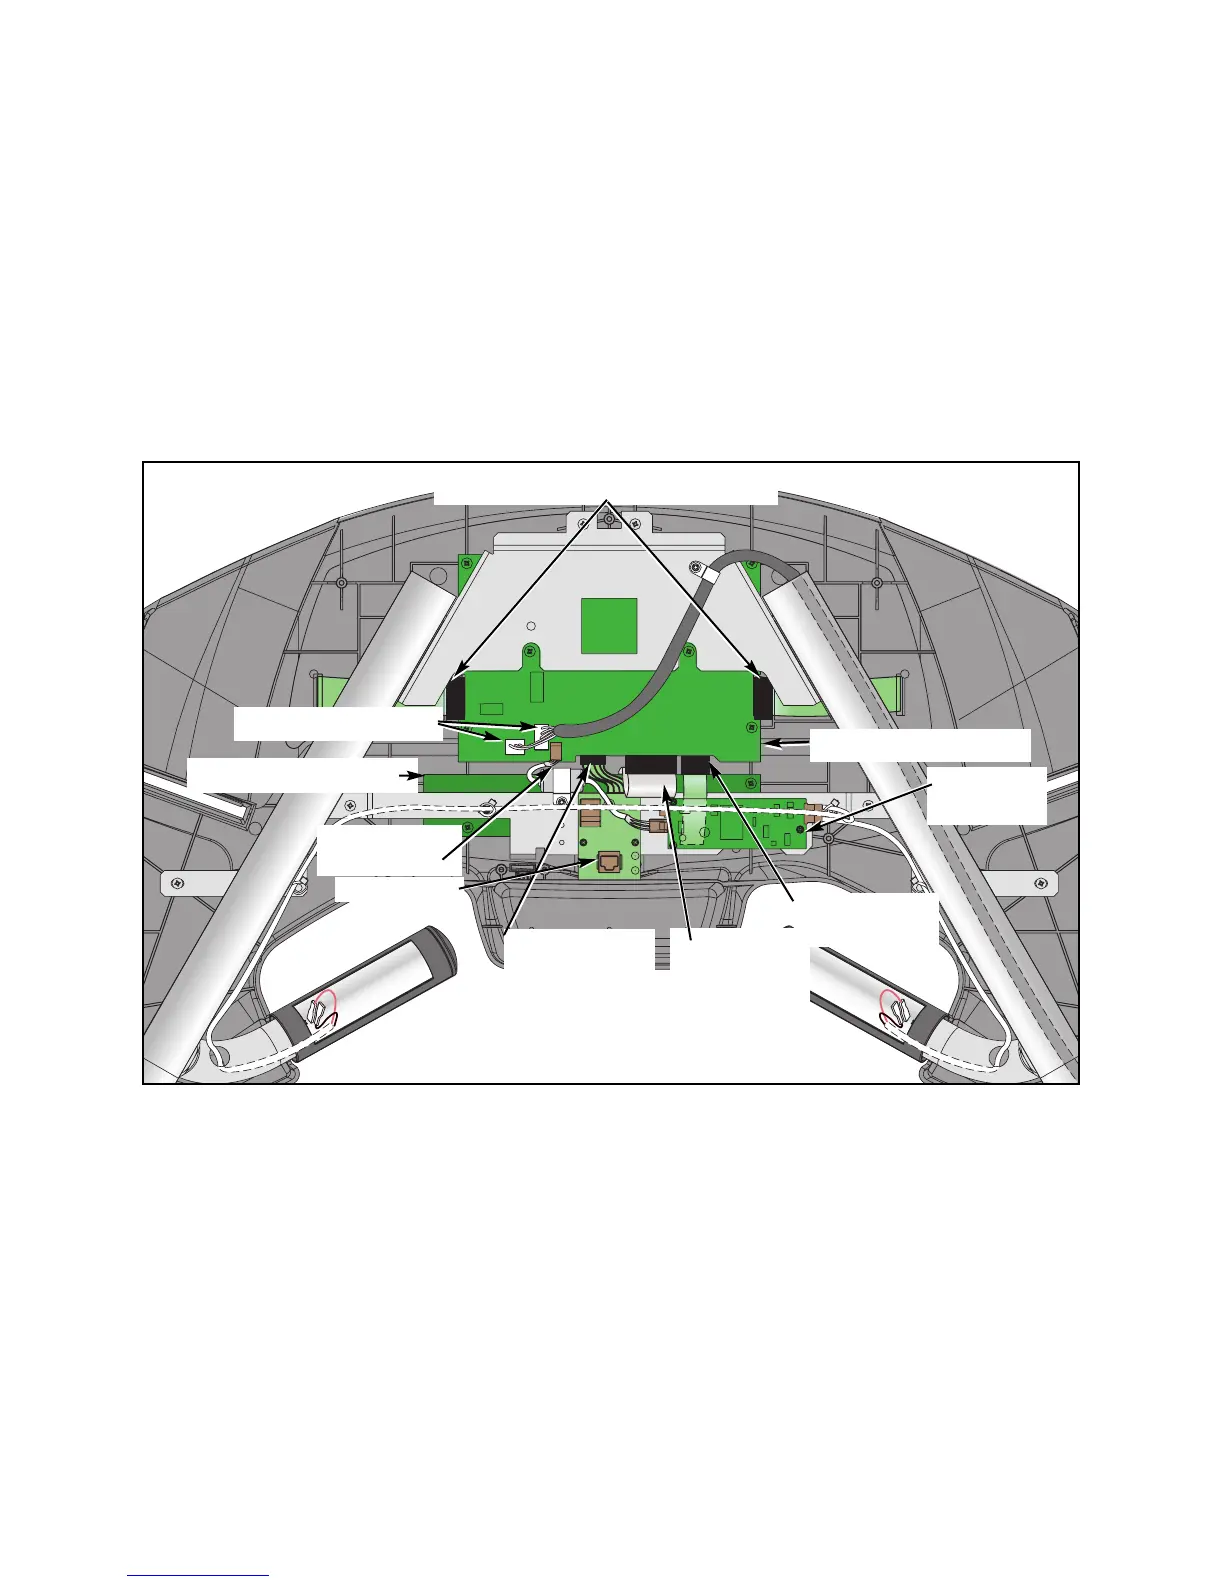
A. Disconnect these cables from the display board: the display cable (2 connectors), the
two upper switch membranes, the lower switch membrane, the contact heart rate
cable, the CSAFE board to display board jumper and the upper to lower board jumper.
See Figure 24.
B. Using a Phillips head screwdriver, remove the six Phillips head screws that hold the
display board to the console.
4. Attach the display board.
A. Place the display board in position on the front console.
B. Using a Phillips head screwdriver, secure the six screws that hold the display board to
the console.
CSAFE Board
to Display
Board Jumper
Upper Display Board
Lower Display Board
Contact Heart
Rate Port
Lower Switch
Membrane
Upper to
Lower Board
Jumper
Upper Switch Membrane Ports
Heart Rate
Board
Display Cable Ports
Figure 24
RJ-45 Port