10
When installing the Switch on a level surface, attach the rubber
feet to the bottom of each device. The rubber feet cushion the hub
and protect the hub case from scratching.
Figure 1. Attach the adhesive rubber pads to the bottom.
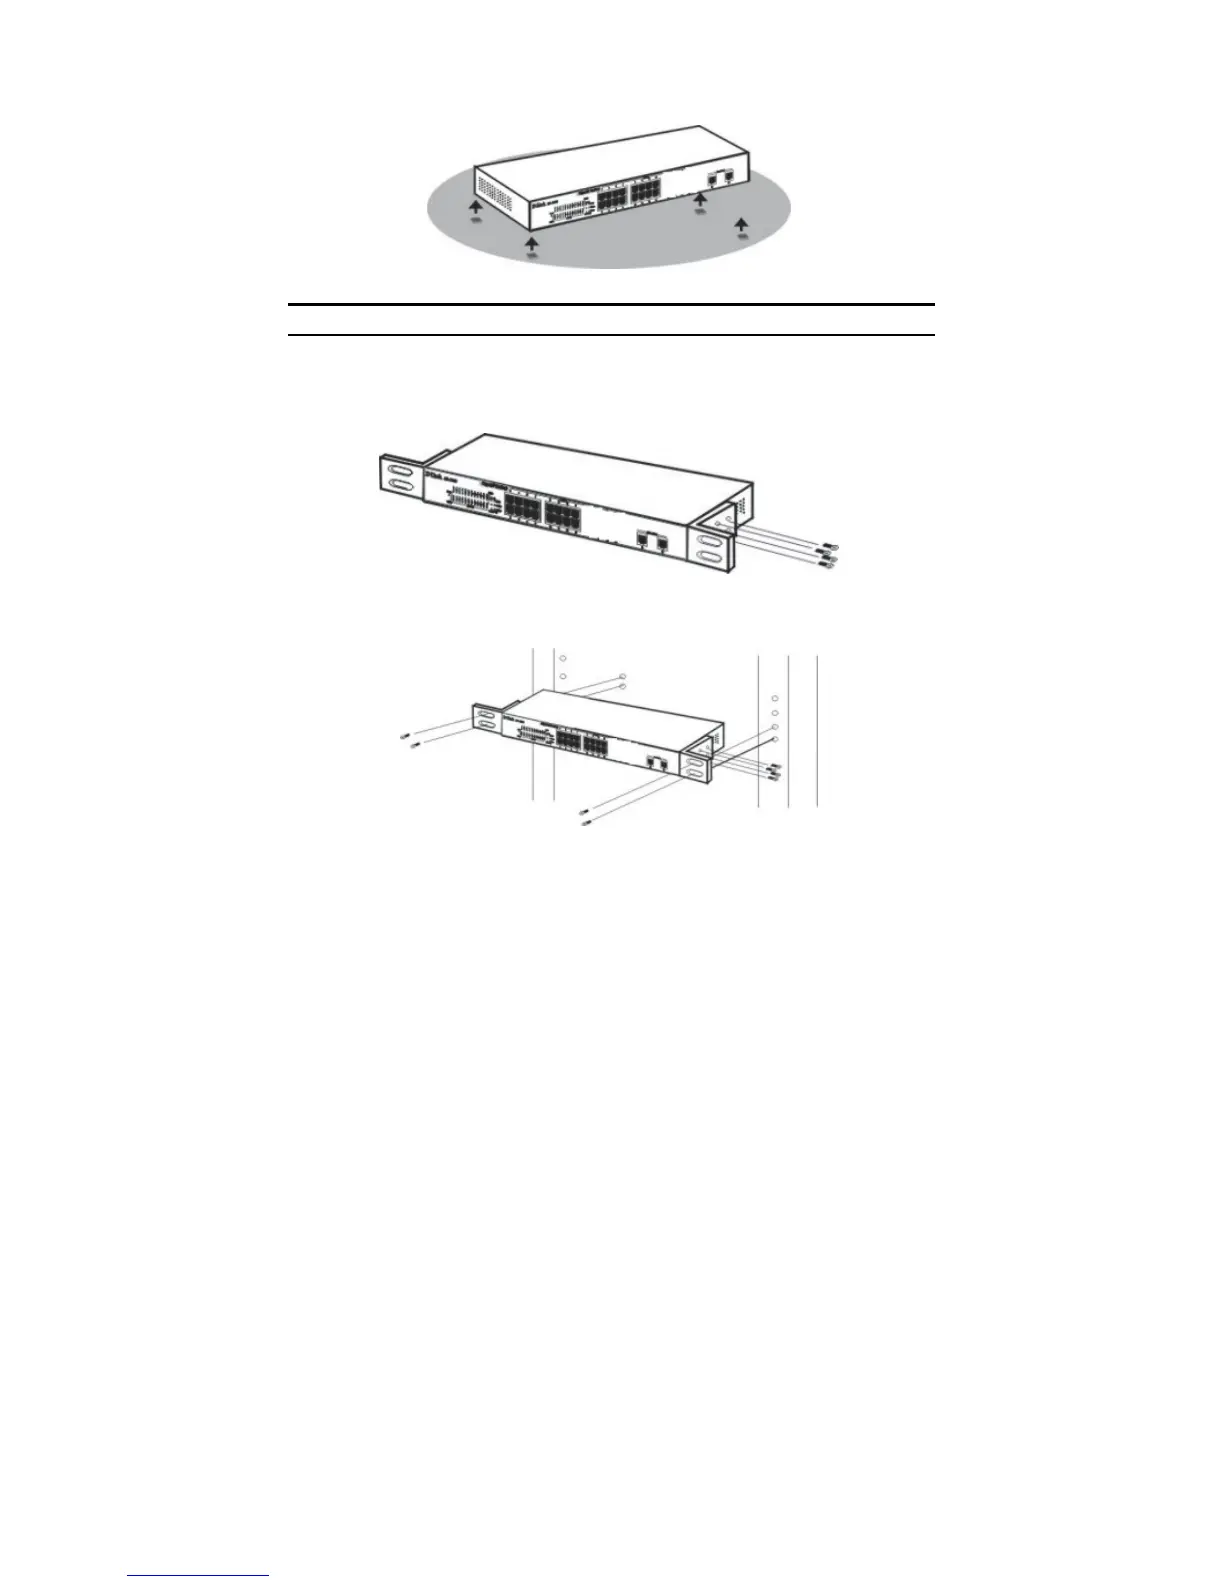
Rack Mounting
The Switch can be mounted in an EIA standard-size, 19-inch rack, which can be
placed in a wiring closet with other equipment. Attach the mounting brackets at
the Switch’s front panel (one on each side), and secure them with the provided
screws.
Figure 2. Combine the Switch with the provided screws.
Then, use screws provided with the equipment rack to mount the Switch in the
rack.
Figure 3. Mount the Switch in the rack.

 Loading...