33D-Link ShareCenter DNS-340L User Manual
Section 3 - Installation
Hard Drive Conguration
The next part of the setup wizard helps you to congure your hard drive storage. The DNS-340L oers four options for hard
drive storage conguration. You should choose the option which best suits your storage, redundancy, and backup needs.
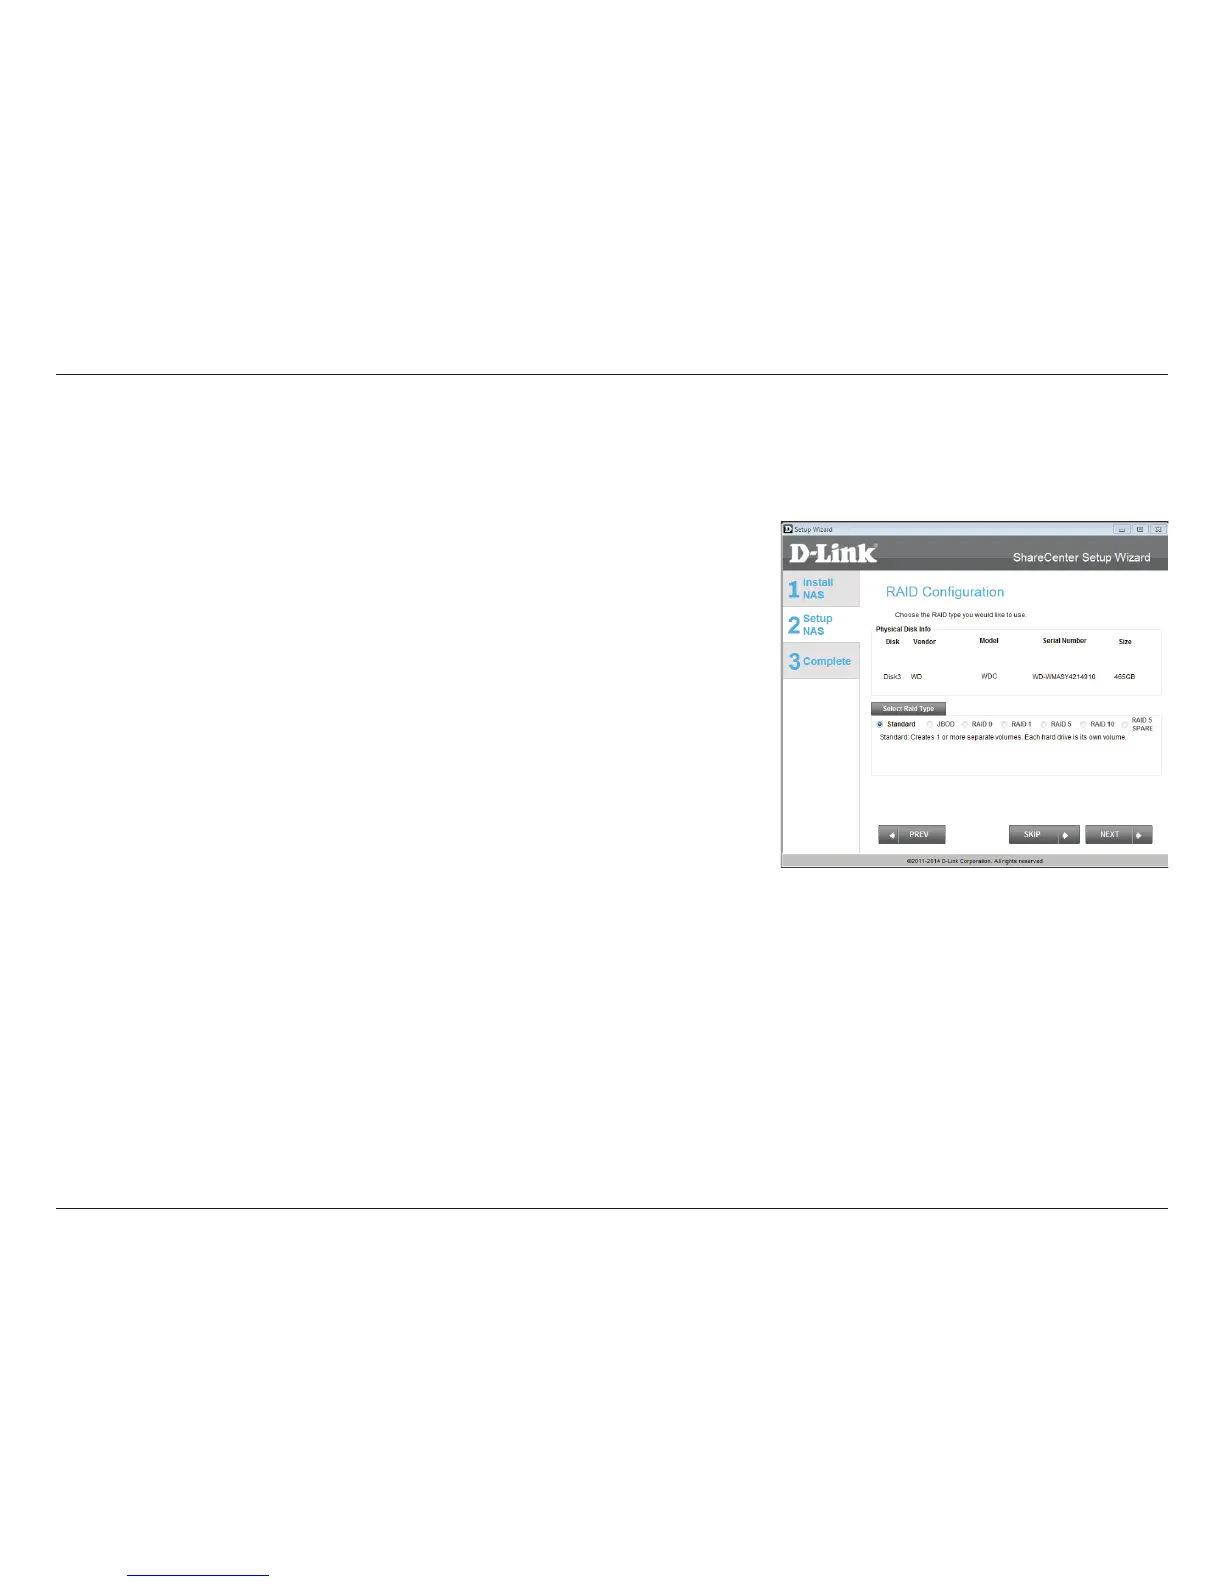
The RAID Conguration window provides more detailed Physical Disk
information. Here you can analyze your Disk, Vendor, Model number, Serial
number, and Disk size. Under Select RAID Type, there are four options to
choose from:
y Standard (default) - This option creates one or more volumes on each
hard drive which are inserted into the NAS. Each hard drive will have its
own volume. Please skip to “Standard RAID” on page 35 to continue the
setup process using this option.
y JBOD - This option combines the two hard drives into one or more
volumes, but does not use a RAID conguration. Please skip to “JBOD” on
page 38 to continue the setup process using this option.
y RAID 0 - This option splits data evenly across the two drives to create one
array. The size of the array will be limited to twice the size of the smallest
hard drive in use. Please skip to “RAID 0” on page 41 to continue the
setup process using this option.
y RAID 1 - This option uses one hard drive for storage, and the other hard
drive to create a mirror of the rst drive for redundancy. If the rst hard
drive fails, the second hard drive will serve as the primary storage drive
until the failed drive is replaced. Please skip to “RAID 1” on page 44 to
continue the setup process using this option.
 Loading...