User's Manual
82
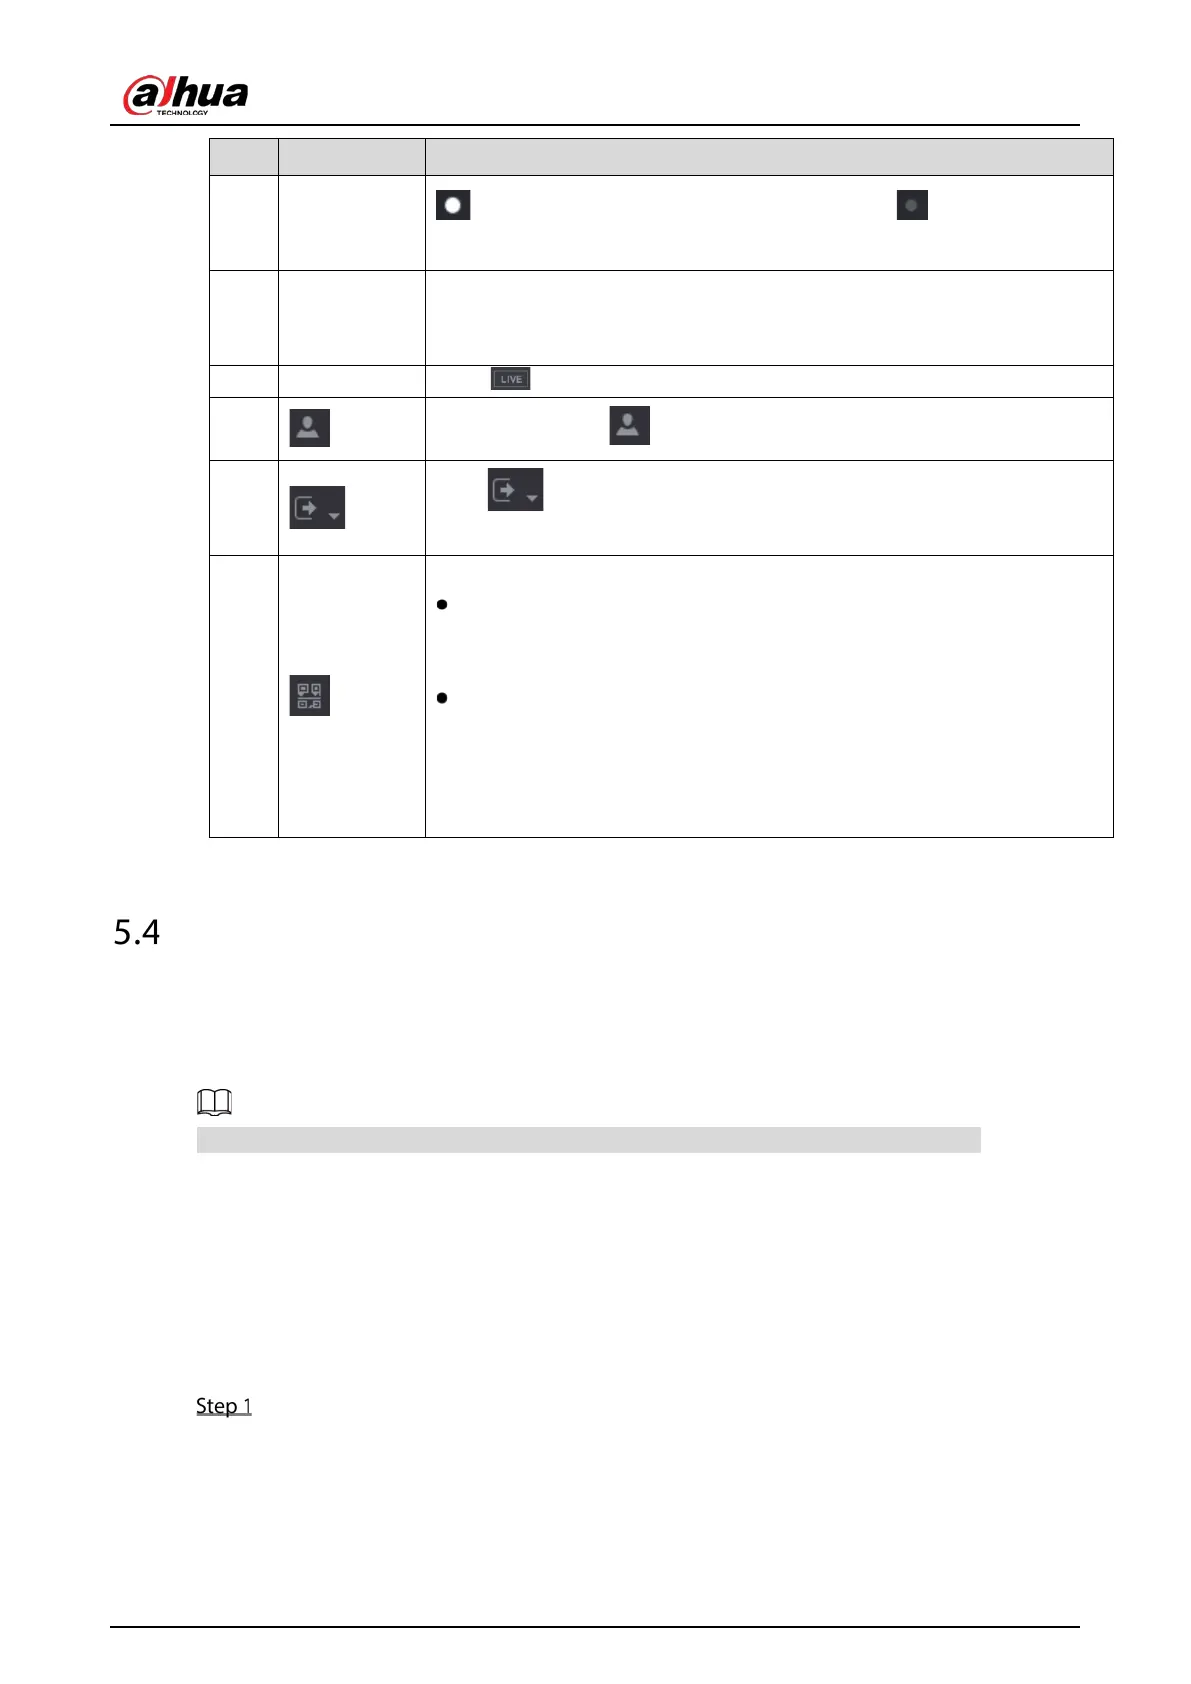
2 Switch icon
indicates the current page of main menu. Click to switch to the
next page.
3
Configuration
menu
Includes six configurations through which you can configure camera
settings, network settings, storage settings, system settings, account
settings, and view information.
4 Live
to go to the live view screen.
5
When you point to , the current user account is displayed.
6
Click , select
,
, or
according to your actual
situation.
7
Displays Cell Phone Client and Device SN QR Code.
Cell Phone Client: Use your mobile phone to scan the QR code to add the
device into the Cell Phone Client, and then you can start accessing the
Device from your cell phone.
Device SN: Obtain the Device SN by scanning the QR code. Go to the P2P
management platform and add the Device SN into the platform. Then
you can access and manage the device in the WAN. For details, please
refer to the P2P operation manual. You can also configure P2P function
in the local configurations. See "5.1.4.5 Configuring P2P Settings."
Controlling PTZ Cameras
PTZ is a mechanical platform that carries a camera and a protective cover and performs overall control
remotely. A PTZ can move in both horizontal and vertical direction to provide all-around view to the
camera.
Before operating PTZ, please assure the network connection between PTZ and the Device.
5.4.1 Configuring PTZ Connection Settings
You need to configure the PTZ connection settings before use.
Local connection: RS485 Port for connecting Speed Dome or coaxial cable for connecting coaxial
camera.
Remote connection: Local area network.
Select Main Menu > CAMERA > PTZ.
 Loading...