IO-DAPPS www.daikinac.com 6
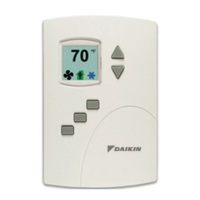
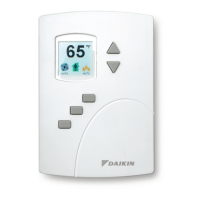
Installing the BACnet™ Thermostat
This secon provides important instrucons and guidelines for
installing the BACnet Thermostat. Carefully review this informaon
before installing the controllers.
Mounng the BACnet Thermostat
For the most accurate performance, install the BACnet Thermostat on
an inside wall where it can sense the average room temperature. Avoid
locaons with direct sunlight, heat sources, windows, air vents, and air
circulaon or obstrucons such as curtains, furniture, etc.
The BACnet Thermostat must not be:
• Mounted on an exterior wall
• Mounted on or near an object with a large thermal mass such as a
concrete block wall
• Blocked from normal air circulaon by obstrucons
• Exposed to heat sources such as lights, computers, copiers, or
coee makers, or to direct sunlight at any me of the day
• Exposed to dras from windows, diusers, or returns
• Exposed to air ow through connecng conduits or empty spaces
behind walls
Rough-in Preparaon
Complete rough-in wiring at each locaon before mounng a BACnet
Thermostat. This includes the following steps.
• Install the supplied mounng base directly to a wall, a vercal
electrical box, or a box with a wall plate kit
• Roung the connecng cable or cables from the BACnet
Thermostat to the equipment it is controlling
• Block leaks and airow from conduits with plumber’s puy or
similar material
• If replacing an exisng thermostat, label exisng wires for
reference when removing the exisng thermostat
Figure 2: BACnet Thermostat Mounng Base Details
Installing the BACnet Thermostat
CAUTION
Can cause equipment damage.
To prevent mounng screw heads from touching the circuit board
in the controller, use only the mounng screw supplied by Daikin.
Using screws other than the type supplied may damage the
BACnet Thermostat.
To install the controller on a mounng base, do the following:
1. Turn the Allen screw in the base of the sensor clockwise
unl it clears the case.
2. Swing the BACnet Thermostat away from the mounng base
to remove it.
3. Route wiring for the BACnet Thermostat through the
mounng base.
4. Posion the base with the embossed UP toward the ceiling
and fasten it directly to a vercal 2 × 4 inch electrical box.
5. Connect the wires for the BACnet Thermostat to the terminals
in the mounng base.
6. Place the top of the sensor over the top of the mounng base
and swing it down over the Allen screw bracket. Be careful not
to pinch any wiring.
7. Turn the Allen screw counterclockwise unl it backs out of the
mounng base and engages the case.
Figure 3: Allen Head Direcons
Installaon
 Loading...