Installation Manual 3P291714-4
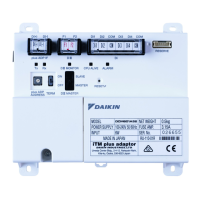
DCM601A72 iTM plus adaptor
31
5 Outdoor Unit Address Setup
For the intelligent Touch Manager to identify each outdoor unit, you need to set a unique
address for it.
Follow the setup procedure described in this chapter.
5.1 Procedure
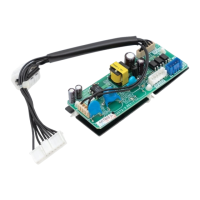
To set the address of an outdoor unit, use push buttons provided on the unit’s printed cir-
cuit board.
The current setting or operating status of an outdoor unit is indicated by the on, blink, or
off of its LEDs.
H1P
Mode indicator (LED)
BS1 BS2 BS3
BS4
BS5
H2P H3P H4P H5P H6P H7P H8P
Mode switch
Microcomputer operation monitor
1. Press the BS1 button for 5 seconds or more. The H1P LED lights up.
2. Press the BS2 button 13 times. This causes each LED on the printed circuit board to
be in the following state, which indicates that you are in the address setup mode.
H1P H2P H3P H4P H5P H6P H7P
:On :Off
3. Press the BS3 button. You can now nd out the current address setting by the blinking
LED.
4. Press the BS2 to change to the desired address. (Set the address number within the
range of 1 to 127. The default setting is “0”.)
5. Press the BS3 twice to x the address setting.
6. Press the BS1 button once to return to the normal mode.
01_EN_3P291714-4.indd 31 3/26/2012 5:00:49 PM