Controls inspection
Inspect the machined surfaces on the control and top of the pump. If you find any nicks or scratches,
replace the component.
MDC Control Assembly
Ensure you install dowel pins (D300) in housing before installing control.
The pump will lose control, causing a potentially hazardous situation.
If a feedback pin comes off during operation, ensure the feedback pin is properly torqued before
continuing with reassembly.
1. Install a new gasket (D150).
2. If previously removed, install orifices using a 3 mm internal hex wrench and torque to 2.5 N•m [1.8
lbf•ft].
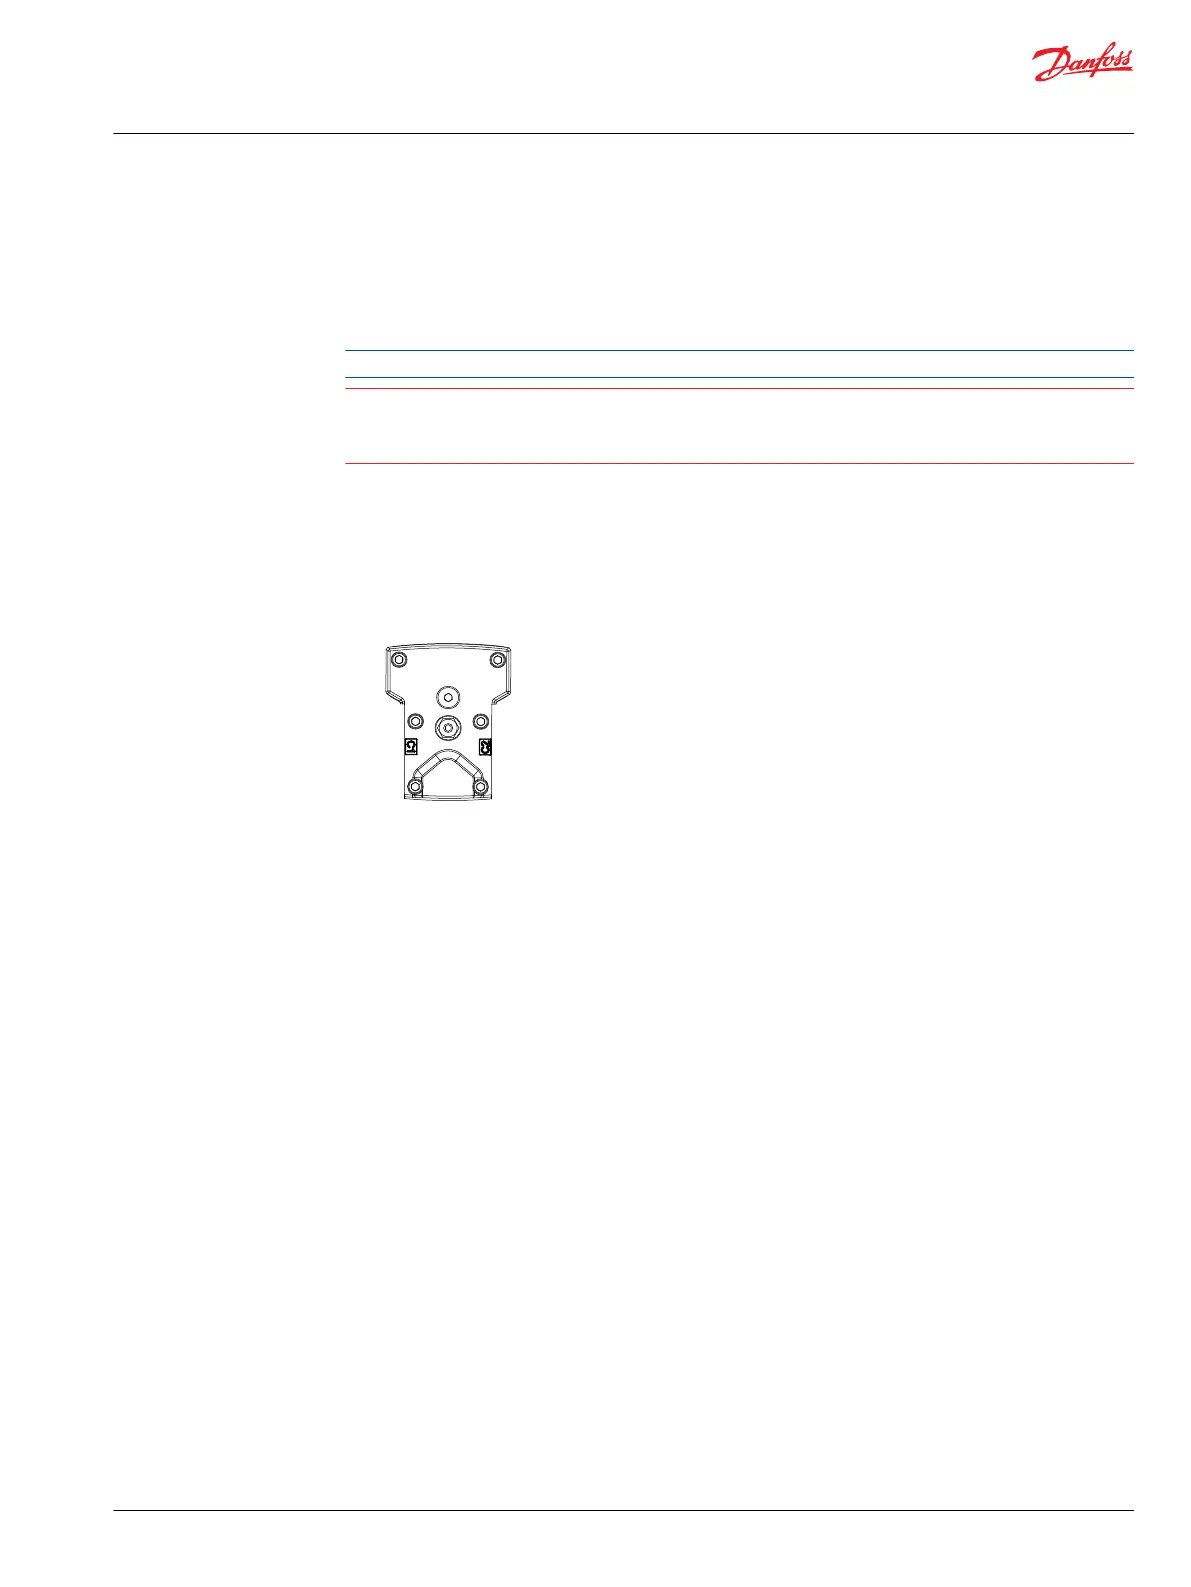
3. Install the control module and six cap screws (D250).
4. Using a 5 mm internal hex wrench, torque the cap screws (D250) to 13.3 N•m [9.8 lbf•ft].
Torque sequence
Charge Pump
If the pump has an auxiliary pump attached, remove the auxiliary pump and connecting shaft before
removing the auxiliary pad.
MP1 charge pump removal
1. Position pump so end cover or auxiliary pad (K100) is on top.
2. Remove end cover/auxiliary pad screws (K300) using an 8 mm internal hex wrench.
3. Remove and discard O-ring (K200).
4. Remove coupling (K500). Use a small hook if necessary.
5. Remove the charge pump (K400).
Service Manual
MP1
Minor repair
©
Danfoss | April 2019 AX00000244en-000201 | 57