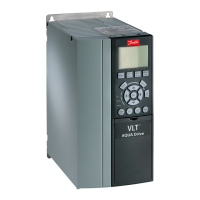
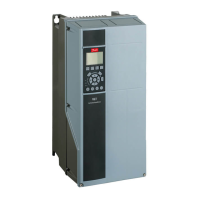
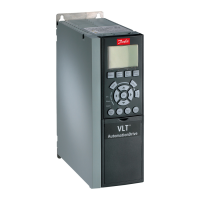
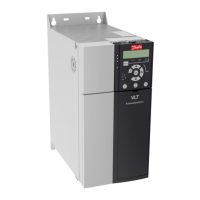
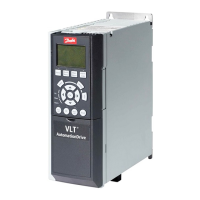
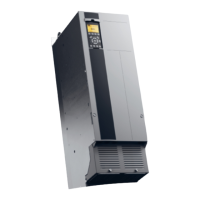
5.1.3 Mechanical Mounting
1. Drill holes in accordance with the measurements given.
2. You must provide screws suitable for the surface on which you want to mount the adjustable frequency drive. Retighten all four screws.
The adjustable frequency drive allows side-by-side installation.
The back wall must always be solid.
Enclosure Air space (mm)
A2
A3
A5
100
B1
B2
200
B3 200
B4 200
C1 200
C2 225
C3 200
C4 225
D1/D2/D3/D4 225
E1/E2 225
F1/F2/F3/F4 225
Table 5.1: Required free air space above and below adjustable frequency drive
5.1.4 Safety Requirements for Mechanical Installation
Pay attention to the requirements that apply to integration and the field mounting kit. Follow the information in the list to avoid serious
damage or injury, especially when installing large units.
The adjustable frequency drive is cooled by air circulation.
To protect the unit from overheating, it must be ensured that the ambient temperature
does not exceed the maximum temperature stated for the
adjustable frequency drive
, and that the 24-hour average temperature
is not exceeded
. Locate the maximum temperature and 24-hour average in the
paragraph
Derating for Ambient Temperature
.
If the ambient temperature is in the range of 113°–131°F [45°–55°C], derating of the adjustable frequency drive will become relevant, see
Derating for
Ambient Temperature
.
The service life of the adjustable frequency drive is reduced if derating for ambient temperature is not taken into account.
5.1.5 Field Mounting
For field mounting the IP 21/IP 4X top/TYPE 1 kits or IP 54/55 units are recommended.
5 How to Install VLT
®
AQUA Drive Design Guide
5-6
MG.20.N5.22 - VLT
®
is a registered Danfoss trademark
5
 Loading...


