Part Number: 9291481 05/18 7
Section 2 Installation
Prepare And Plan Your Installation
1. Read through these instructions completely. Determine
what is applicable to the installation.
Inspect The Equipment Packaging
2. Visually inspect the exterior of the package and skid or
container. Any damage should be noted and reported
to the delivering carrier immediately. Take multiple
pictures of the damage.
3. If damaged, open and inspect the contents with the
carrier.
• Retain all crating material until an inspection has
been made or waived.
Uncrating the Equipment
,
Caution
Never attempt to lift or move these units by yourself. The
use of a mechanical lift is required.
4. First cut and remove the banding from around the
crate.
5. Remove the front of the crate material, use of some
tools will be required.
6. Remove the top of the crate as well and lift the unit off
the skid.
7. Bolts, screws and other accessories needed for
fastening units together are in a bag located inside one
of the units. The unit is marked with a note attached to
the front. Be sure all items are included.
8. Care must be taken so the equipment is not damaged
during unloading and movement into the building.
Inspect The Equipment
9. Check the lower portion of the unit to be sure legs or
casters are not bent.
10. Also open the compressor compartment housing and
visually inspect the refrigeration package. Be sure lines
are secure and base is still intact.
11. In the event that the exterior is not damaged, yet upon
opening, there is concealed damage to the equipment
notify the carrier. Notification should be made verbally
as well as in written form. Take multiple pictures of the
damage.
• Request an inspection by the shipping company
of the damaged equipment. This should be done
within 10 days from receipt of the equipment.
• Freight carriers can supply the necessary damage
forms upon request.
• Retain all crating material until an inspection has
been made or waived.
Utilities
DANGER
Be sure all electrical power to this equipment or units
already in place have been disconnected before starting
to assemble the line-up.
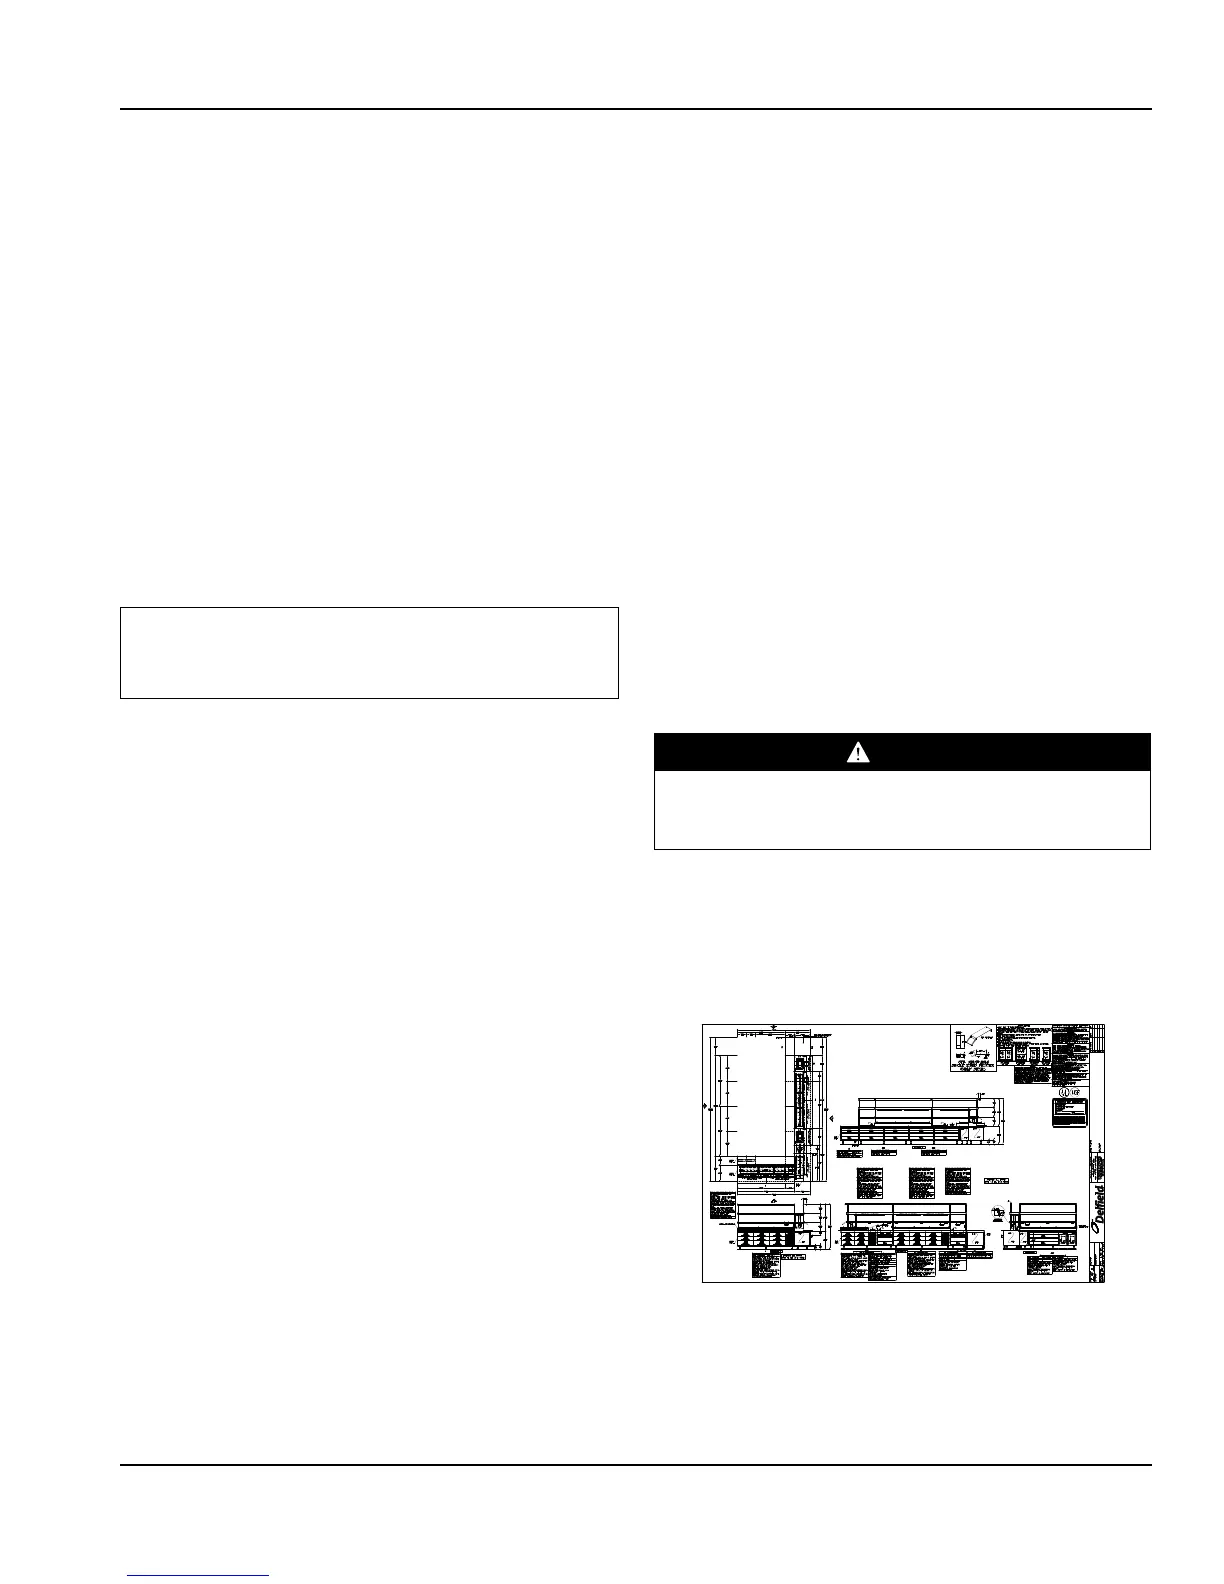
12. Check utility rough-in dimensions and locations against
the presentation drawing to insure accuracy.
13. Verify that access to utilities will be available after
lineup installation.
14. Check wall to wall dimensions to make sure there are
proper clearances.
15. For any counter requiring a water hookup the water
pressure must be 20-80psi (138-552kPa).