Replacing the PCI-Express Card(s)
1. Follow the instructions in Before You Begin.
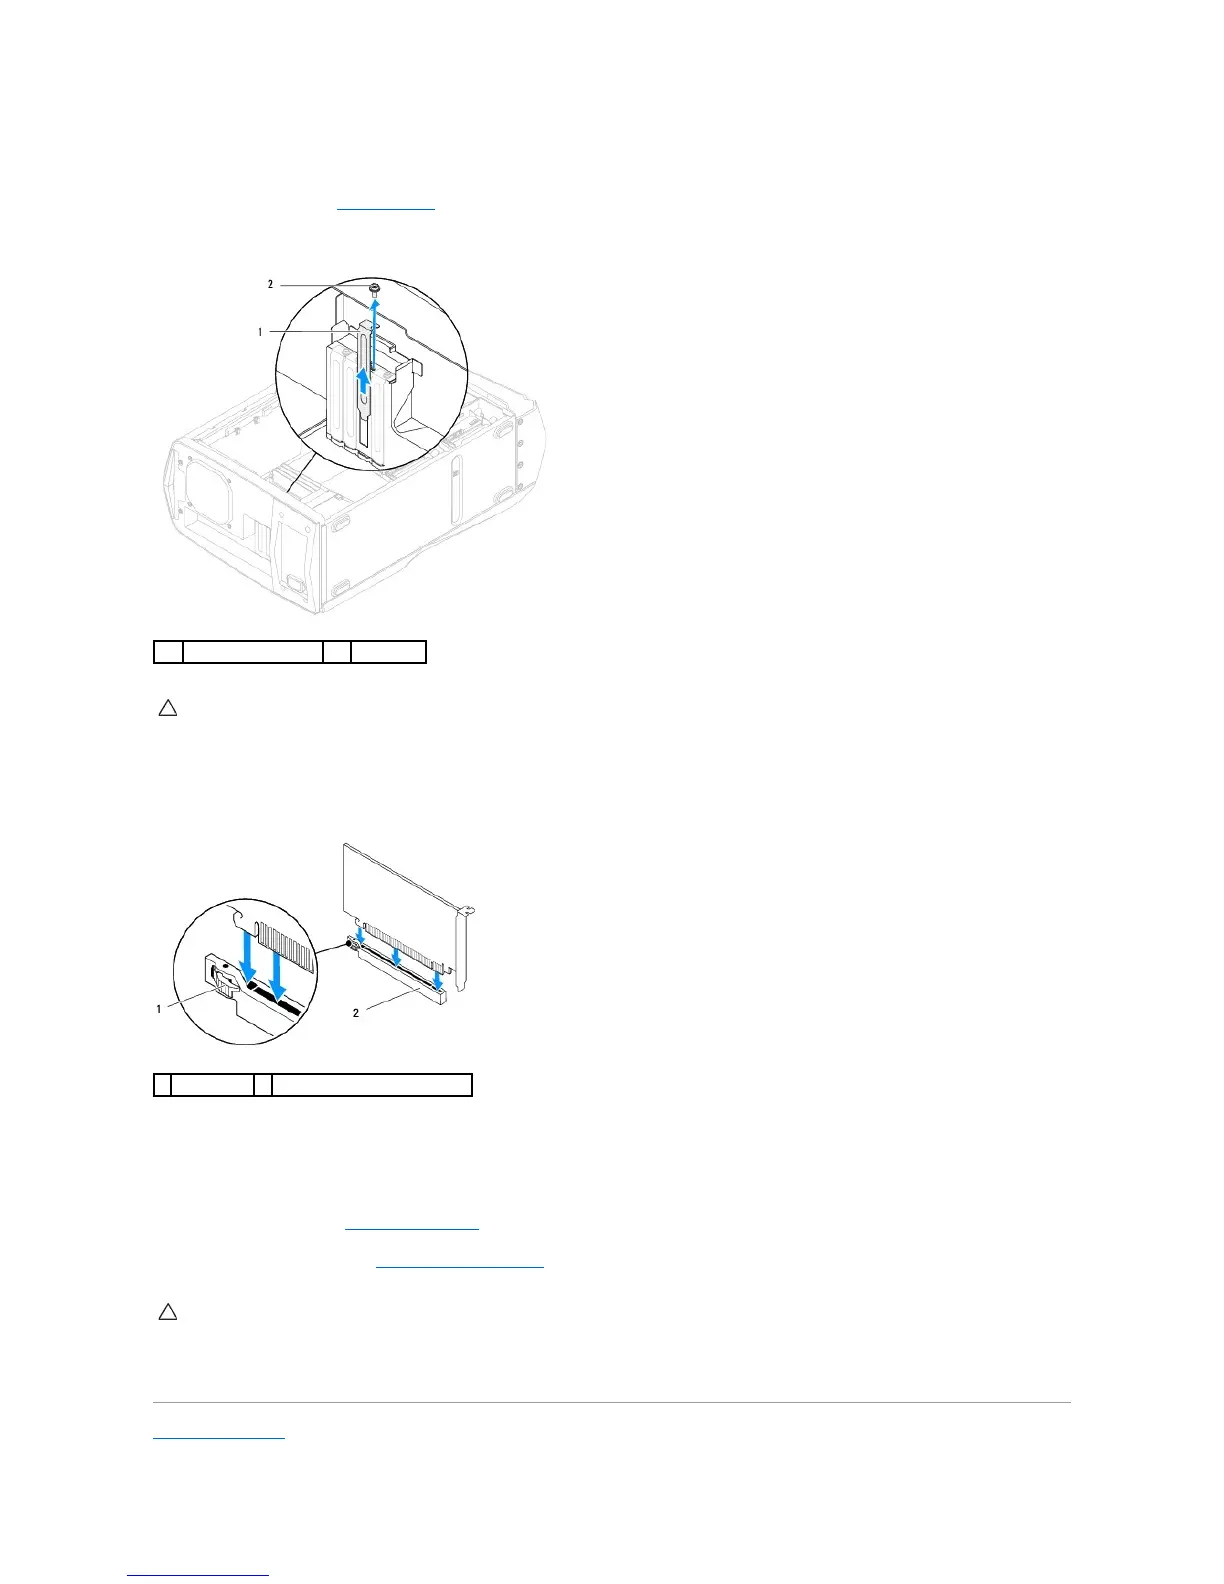
2. Remove the screw that secures the filler bracket and remove the filler bracket to create a card-slot opening (if applicable).
3. Align the card with the card connector on the system board.
4. Place the card in the connector and press down firmly. Ensure that the card is firmly seated in the slot. If you are installing the PCI-Express x16 card,
press the securing tab and insert the card in the connector.
5. Connect any cables that should be attached to the card (if applicable). For information about the card's cable connections, see the documentation that
shipped with the card.
6. Replace the screw that secures the card to the chassis.
7. Close the PCI shroud (see Closing the PCI Shroud).
8. Replace the left side-panel (see Replacing the Left Side-Panel).
9. Connect your computer and all attached devices to electrical outlets, and turn them on.
Back to Contents Page
CAUTION: Before turning on the computer, replace all screws and ensure that no stray screws remain inside the computer. Failure to do so may
result in damage to the computer.

 Loading...