Steps
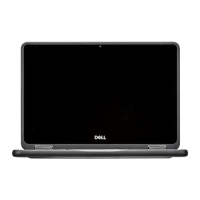
1. Rotate the left display hinge and the left hinge cap upwards toward the display cover. The display hinge should be at an
angle of 0 degrees while the hinge cap should be at an angle of 90 degrees (or of the position of a closed laptop).
NOTE:
Ensure that the display hinge is rotated only to the unlock position, the hinge cap does not rotate until the
display hinge is in the unlock position.
2. Remove the hinge rubber that secures the left hinge cap.
3. Gently pull the display cable out of the left hinge cap.
4. Disconnect the camera cable from the camera module.
5. Peel back the tape, close to the left hinge cap, that secures the display cable in place.
6. Peel and unroute the display cable from the routing channels on the display back-cover.
Installing the display cable
Prerequisites
If you are replacing a component, remove the existing component before performing the installation procedure.
About this task
The following image indicates the location of the display cable and provides a visual representation of the installation procedure.
Removing and installing components
51

 Loading...


