Power Supplies | 41
To replace an AC or DC power supply, follow these steps:
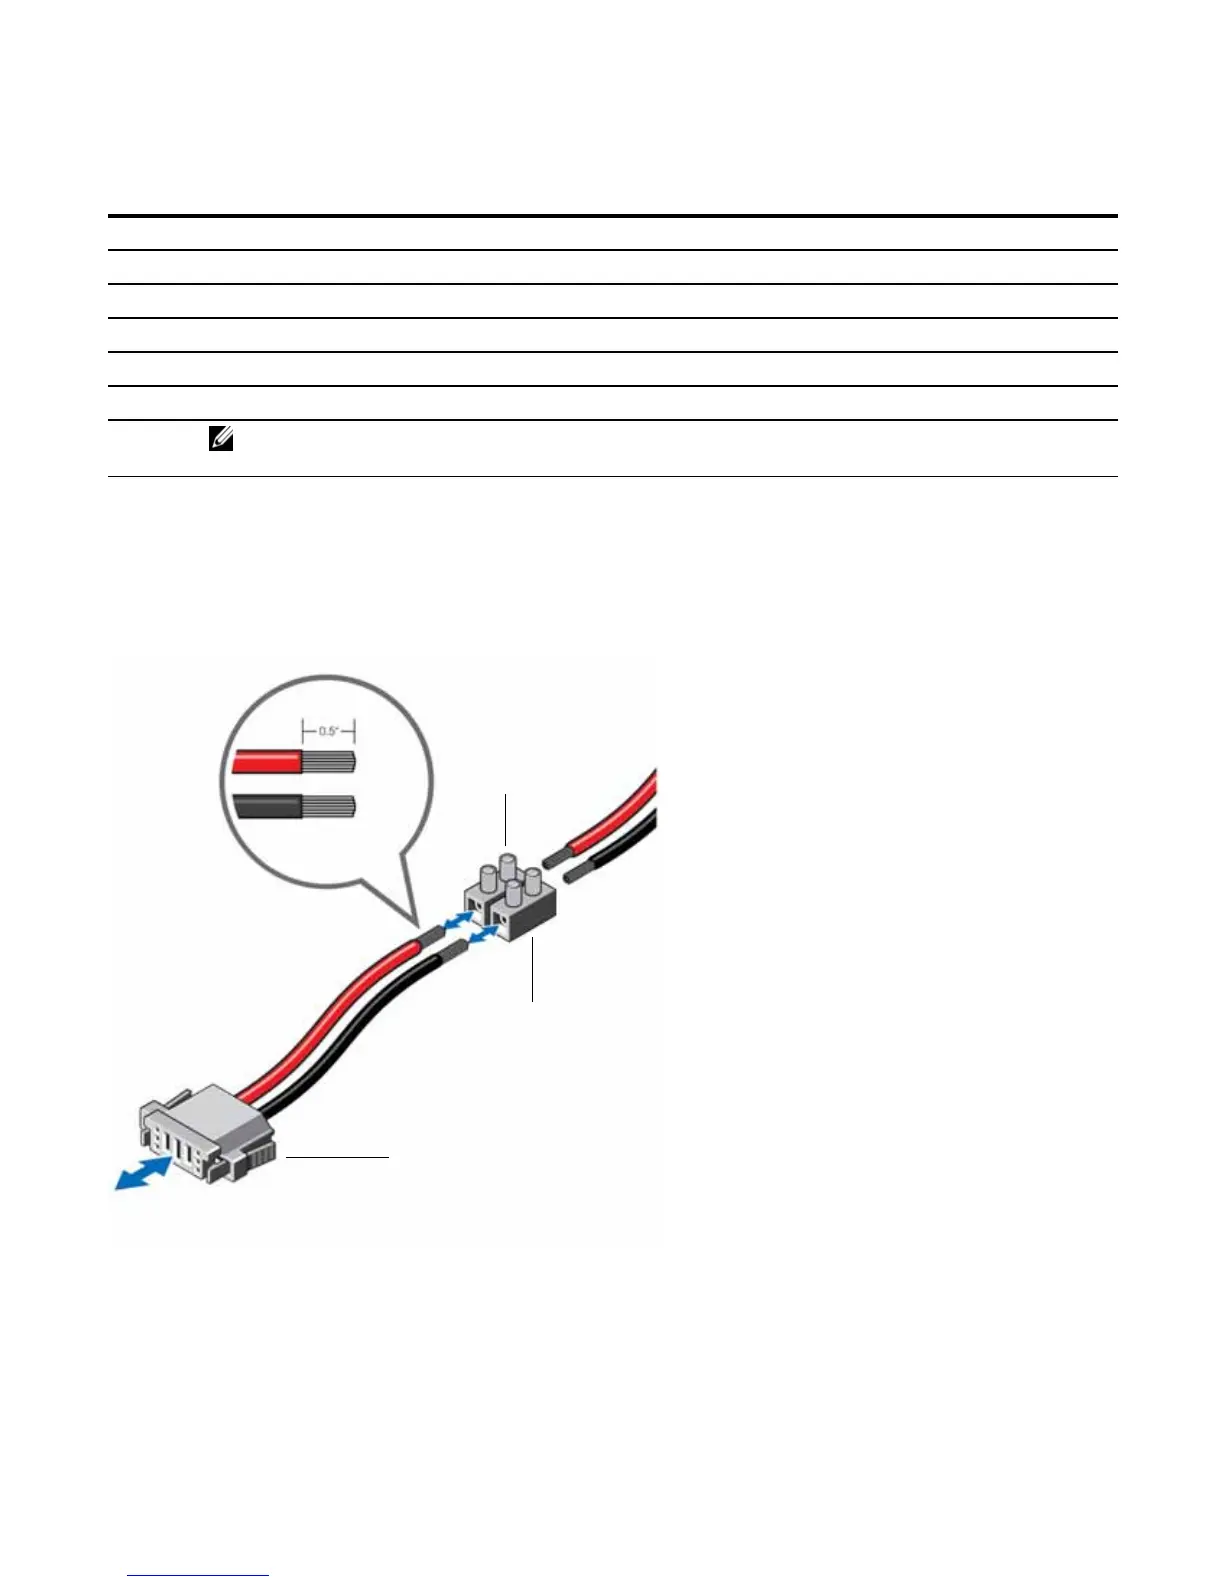
Connecting a DC Power Supply to the Power Source
Each DC powered S4820T comes with a set containing a pre-wired (3-inch 8AWG) power supply
connector and a four-screw wiring block. One set is provided for each DC PSU (See
Figure 5-2
).
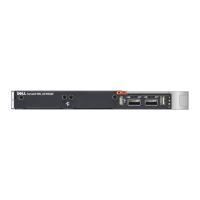
Figure 5-2. DC Power Connector and Wiring Block
Step Task
1 Disconnect the power cable from the PSU.
2 Loosen the securing screws on the PSU with a screwdriver. Ensure that the PSU loose and can be easily removed.
3 Use the grab handle to slide the PSU out of the power supply bay.
4 Use the grab handle on the replacement PSU to slide the PSU into the power supply bay.
5 Tighten the securing screws on the replacement PSU with a screwdriver. Ensure that the PSU is secure.
6 Attach the power cord to the replacement PSU.
WARNING: The S4820T powers up as soon as the cables are connected between the power
supply and the power source.
Wiring Block
Power Connector
Screws