Installing the power button
Prerequisites
If you are replacing a component, remove the existing component before performing the installation process.
About this task
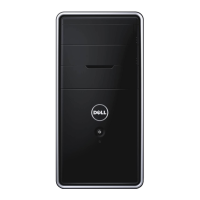
The following image indicates the location of the power button and provides a visual representation of the installation
procedure.
Figure 27. Installing the power button
Steps
1. Slide the power-button cable through the slot on the front of the chassis.
2. Align the tabs on the side of the power button with the cutouts on the slot in the chassis.
3. While pressing the tabs on the power button, insert it through the slot on the chassis and then secure it into place.
4. Connect the power-button cable to the system board.
Next steps
1. Install the hard drive.
2. Install the front cover.
3. Install the left-side cover.
4. Follow the procedure in After working inside your computer.
50
Removing and installing Customer Replaceable Units (CRUs)

 Loading...