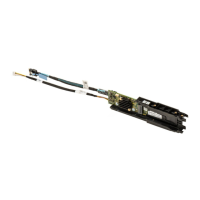
Figure 48. Installing the system battery
1. system battery 2. positive side of the battery connector
Next steps
1. Install the cooling shroud.
2. Complete the tasks listed in the After working inside your system section in this document.
3. While booting, press F2 to open the System Setup page and ensure the battery is operating properly.
4. Enter the correct time and date in the System Setup Time and Date fields.
5. Close the System Setup page.
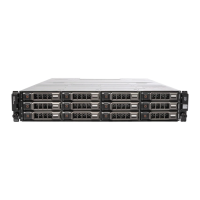
Hard disk drive backplane
The Dell Storage NX3230 system supports 3.5 inch (x12) SAS/SATA backplane, plus 2.5 inch (x2) SAS/SATA
backplane (back).
Removing HDD backplane
Prerequisites
1. Ensure that you read the Safety instructions section in this document.
2. Complete the tasks listed in the Before working inside your system section in this document.
3. Remove the cooling shroud.
4. Remove the cooling-fan assembly.
5. Remove all HDDs.
CAUTION: Many repairs may only be done by a certified service technician. You should only
perform troubleshooting and simple repairs as authorized in your product documentation, or as
directed by the online or telephone service and support team. Damage due to servicing that is
not authorized by Dell is not covered by your warranty. Read and follow the safety instructions
that came with the product.
106
 Loading...