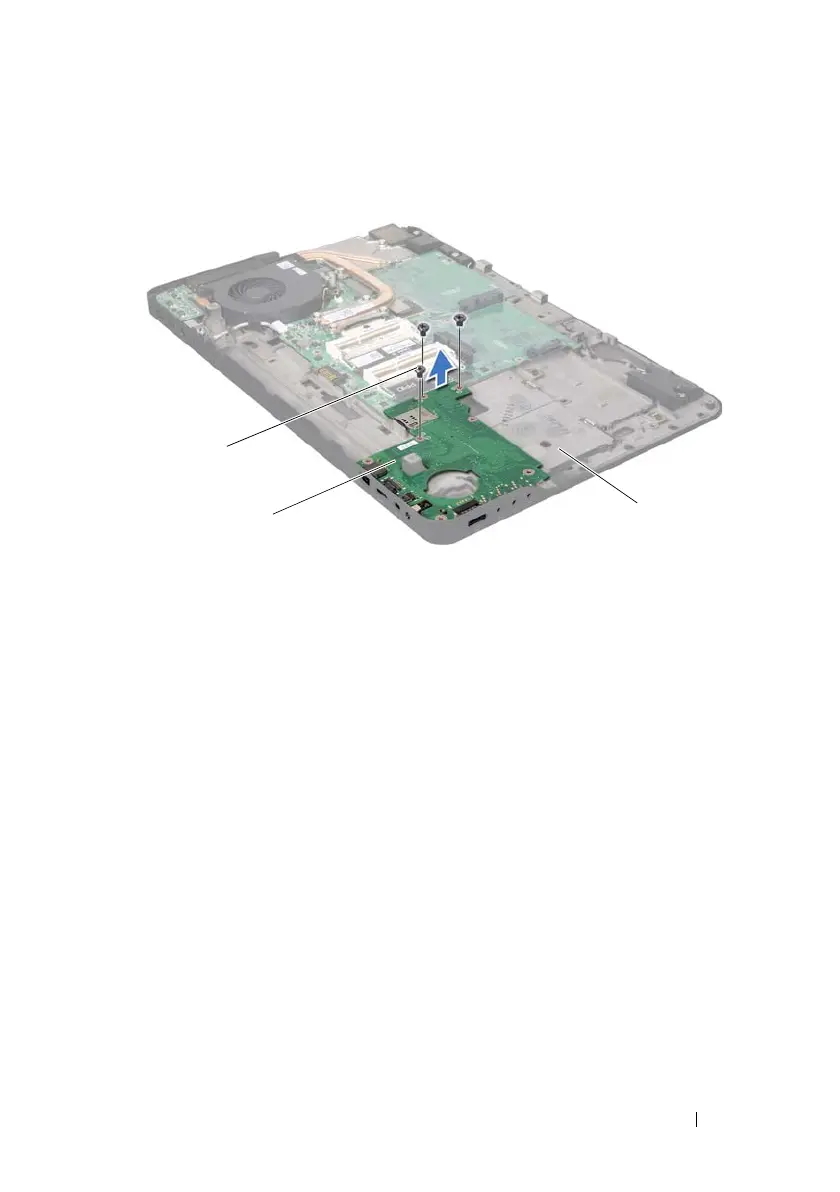
I/O Board 117
Replacing the I/O Board
1
Follow the instructions in "Before You Begin" on page 9.
2
Align the connectors on the I/O board with the slots on the top cover and
place the I/O board on the top cover.
3
Press the I/O board down to connect it to the system-board connector.
4
Replace the three screws that secure the I/O board to the top cover.
5
Connect the speaker cable to the connector on the I/O board.
6
Follow the instructions from step 11 to step 15 in "Replacing the Top
Cover" on page 87.
7
Replace the Mini-Card(s) (see "Replacing the Mini-Card(s)" on page 23).
8
Replace the display assembly (see "Replacing the Display Assembly" on
page 58).
1 screws (3) 2 I/O board
3 top cover
book.book Page 117 Wednesday, April 25, 2012 2:11 PM