108 Installing System Components
Removing a Hard-Drive Blank
CAUTION: To maintain proper system cooling, all empty hard-drive bays must
have drive blanks installed.
1
Turn off the system, including any attached peripherals, and disconnect
the system from its electrical outlet.
2
If installed, remove the front bezel
. See
"Removing the Front Bezel" on
page 87.
3
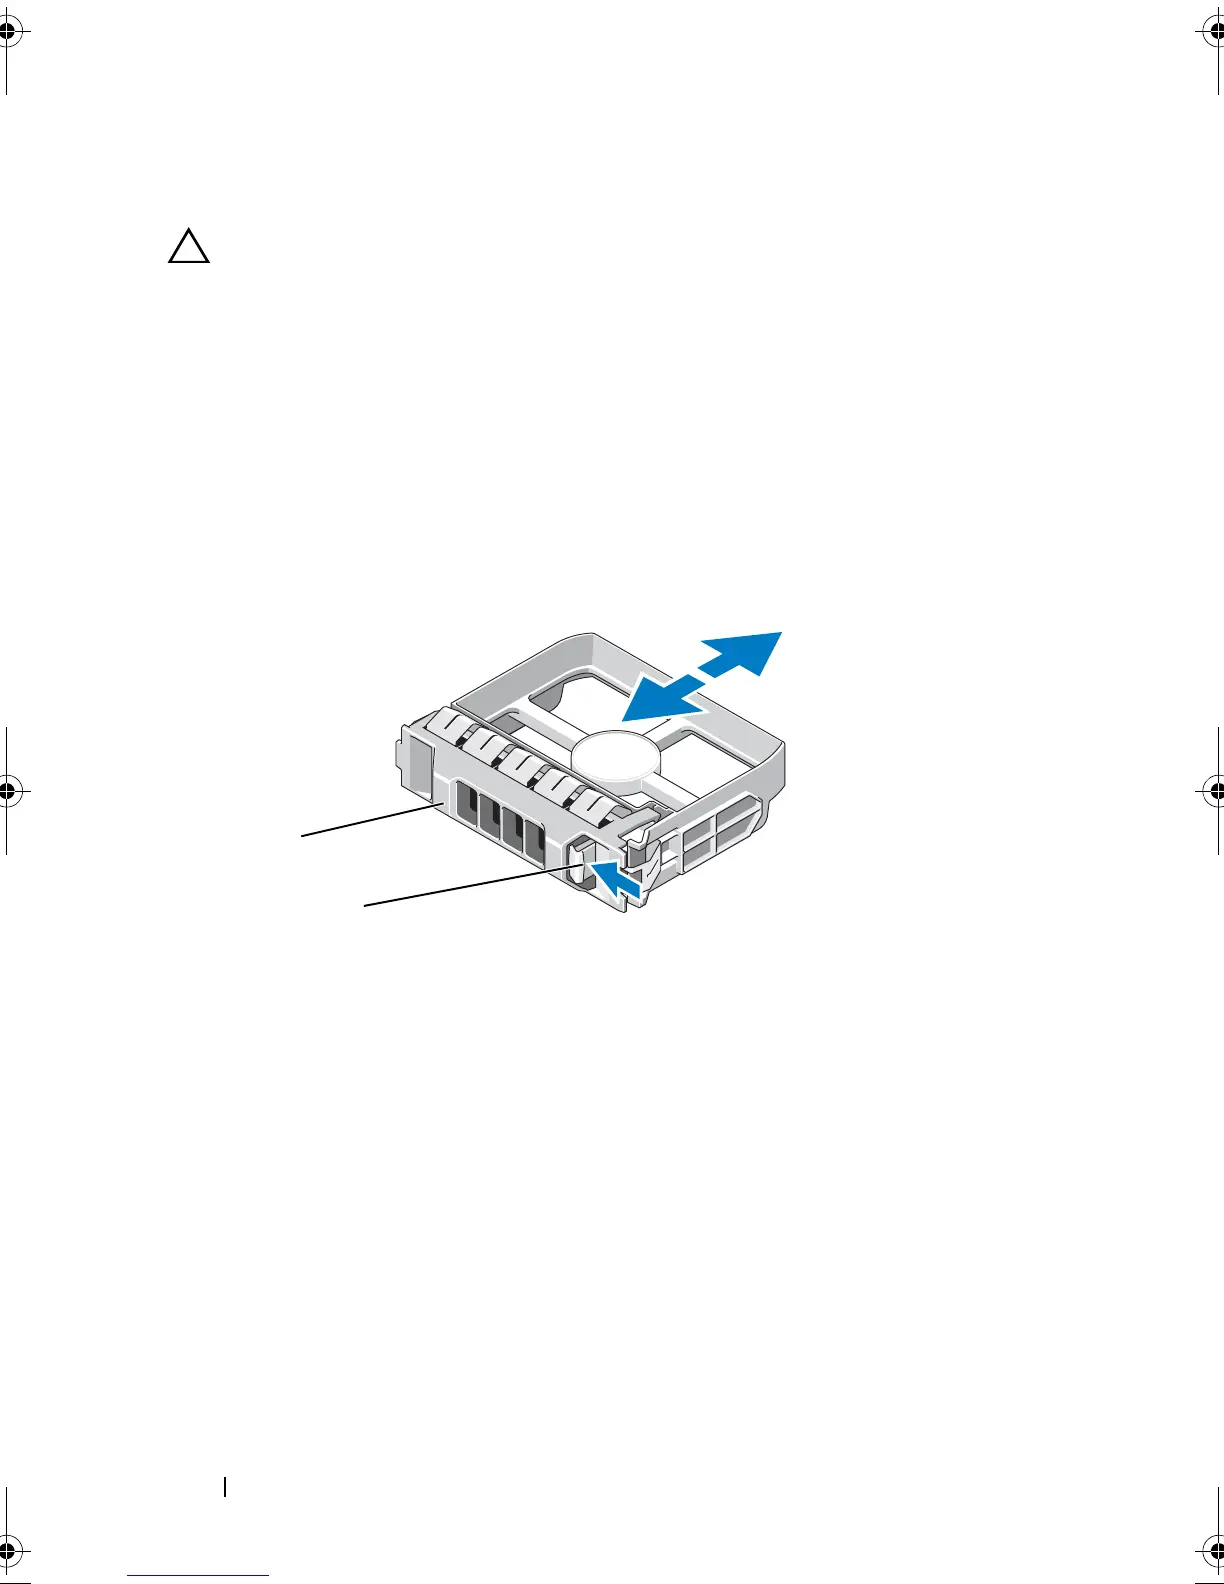
Press the release tab and slide the drive blank out until it is free of the drive
bay. See Figure 3-11.
Figure 3-11. Removing or Installing a Hard-Drive Blank
Installing a Hard-Drive Blank
1
If installed, remove the front bezel
. See
"Removing the Front Bezel" on
page 87.
2
Insert the drive blank into the drive bay until the blue release tab clicks
into place.
3
If applicable, install the front bezel. See "Installing the Front Bezel" on
page 87.
1 hard-drive blank 2 release tab
book.book Page 108 Wednesday, January 20, 2010 10:20 AM