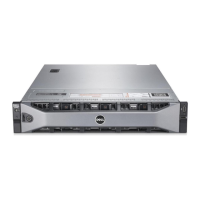
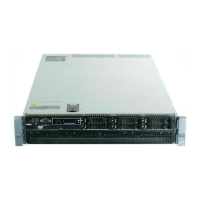
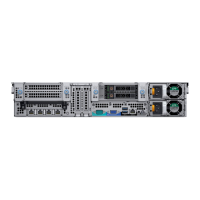
Figure 61. Configuration 9: 24 x 2.5-inch (SAS4/SATA) + 2 x 2.5-inch (SAS/SATA) - Dual controller with fPERC 12
NOTE:
Follow the sequential order as shown in the table to remove the cables, to install the cables follow the reverse
sequential order.
Table 77. 24 x 2.5-inch (SAS4/SATA) + 2 x 2.5-inch (SAS/SATA) - Dual controller with fPERC 12
Order From To
1 CTRL_SRC_SB1_PB1 (fPERC controller connector) BP_DST_SB1 (backplane signal
connector)
2 SL4_CPU1_PA3 (signal connector on system
board)
CTRL_DST_PA1 (fPERC controller
connector)
3 SIG_PWR_2 (system board power connector) BP_PWR_2 (backplane power
connector)
4 SIG_PWR_1 (system board power connector) BP _PWR_1 (backplane power
connector)
5 SL5_CPU1_PB3 (signal connector on system
board)
CTRL_DST_PB1 (fPERC controller
connector)
6 CTRL_SRC_SA1_PA1 (fPERC controller connector) EXP/BP_DST_SA1 (backplane signal
connector)
7 SIG_PWR_0/BATT2 (system board power
connector)
BP _PWR_1 (Rear backplane power
connector)
8 CTRL_SRC_SA1 (Adapter PERC controller
connector)
BP_DST_SA1 and BP_DST_SB1 (Rear
backplane signal connector)
NOTE: An 8 x 2.5-inch NVMe backplane with fPERC H755 should be assembled outside and inserted into the system, along
with all necessary cables.
Installing and removing system components 101

 Loading...


