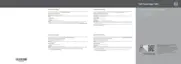
Figure 50. Removing and installing the control panel assembly
1. control panel 2. control panel cable
3. control panel USB cable 4. screw
5. Locate and press the tabs on the information tag.
6. Push the information tag out of the slot to remove it from the control panel.
NOTE: Retain the information tag to replace it in the new control panel.
121

 Loading...