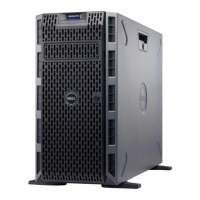
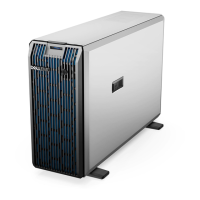
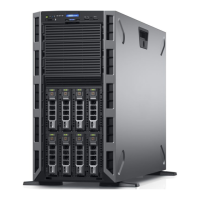
After working inside your system
1. Install the system cover.
2. Place the system upright on its feet on a flat and stable surface.
3. Install the optional bezel.
4. If applicable, install the system into the rack. For more information, see the Rack installation placemat
at Dell.com/poweredgemanuals.
5. Reconnect the system to an electrical outlet and peripherals.
6. Turn on the system and any attached peripherals.
Related Tasks
Installing the system cover
Installing the optional front bezel
Recommended tools
You need the following tools to perform the removal and installation procedures:
• Keys to the bezel lock
• Phillips #2 screwdriver
• Wrist strap
• Plastic scribe
Front bezel (optional)
Installing the optional front bezel
1. Locate and remove the bezel keys.
NOTE: There are two bezel keys attached to the back of the bezel.
2. Insert the bezel tabs into the slots on the chassis.
3. Push the top end of the bezel toward the system until the bezel locks into place.
4. Lock the bezel.
51

 Loading...


