To uninstall the switch, unscrew the four wall mount tray screws and slide the switch from the mushroom head hooks.
DIN buckle rail installation
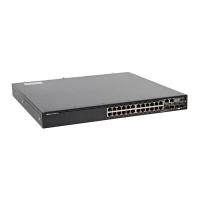
Use the DIN buckle with wall- or ceiling-mount installations. This switch installation procedure applies to the compact N3208PX-
ON switch only.
NOTE: Do not use this installation procedure for the full-width N3200-ON/E3200-ON Series switches.
This installation requires both the DIN rail mount kit and the wall- or ceiling-mount tray and screws. The wall- and ceiling- mount
tray and screws ship with the switch. You must order the DIN rail mount kit separately.
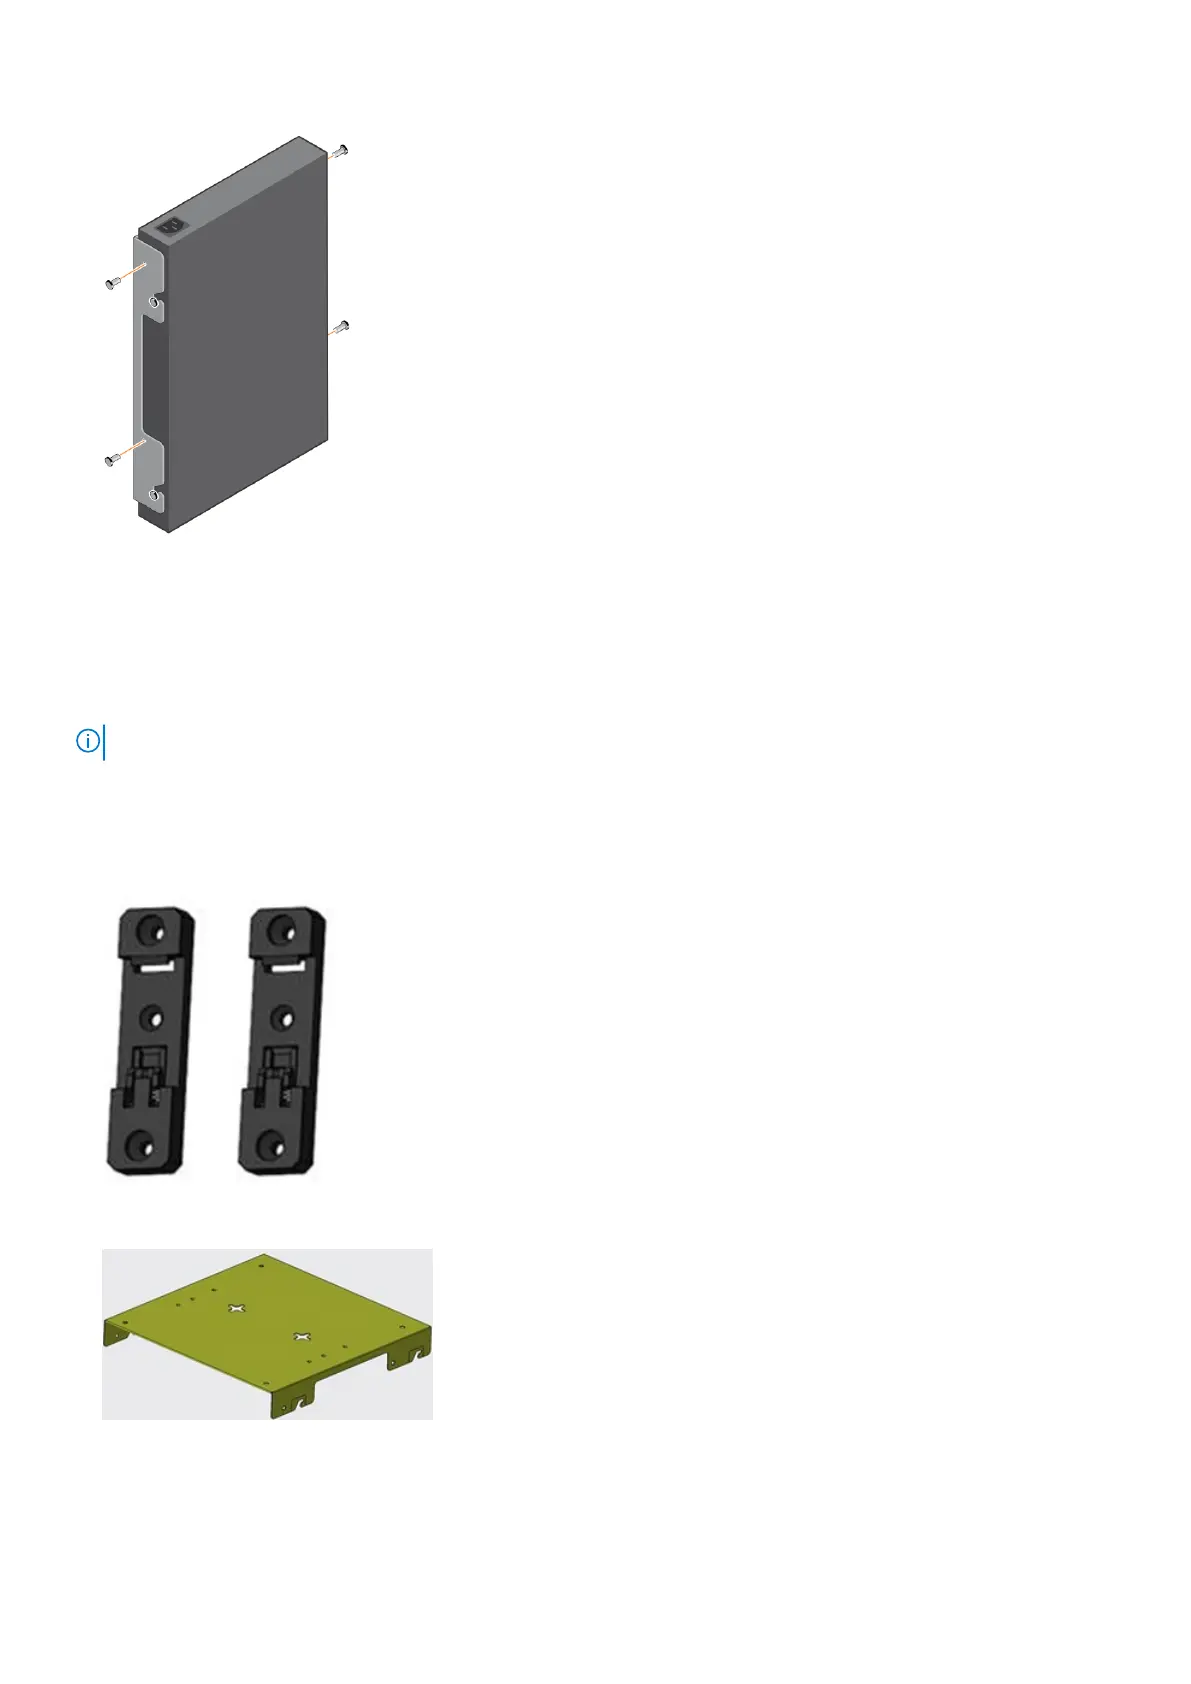
1. Remove the two DIN buckles, wall- or ceiling-mount tray, and screws from the shipping box.
DIN buckles
wall- or ceiling-mount tray
2. Screw the DIN buckles to the bottom of the wall- or ceiling-mount tray using three screws for each DIN buckle.
30
N3200-ON/E3200-ON Series switch installation
 Loading...