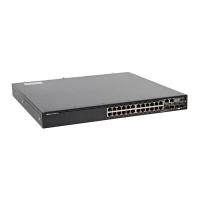
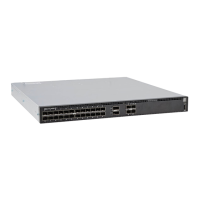
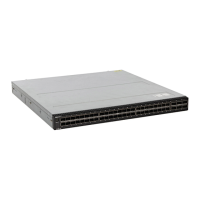
4. Slide the switch into the two-post rack until the mounting bracket ears line up with the rack.
5. Attach the switch to the two-post rack using two #12-24 screws on each side.
To uninstall the switch from the rack, unscrew the four #12-24 rackmount screws and slide the switch from the rack.
Wall- or ceiling-mount switch installation
This installation procedure is for the full-width N3200-ON/E3200-ON Series switches only.
NOTE: Do not use this installation procedure to wall- or ceiling-mount the compact N3208PX-ON switch.
NOTE: For the N3224PX-ON, N3248P-ON/E3248P-ON, and N3248PXE-ON/E3248PXE-ON switches, to install an external
power supply, see the External Power Supply (EPS) Installation for the Dell PowerSwitch N2200-ON and N3200-ON/
E3200-ON Series Switches at www.dell.com/support.
NOTE: Do not wall mount the switch with the I/O ports facing up or down.
You must order the mounting supplies for this installation separately. You need a drill and a pencil to complete the installation.
1. Remove the four wall- or ceiling-mount brackets, wall anchors, and screws.
2. Screw two brackets to the left side of the switch using two screws for each bracket.
Torque the screws to 10 in-lbs.
3. Repeat to attach two brackets to the right side of the switch.
34
N3200-ON/E3200-ON Series switch installation
 Loading...
