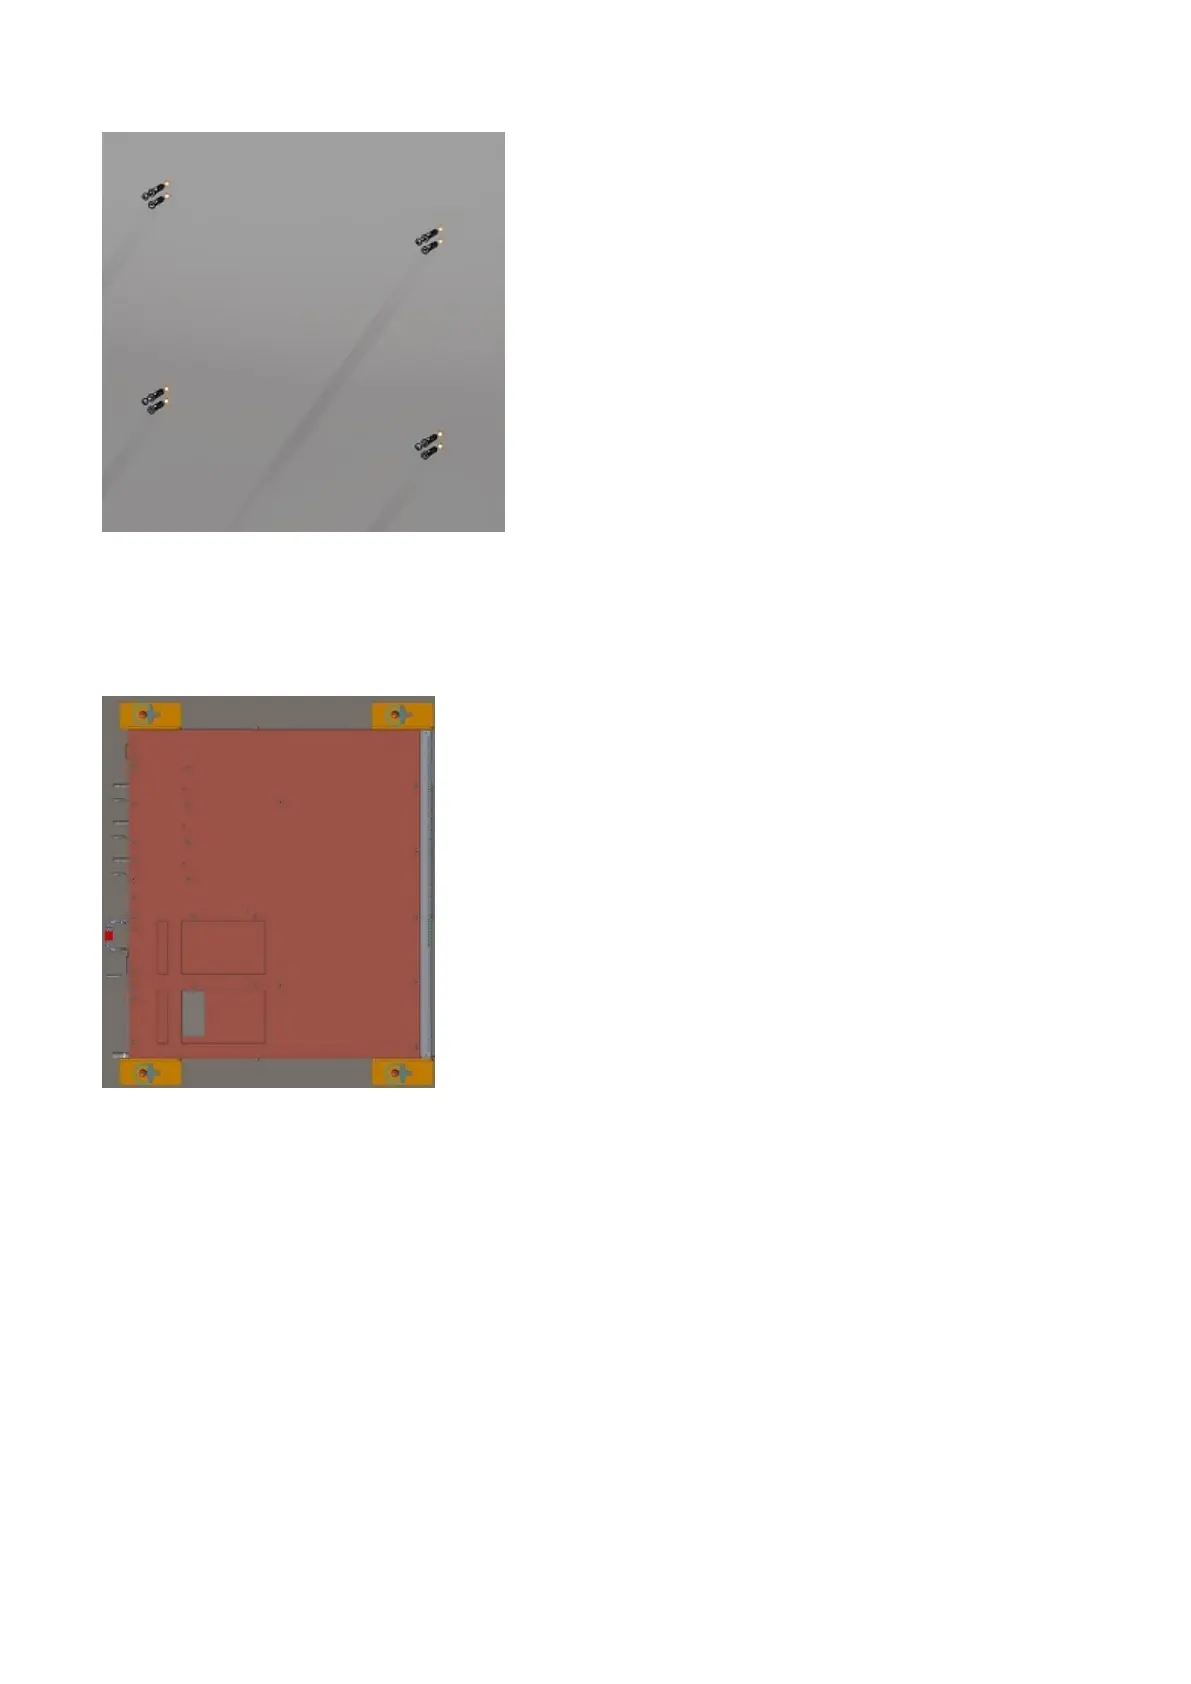
7. Screw one M5 screw on each corner, four screws total, into the anchors, leaving approximately 5 mm (0.20 in) gap between
the anchor and the screw.
8. Slide the switch onto the screws and tighten the screws to secure the switch in place.
Torque the screws to 24 in-lbs.
Wall mount
9. Screw the remaining four M5 screws into the anchors and tighten the screws.
Torque the screws to 24 in-lbs.
Wall mount
36
N3200-ON/E3200-ON Series switch installation
 Loading...