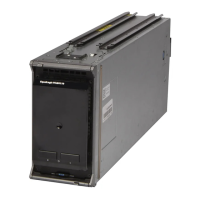
Installation and Setup Installing a PS4000 Array
2–12
Step 3: Turn on Power to the Array
Before turning on power, allow sufficient time for the array to adjust to ambient
temperature (for example, overnight).
The power switch is located below the power plug on each power supply and
cooling module.
Note: Batteries will start to charge and some hardware components will start to
synchronize when power is turned on. Array LEDs may indicate this on-
going activity, which is normal array behavior.
Step 4: Set Up a Serial Connection to the Array
If you plan to use the setup utility to configure the software, you must set up a
serial connection
1
. If you plan to use the Remote Setup Wizard, you do not need a
serial connection. See Step 1: Choose a Configuration Method on page 3-1 for
information about Remote Setup Wizard requirements.
Attach the cable to the serial port on the active control module (ACT LED will be
green) and to a console terminal or a computer running a terminal emulator. See
Figure 2-8 (not to scale).
1.The serial cable shipped with the array is a standard null-modem cable
with a female DB9 connector on each end. You might have to make or buy
an adapter cable (one DB9 connector and one RJ45 connector) to connect
the array to some terminal server models. See Serial Cable Pinout Infor-
mation
on page 2-14 for more information.