10 11
UNPACKING
ASSEMBLY
• Do not lift saw without help. Hold it close to your
body while lifting. Keep knees bent and lift with you
legs, not your back.
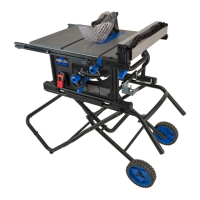
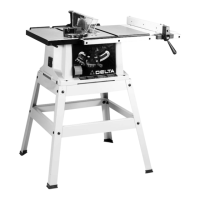
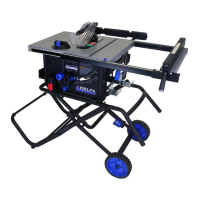
• Fully assemble saw with stand prior to use.
• Stand assembly is an integral and necessary part of
the support structure for this saw.
• Do not modify saw, or create accessories not
recommended for use with this saw.
• Make sure power switch is in “OFF” position before
connecting to power supply. Do not connect ti power
supply until assembly is complete.
• Avoid contact with blade teeth. Keep blade stored or
lowered when possible.
To measure fastener length, refer to page 7 of Parts List.
aa. M6 x 30 Hex Bolt (4)
bb. M8 x 67 Carriage Screw (4)
cc. Plastic Spacer (8)
dd. M8 Locknut (12)
ee. M8 x 75 Carriage Screw (4)
ff. M8 x 35 Carriage Screw (2)
gg. M8 x 30 Carriage Screw (2)
hh. 5mm Allen Wrench (1)
ii. M6 x 20 Button Head Hex Socket Screw (2)
jj. Wheel Handle Shoulder Screw (1)
kk. Height Adjustment Wheel Knob
ll. M8 x 55 Button Head Socket Screw (4)
mm. Fence Handle
CONTENTS OF HARDWARE BAGS
kk
ll
mm
jj
ii
hh
gg
ff
ee
aa
bb
cc
dd
 Loading...