F800 Erect, assemble and connect
PR-2013-0105-GB • Subject to modifications • R2-04/2016 23
4.1.7 Assemble back cover of the unit (optional)
For installation of the F800 with examinable back panel, e.g. in
front of windows, the unit rear wall can be mounted painted in
the color shade of the casing (accessory).
For assembly, proceed as follows:
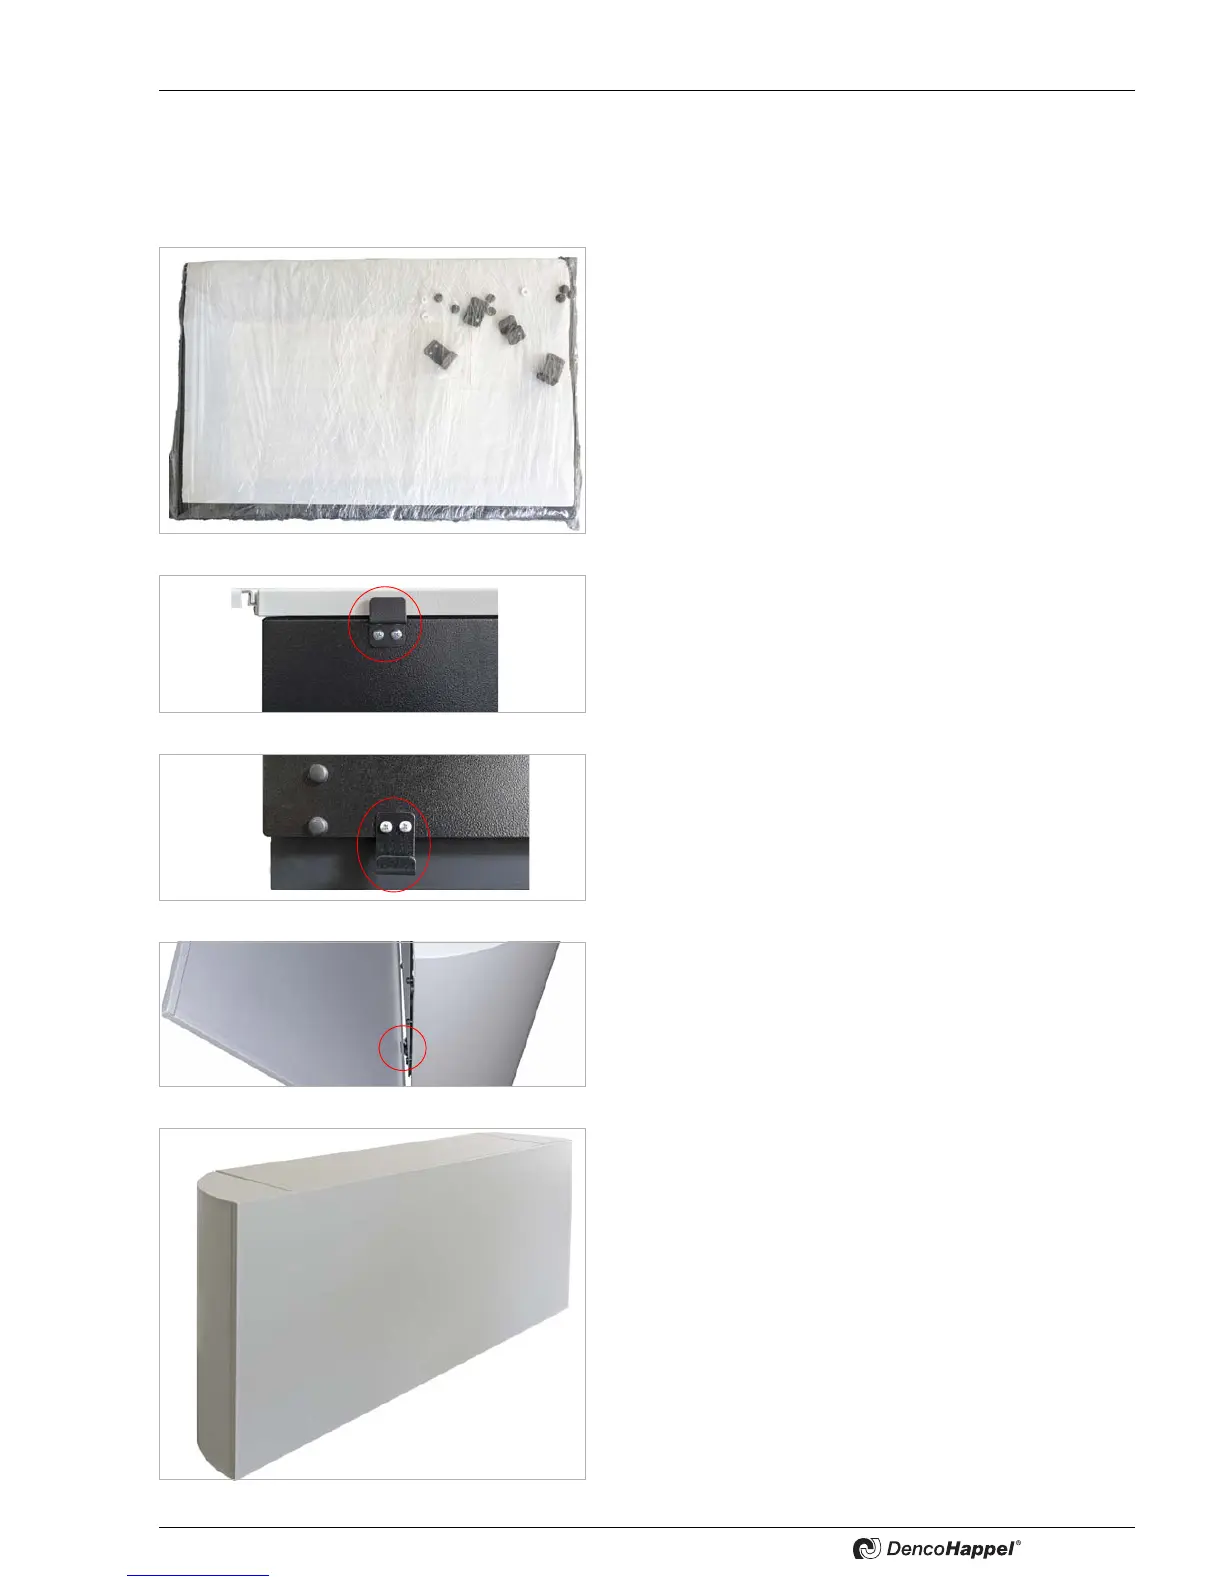
• Unpack rear-wall insulation and assembling materials.
• Insert/squeeze rear wall insulation into the rear wall.
Fig. 4-23
• Attach respective rear-wall mountings above on the unit rear
(see figure).
Fig. 4-24
• Attach respective rear-wall mountings on the unit rear below
(see figure).
Fig. 4-25
• Insert metal cut-outs of the rear panel into the supports.
Fig. 4-26: Representation without insulation
• Close the rear panel completely.
Fig. 4-27
 Loading...