27
Before use Connections
Basic
operations
Installing and setting up
supplied software
USB settings
Troubleshooting Index
Specifications
Signal system chart
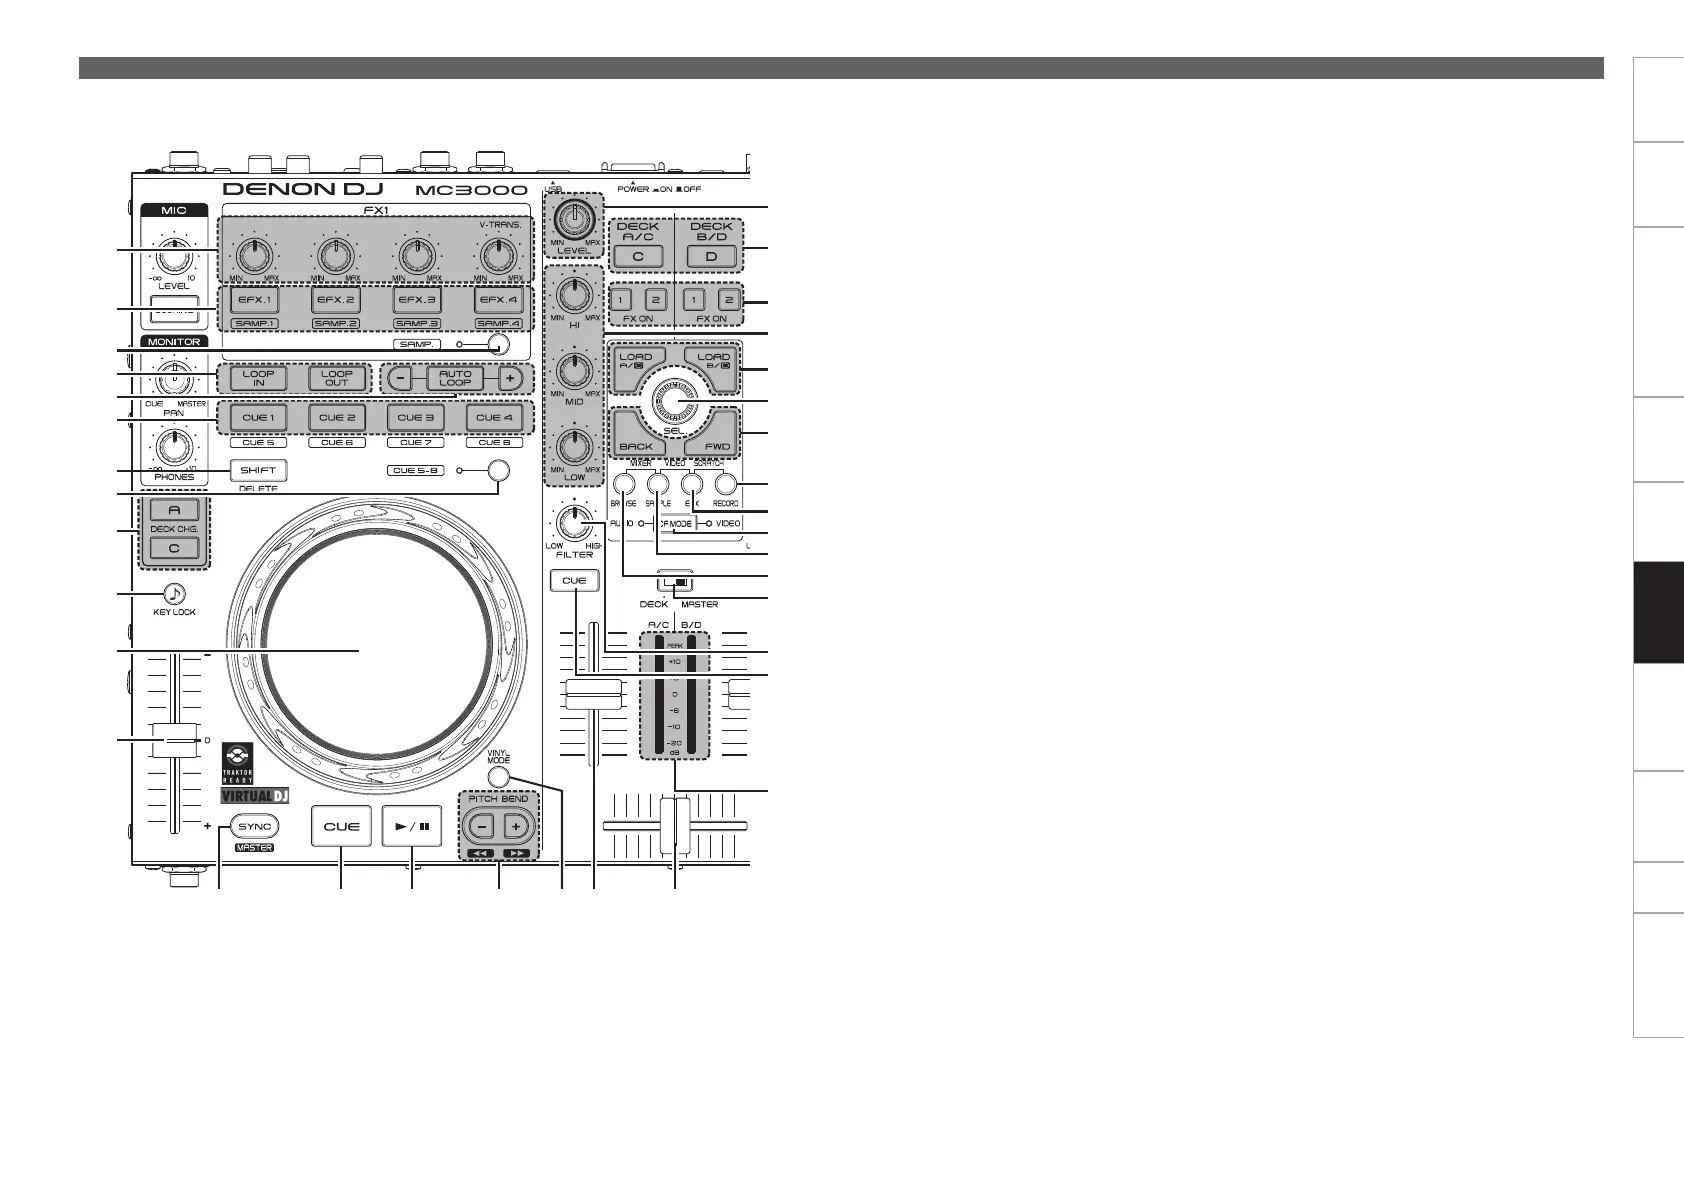
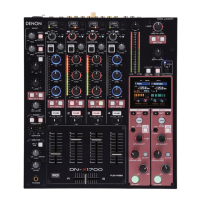
Part names and
functions
W5 Track selection knob (SEL.)
Turn the knob or press to select a file. Functions
differ depending on the window.
Turn the track selection knob:
BROWSER:Scrollsthele/folderlist.
SAMPLER: Selects the sample slot.
EFFECTS: Selects the effect.
RECORD: Not available.
•Hold down e SAMP and turn this knob to
select the sample.
Press the track selection knob:
BROWSER:
File/search results panel:
Adds songs to the play list.
•Hold down u SHIFT and press this button
to add a track to the side list.
(This function is enabled when Virtual DJ
PRO (sold separately) is used. )
File system/
folder structure panel: Selects the folders.
•Hold down u SHIFT and turn this knob to
open or close the directory folder within the
browser tree when there are subfolders.
SAMPLER: Plays back the samples.
•Hold down u SHIFT and turn this knob to
play back the sample again from the start
when the sample is being played back
(stutter function).
EFFECTS:SwitchestheeffectON/OFF.
RECORD: Starts or stops recording.
•Hold down u SHIFT and press this button to
start or stop recording the next track.
W6 Window switch button (BACK/FWD)
The function differs according to the window.
BROWSER: Moves between folders, tracks,
playback lists and side lists.
InVirtualDJLE,thisonlymovesbetween
folders and tracks.
SAMPLER: Selects the sample.
EFFECTS: Moves between sound effects, video
effects and video transitions.
RECORD: Not available.
W7 RECORD window switch button
(RECORD)
Hold down u SHIFT and press this button for
more than 1 second to assign each DECK to the
following MIDI channels.
•DECK A ............MIDI CHANNEL 13
•DECK B ............MIDI CHANNEL 15
•DECK C ............MIDI CHANNEL 14
•DECK D ............MIDI CHANNEL 16
W8 EFX window switch button (EFX)
Hold down u SHIFT and press this button for
more than 1 second to assign each DECK to the
following MIDI channels.
•DECK A ............MIDI CHANNEL 9
•DECK B ............MIDI CHANNEL 11
•DECK C ............MIDI CHANNEL 10
•DECK D ............MIDI CHANNEL 12
W9 CF MODE button
The following operations differ depending on
whether the button is ON or OFF.
AUDIO ON: Uses the cross fader for audio.
VIDEO ON: Uses the cross fader for video.
•When both are lit, they can be used
simultaneously.
Q3 Q6 Q9Q4 Q5 Q7
E5
E1
E4
E2
W9
E3
E0
Q8
W7
W5
W6
W4
W0
W1
W2
W3
W8
q
w
r
t
i
o
Q0
Q2
Q1
y
u
e
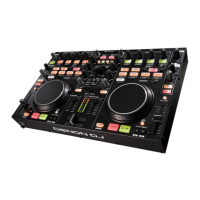
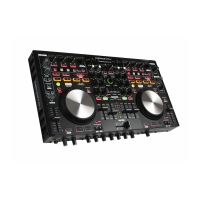
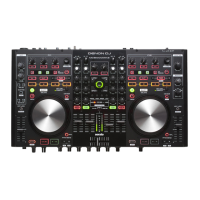
Top panel