©2021 ITW EAE. All rights reserved. Despatch is a registered trademark in the U.S. and other
countries. No part of the contents of this manual may be reproduced, copied or transmitted in any form
or by any means without the written permission from ITW EAE - Despatch, unless for purchaser's
personal use.
b. Tilt the carton on one corner. Handle the carton at opposing corners.
c. Remove sealing tape and fold back flaps of carton.
d. Gently upend the filter to place the exposed end of the filter on the
floor. Do not jar the filter.
e. Pull the carton from the filter unit. Be careful to not pull the filter from
the carton.
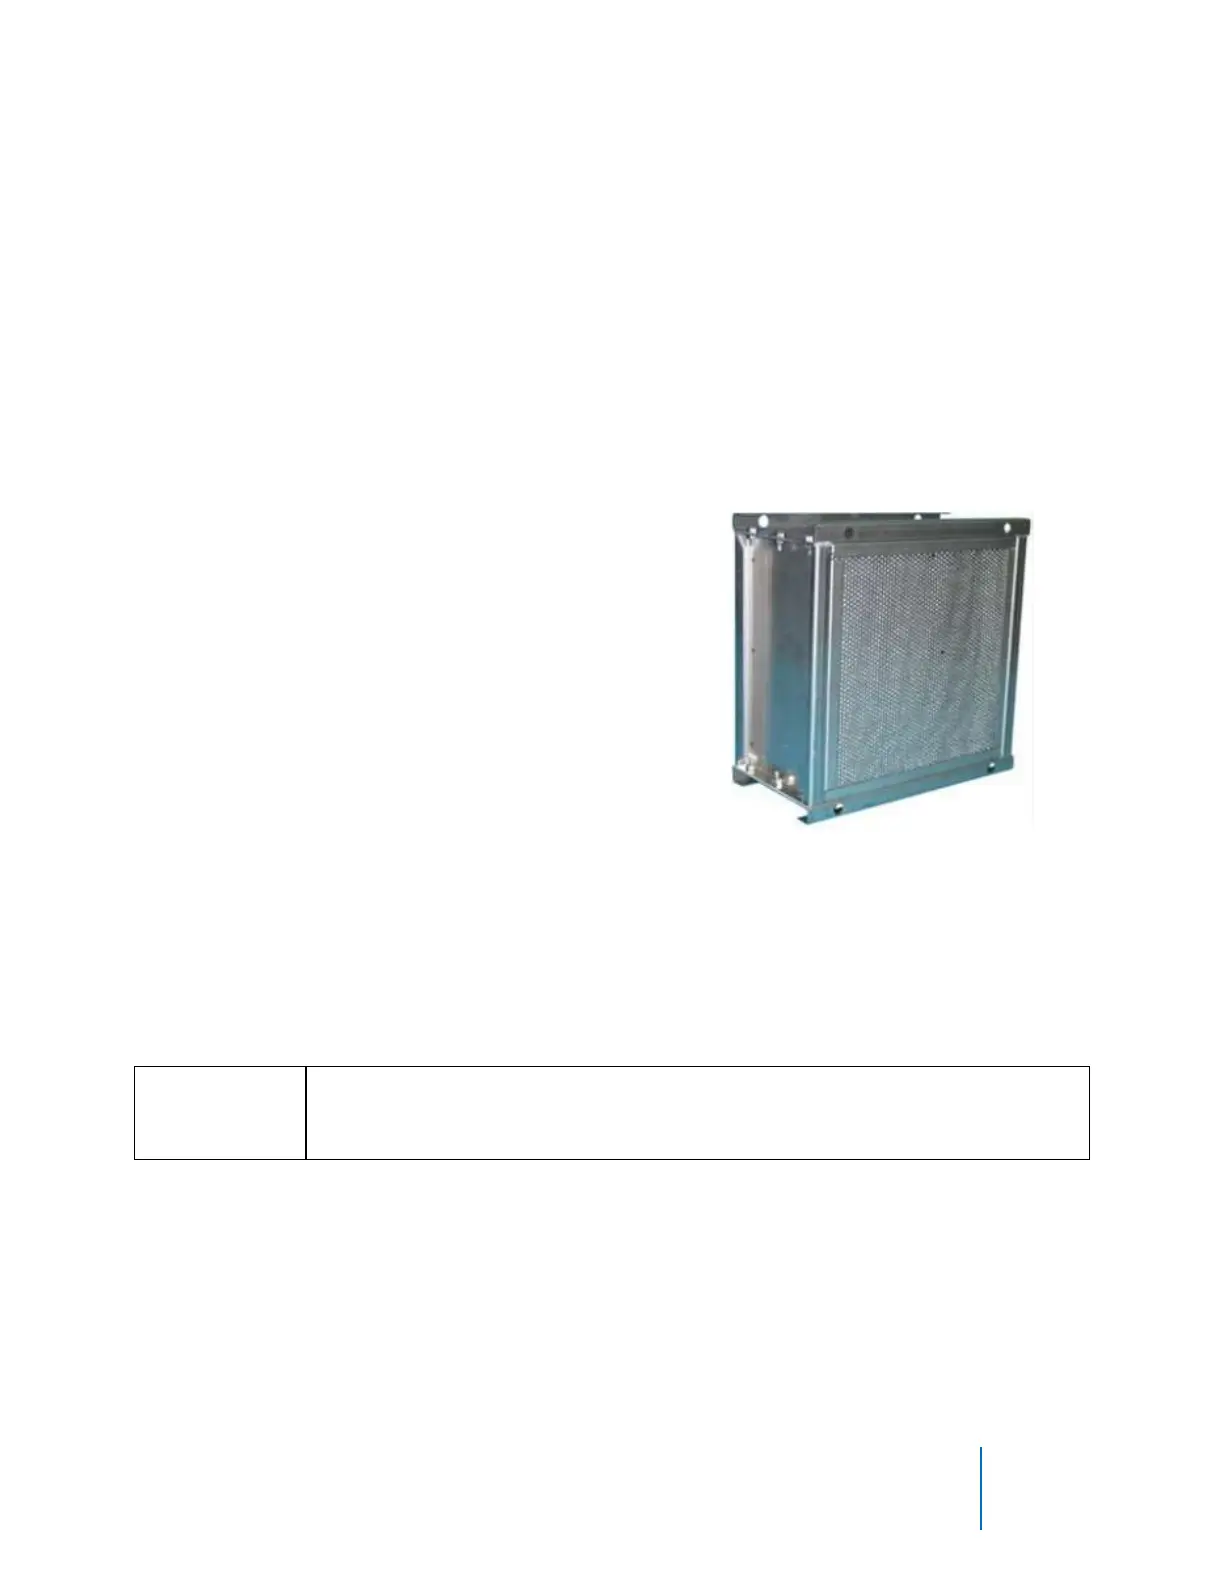
2. Inspect the filter.
a. Visually inspect the new gasket (s) for damage during handling.
b. Use a strong lamp to examine the exposed areas of both faces for
evidence of breaks, cracks, or pinholes (Figure 15). If a strong lamp is
unavailable, use a flashlight in a darkened room.
c. Look for visible defects with the light
projected along the full length of
each channel created by the
separators. Translucent spots may
not necessarily indicate holes or
cracks but may simply be variations
in thickness of the filter medium.
d. Check that the adhesive seal around
the filter unit faces are complete
and unbroken.
e. Check frame corner joints for adhesive
sealing and tightness.
f. Check that gaskets are cemented firmly to the filter frame and that
gasket pieces are undamaged and butted or mated at the joints.