Model TP-700
TP-700 Instruction Manual Rev. 4.1 Page 31 of 42
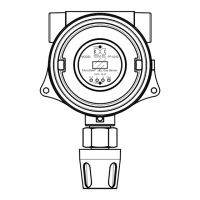
g) Feed the sensor assembly wires through the ¾” female NPT mounting hole and thread the assembly into the
J-box until tight and the ITM lens faces toward the front access point. Connect the sensor assembly wires inside
J-Box (Refer to Section 2.6, and Figure 10).
h) Perform Set Range, Set Serial ID, Set Heater Power, Set AutoSpan Level and perform a successful AutoSpan
before placing sensor assembly into operation.
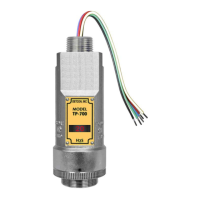
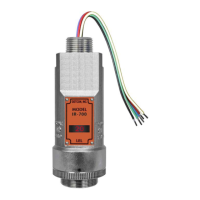
5.6 Replacement of TP-700 Sensor Assembly
Caution: Hazardous areas must be declassified before removing the junction box cover
or replacing the sensor assembly
a) Remove the power source from the sensor assembly. Disconnect all sensor wire connections at the J-Box .
b) Use a wrench and loosen the locking nut at the top of the ITM and unthread the ITM from the junction box.
c) Use a M1.5 Allen wrench to release the locking setscrew that locks the ITM and bottom housing together
(One turn will suffice - Do not remove setscrew completely).
d) Remove splashguard. Unthread and remove the Bottom Housing from the ITM.
e) Feed the new TP-700 sensor assembly wires through the ¾” female NPT mounting hole and thread the
assembly into the J-box until tight and the ITM lens faces toward the front access point. Connect the sensor
assembly wires inside J-Box (Refer to Section 2.6, and Figure 10).
f) TP-700 sensors are factory calibrated, however, they require an initial AutoSpan calibration (section 3.4), and
must be configured per customer specific application requirements.
5.7 Replacement of the Bottom Housing
NOTE: If the porous Flame Arrestor becomes blocked, corroded, or compromised the Bottom
Housing must be replaced because the Flame Arrestor is bonded to the housing.
a) Remove the splashguard.
b) Use a M1.5 Allen wrench to release the locking setscrew that holds the ITM and bottom housing together
(One turn will suffice - Do not remove the setscrew completely). Grab the knurled section of the bottom housing
and unthread until removed.
c) Thread up the bottom housing until snug, reconnect the splashguard, and tighten the locking setscrew.
d) Re-install the splashguard.
e) It is advised to perform an AutoSpan Calibration after replacing the Bottom Housing (section 3.4 Calibration
Mode (AutoSpan)).