Digi 002 & Digi 002 Rack Getting Started Guide92
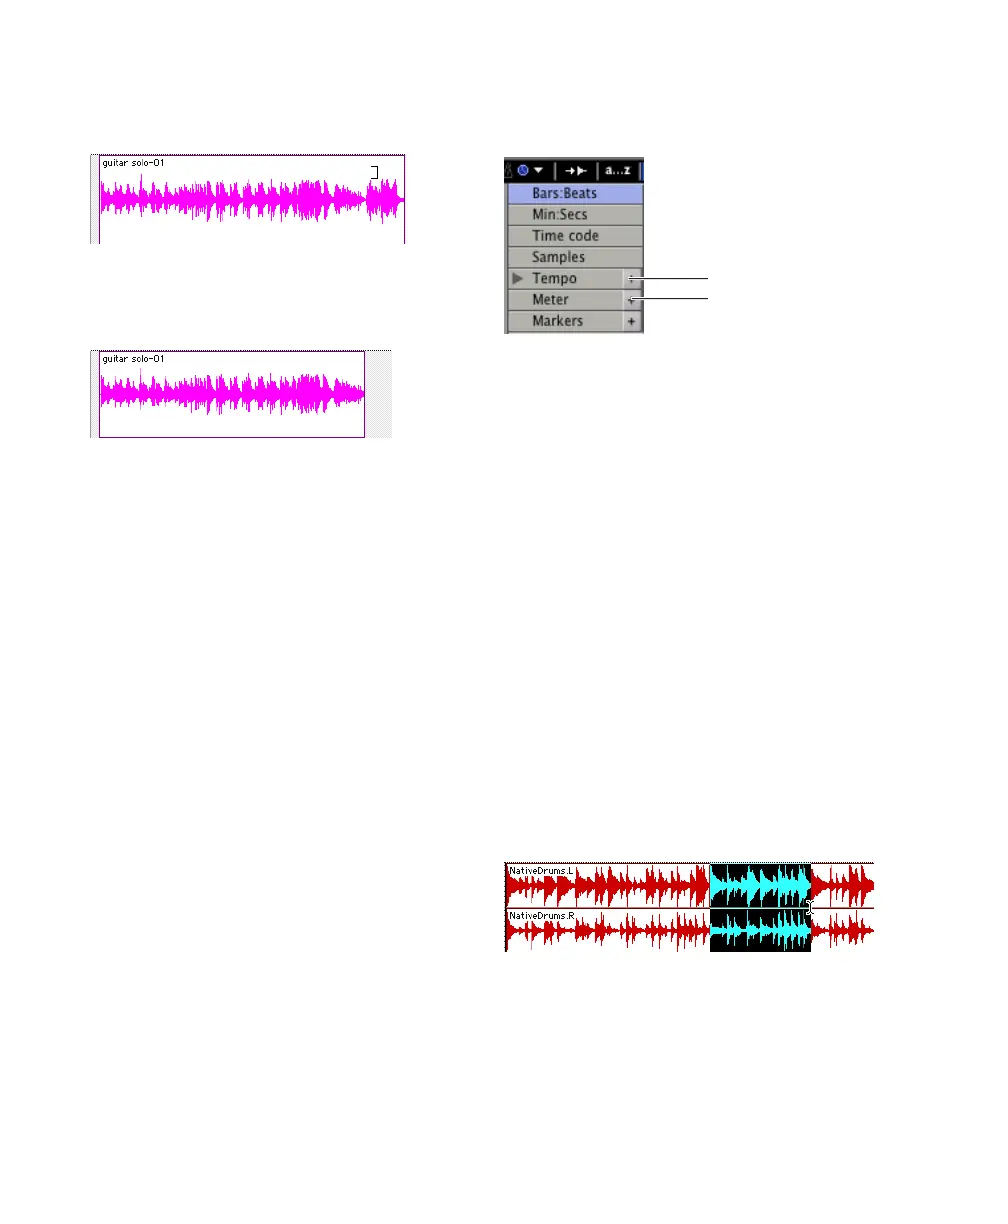
5 Move the cursor near the end of the audio re-
gion (notice the cursor displays as a “]”).
6 Click at the end of the region and drag left to
shorten the region.
You can also extend a region using the Trimmer
tool if there is audio data beyond the current
boundaries of the region. To extend the region’s
beginning, drag to the left; to extend the re-
gion’s end, drag to the right.
Arranging Regions
There are many ways to edit and arrange re-
gions; the following example demonstrates how
you might create and arrange a drum loop to
compose a rhythm track.
To create and arrange a rhythm sequence:
1 Open or create a session in Pro Tools LE.
2 Set the session meter and tempo by doing the
following in the Edit window:
• Click the Ruler View selector and select
both Tempo and Meter.
• Click the Add Tempo Change button and
specify the tempo.
• Click the Add Meter Change button and
specify the meter.
3 Click the Grid mode button to put Pro Tools
in Grid mode.
4 Prepare to record using a click (see “Using the
Click Plug-In” on page 71 or “Using an External
MIDI Click” on page 72).
5 Record a drum track (see “Recording an Audio
Track” on page 84) keeping in mind that you
want to use only the best bar (measure). Your re-
cording should fit the grid at the specified
tempo and meter.
– or –
Import an existing audio file, such as a drum
loop from a sample library, and place it on an
audio track (see “Importing Audio” on page 81).
6 Click the Selector tool, and drag on the wave-
form to make a one-bar selection. Note that the
selection snaps to the specified grid.
7 Choose Track > New and create a new Stereo
Audio track.
8 Click the Grabber tool and select the Separa-
tion Grabber tool.
Trimming the end of a region
The trimmed region
Add Tempo Change and Add Meter Change buttons
Making a selection in Grid mode
Add Tempo Change
Add Meter Change
 Loading...