EasyManuals Logo

Digital Projection E-Vision Laser 8500 Series Installation And Quick Start Guide

Digital Projection E-Vision Laser 8500 Series
126 pages
To Next Page IconTo Next Page
To Previous Page IconTo Previous Page
Page #12 background imageLoading...
Page #12 background image
page 4
Digital Projection E-Vision Laser 7500, 8500 & 10K Series
Installation and Quick-Start Guide
CONNECTING THE POWER SUPPLY
Rev D August 2017
Connecting The Power Supply
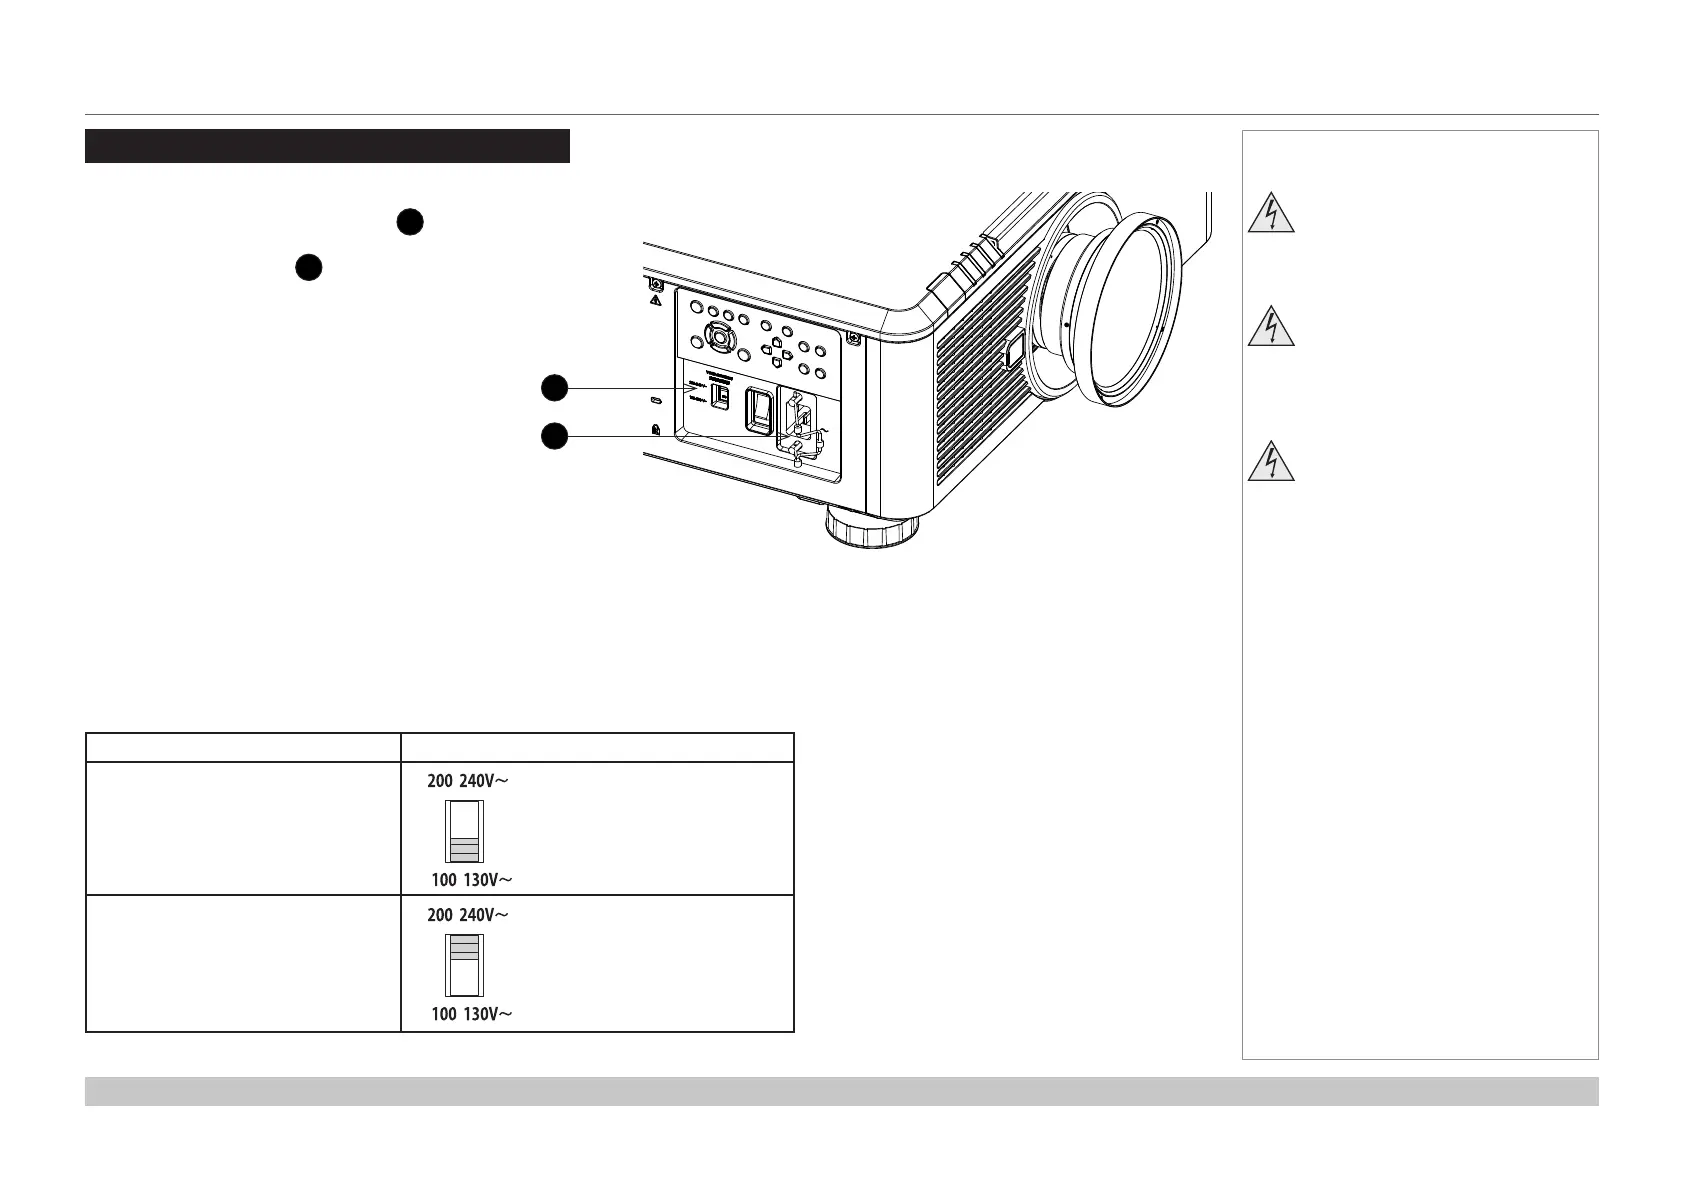
Adjust the VOLTAGE SELECT switch
1
to
the required voltage, then rmly push the mains
connector into the socket
2
.
Voltage selection
The VOLTAGE SELECT switch must be set to match the power supply you are using:
Voltage of power supply used Position of VOLTAGE SELECT switch
AC100-139V outlet
AC200-240V (single phase) outlet
Notes
Use only the power cable
provided.
Ensure that the power outlet
includes a ground connection as
this equipment MUST be earthed.
Handle the power cable carefully
and avoid sharp bends. Do not
use a damaged power cable.
1
2

Table of Contents

Other manuals for Digital Projection E-Vision Laser 8500 Series

Questions and Answers:

Question and Answer IconNeed help?

Do you have a question about the Digital Projection E-Vision Laser 8500 Series and is the answer not in the manual?

Digital Projection E-Vision Laser 8500 Series Specifications

General IconGeneral
BrandDigital Projection
ModelE-Vision Laser 8500 Series
CategoryProjector
LanguageEnglish

Related product manuals