page 49
Digital Projection E-Vision Laser 7500, 8500 & 10K Series
Operating Guide
USING THE PROJECTOR
Rev D August 2017
Geometry menu continued from previous page
Blanking
Use this feature to:
• t an odd-sized screen;
• cut off timecode dots in the top line of a picture;
• cut off subtitles, etc.
Select the edge you wish to blank and use the LEFT and RIGHT arrow buttons to
determine the amount of correction.
Use the Reset command to restore blanked edges.
Notes
Some settings may be unavailable
depending on other settings. For
more information, see Possible
Combinations Of Settings further
in this guide.
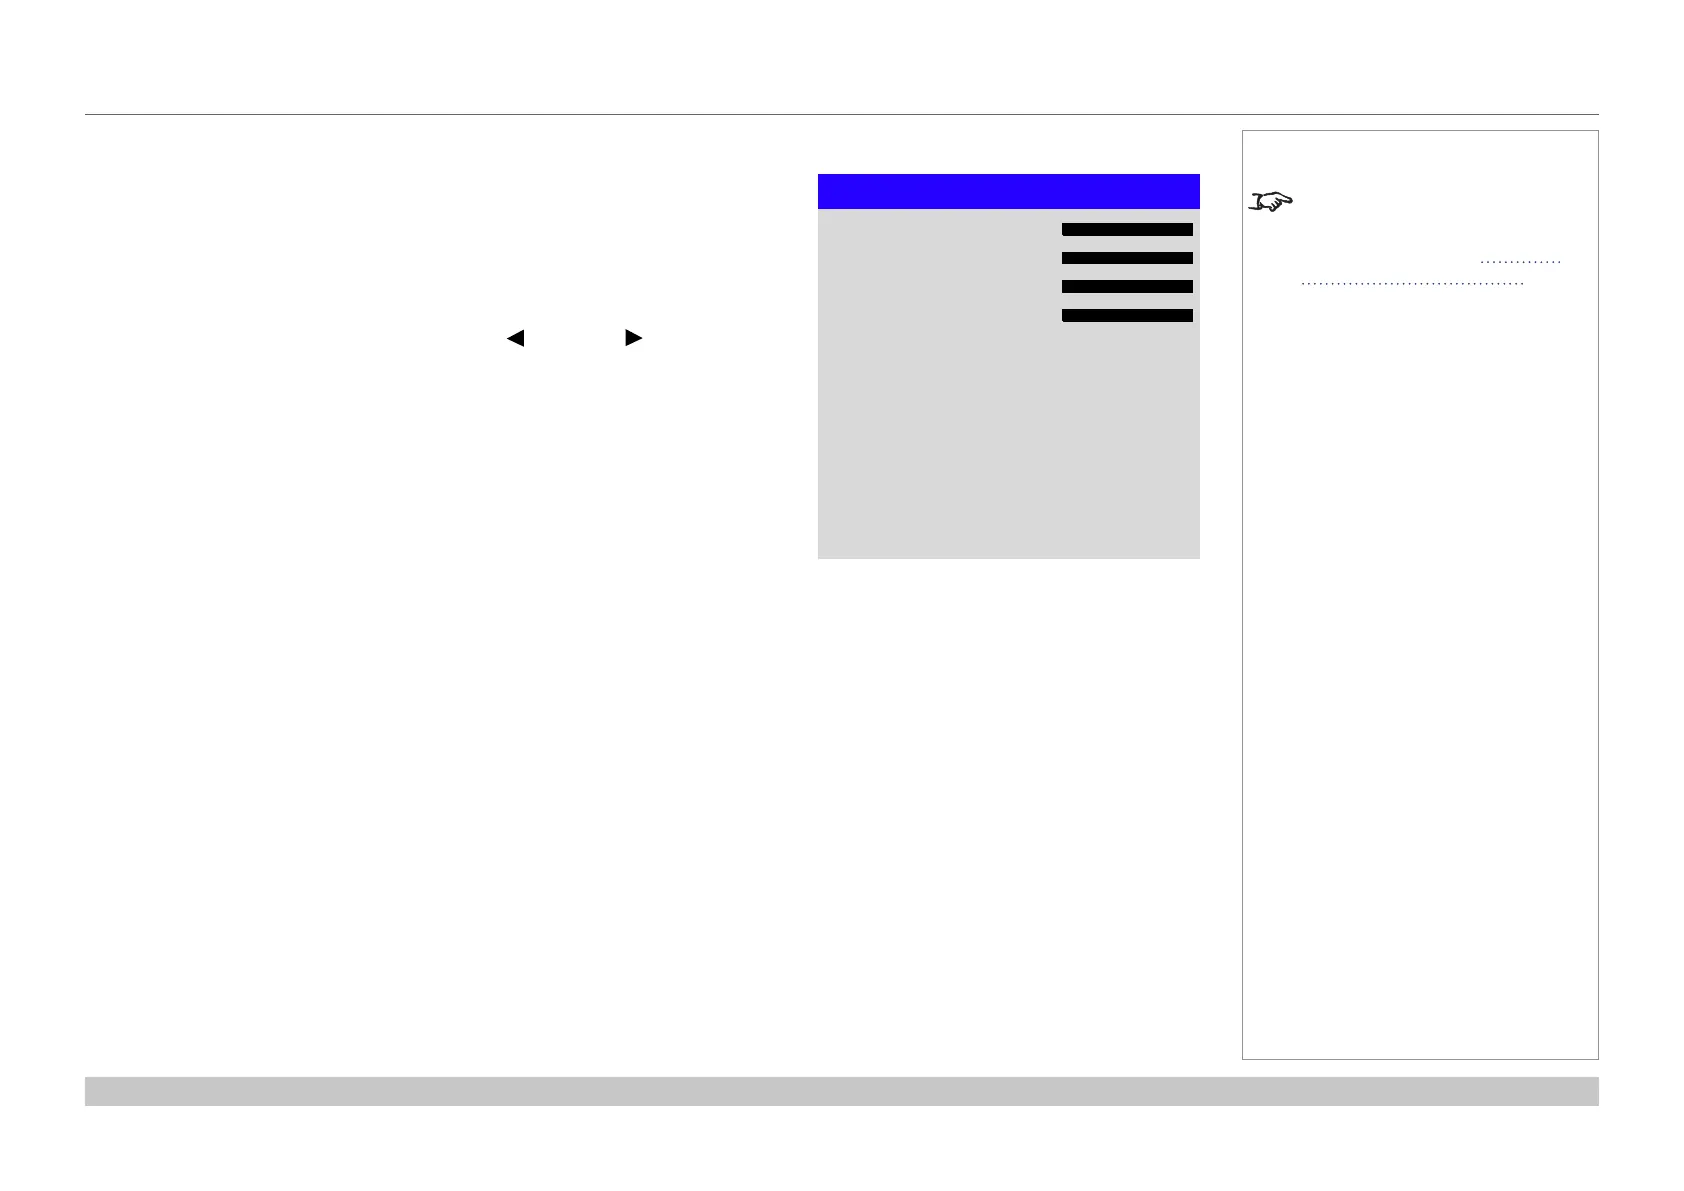
Blanking
Top
Left
Right
Bottom
Reset
0
0
0
0
 Loading...


