page 24
Digital Projection E-Vision Laser 7500, 8500 & 10K Series
Connection Guide
SIGNAL INPUTS
Rev D August 2017
3D connections
3D sources up to 60Hz requiring frame doubling and left/right interleaving
1. Connect to either of the following inputs on the connection panel:
• HDMI 1
• HDMI 2
• HDBaseT
2. Set 3D Format in the 3D menu to match the format of the incoming signal. Choose from Auto, Side by Side (Half) and
Top and Bottom.
The Frame Packing format is automatically detected by the projector.
Frame sequential 3D sources up to 120Hz
• Connect to the DisplayPort input.
The Frame Sequential format is automatically detected by the projector and is supported on the DisplayPort input only.
Dual Pipe 3D
1. Connect the left eye output to the HDMI 1 socket and the right eye output to the HDMI 2 socket.
2. Set 3D Format in the 3D menu to Dual-Pipe.
Notes
While the projector can receive
100/120Hz and display 3D at
100/120Hz, video processing is
limited to 60Hz.
This also applies to Dual Pipe 3D at
60 Hz per input.
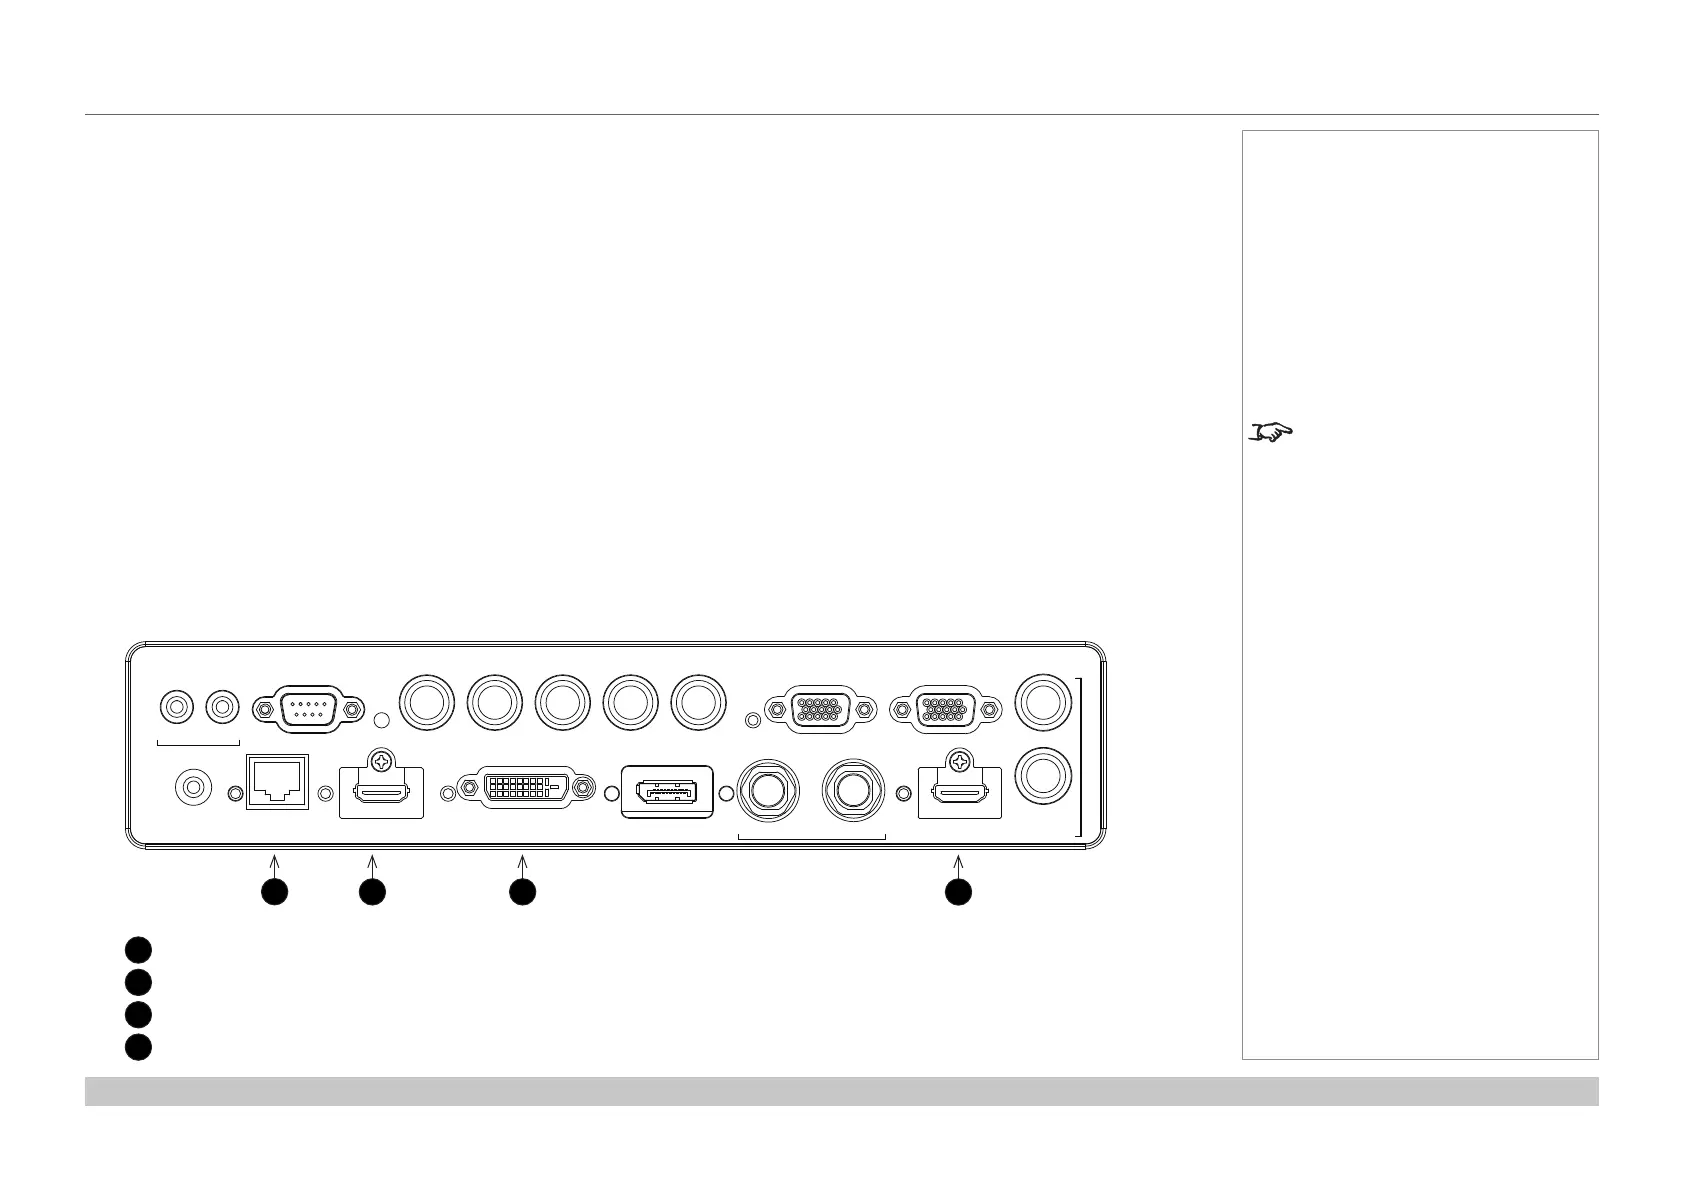
1
HDBaseT
2
HDMI 1 / Dual Pipe Left
3
DVI
4
HDMI 2 / Dual Pipe RIGHT
WIRED
REMOTE HDBaseT/LAN HDMI 1 DISPLAYPORTDVI-D IN OUT HDMI II
IN
TRIGGER
I II
RS-232 V H
B/Pb
G/Y R/Pr VGA
OUT
MONITOR OUT
SDI 3D SYNC
1
2 3
4
 Loading...


