page 31
Digital Projection E-Vision Laser 7500, 8500 & 10K Series
Operating Guide
USING THE MENUS
Rev D August 2017
Using The Menus
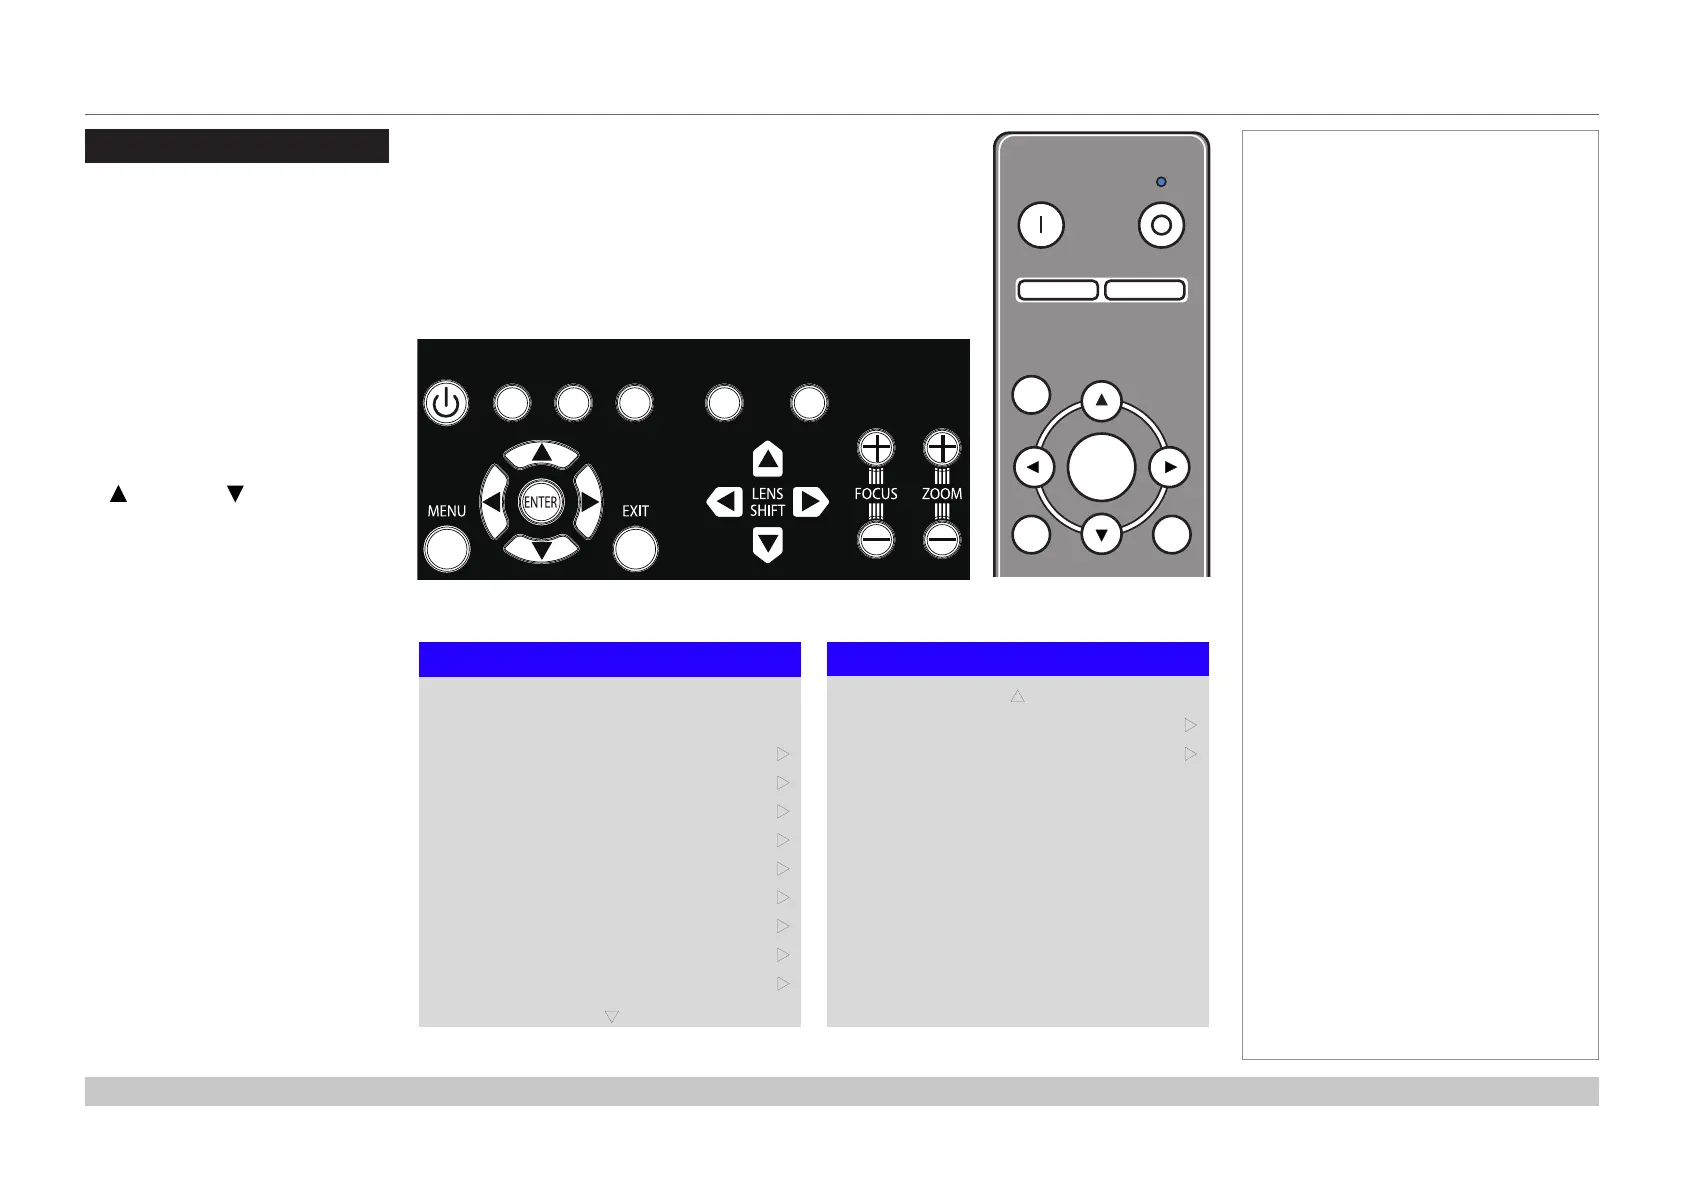
Opening the OSD
Access the various menus using
either the projector control panel or
the remote control. On either device,
• press the MENU button.
The on-screen display (OSD) opens
showing the list of available menus.
Opening a menu
Move up and down the list using the
UP and DOWN arrow buttons.
To open a menu,
• press ENTER on the control
panel or OK on the remote
control.
This guide refers to the above two
buttons as ENTER/OK.
Exiting menus and
closing the OSD
To go back to the previous page,
• press EXIT.
When you reach the top level,
pressing EXIT will close the OSD.
To close the OSD from any page,
• press MENU.
Notes
POWER
INPUT
AUTO
SYNC
ASPECT
CENTER
LENS
PIC MUTE
Projector control panel
OPEN
CLOSE
MENU
EXIT INFO
OK
OFF ON
ALT
LENS
FOCUS ZOOM
IN
OUT
IN
OUT
SHIFT
21 3
HDMI2 DVI
DISPLAYPORT
HD-T 3GSDI
VGA COMP1 COMP2
BRI
TEST
CON GAMMA
R G B ALL
3D EYE PIP SWAP
4 5 6
7 8 9 0
ALT
ADDR
PIC MUTE
Remote control
On-screen display (OSD): top level menus
Main Menu
Test Pattern
Lens
Input
Image
Geometry
Edge Blend
Color
3D
Setup
Network
Laser
q
u
HDMI 1
u
u
u
u
u
u
u
u
Main Menu
PIP
Information
p
u
u
 Loading...


