14
© 2005 directed electronics, inc.
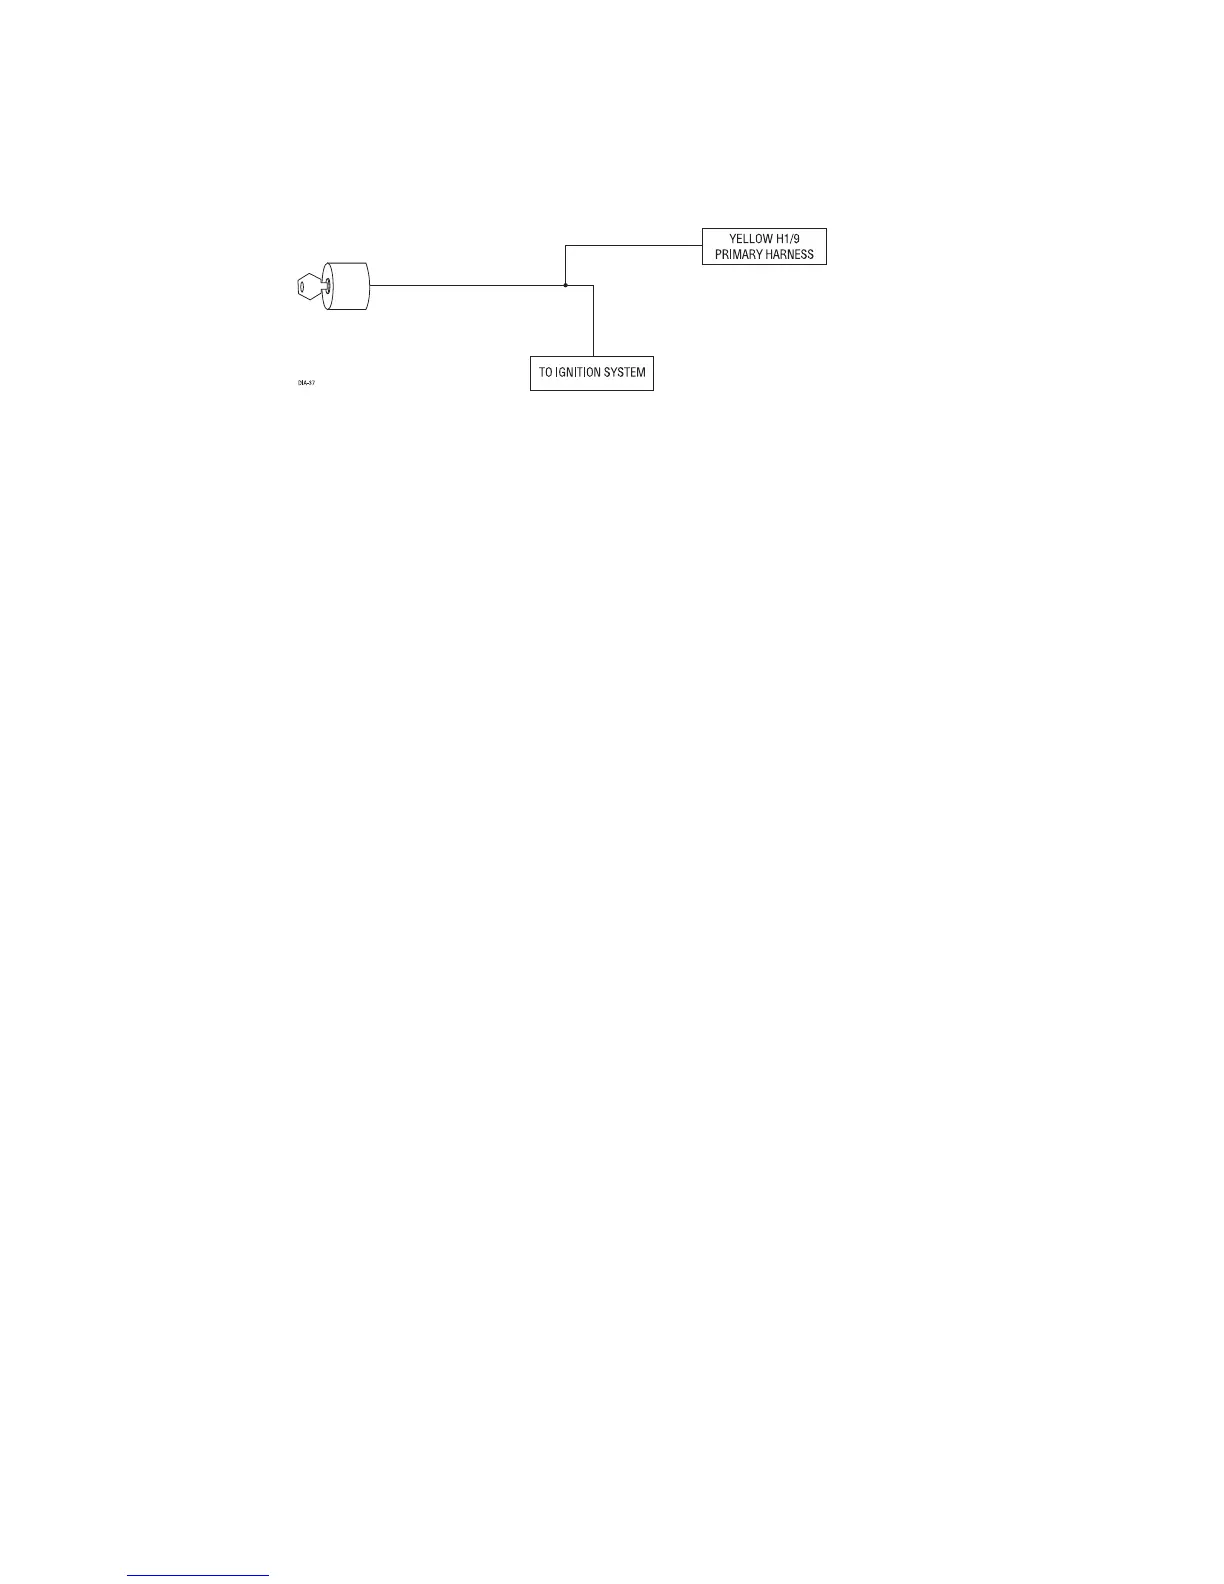
HH11//1100 BBRROOWWNN ((++)) ssiirreenn oouuttppuutt::
This output can be used if an optional siren is
installed. Connect this to the RED wire of the siren. Connect the BLACK wire of the
siren to (-) chassis ground, preferably at the same point as the control module’s BLACK
ground wire.
HH11//1111 RREEDD ((++))1122VV ccoonnssttaanntt ppoowweerr iinnppuutt::
Before connecting this wire, remove the
supplied fuse. Connect to the battery positive terminal or the constant 12V supply to
the ignition switch.
NNOOTTEE::
Always use a fuse within 12 inches of the point you obtain (+)12V. Do not
use the 15A fuse in the harness for this purpose. This fuse protects the module itself.
HH11//1122 RREEDD//WWHHIITTEE ((--)) 220000mmAA aauuxxiilliiaarryy cchhaannnneell//ddeellaayyeedd aacccceessssoorryy oouuttppuutt::
If pro-
grammed for an auxiliary output, this wire will provide a (-) pulse when the lock but-
ton on the factory transmitter is pressed twice within three seconds. This output can be
used to control optional accessories. If programmed for delayed accessory output, this
wire will provide (-) ground when the ignition is turned off and will continue to output
(-) ground until a door is opened then closed. This can be used to energize the acces-
sory circuit in the vehicle to keep the radio and other accessories on after the ignition
is turned off.
IIMMPPOORRTTAANNTT!!
Never use this wire to drive anything but a relay or a low-current input!
This transistorized output can only supply (-) 200 mA, and connecting directly to a sole-
noid, motor, or other high-current device will cause the module to fail.
NNOOTTEE::
Sensors and other triggers can be bypassed if this output is used to open the
vehicle trunk while the alarm is armed. See H2/5 Gray zone shunting for program-
ming and connection descriptions.