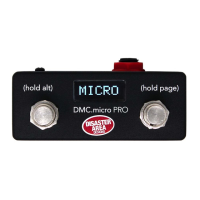
9
Chase BlIss setup guIde
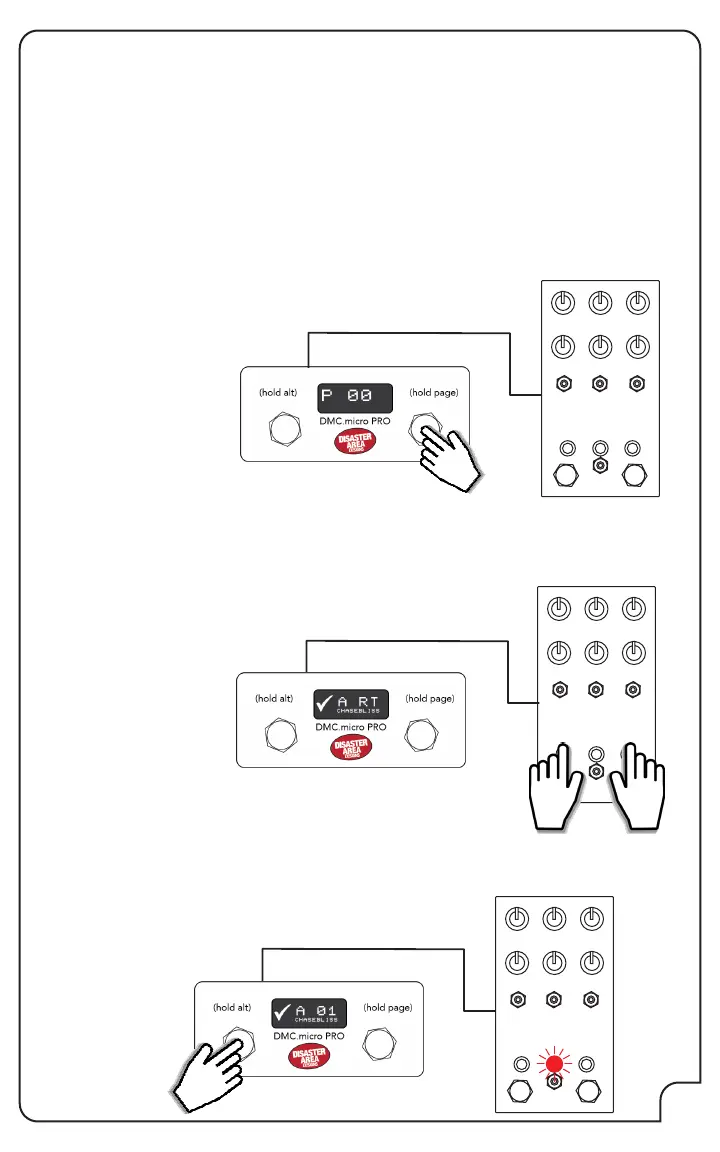
Hold and release the right footswitch on the DMC.micro until the device mode that you want to
use is showing. As an example, we’ll congure a Chase Bliss MOOD pedal as DevA.
Navigate to where you want to start - using our example with MOOD, this would be the A
device mode. The display should show “A” followed by the preset
number.
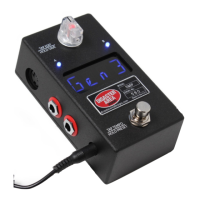
Power on the Chase Bliss pedal while holding both of its footswitches.
Release when you see the pedal power on.
Tap the left or right footswitches on DMC.micro until you see the center LED on your CBA pedal
change colors.
That’s it - your Chase Bliss pedal is now congured!
The large Automatone series pedals connect directly to the DMC.micro using a standard MIDI
cable. Set the pedal MIDI channel to match the device slot you wish to use, ex. devA = CH1,
devB = CH2.
For the smaller Chase Bliss pedals that use 1/4” cables for MIDI, enter Setup on the DMC.micro
and congure JACK = MIDI RNG / MID.R, and make sure that the DIP switches on your DMC.
micro are set to ON-ON-ON.
For either type of pedal, set one or more of your device slots to CHASEBLISS / CBA. Save and
exit Setup mode. If you are connecting a compact Chase Bliss pedal please continue to the next
steps.
Connect your Chase Bliss pedal to the DMC.micro using a TRS cable,
leave the CBA pedal powered OFF.