13
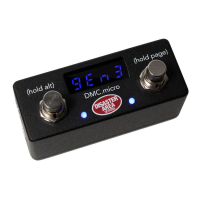
eMpress setup guIde
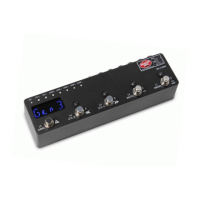
To congure your Empress Reverb or Echosystem pedal with DMC.micro, plug in a TRS / mono
cable from the DMC.micro MultiJack to the Control Port on the back of the Empress pedal. Be
sure that the MultiJack DIP switches are set to ON-ON-ON.
Enter Setup on the DMC.micro and congure JACK = MIDI TIP. Set your desired device mode to
EECO (Echosystem) or EMPR (Reverb.) Remember to hold the right footswitch to save.
Example: If you want to use an Empress Reverb as your D device, you should set DevD = EMPR
REVB, MULTIJACK = MIDI TIP, JACK CHAN = CH D.
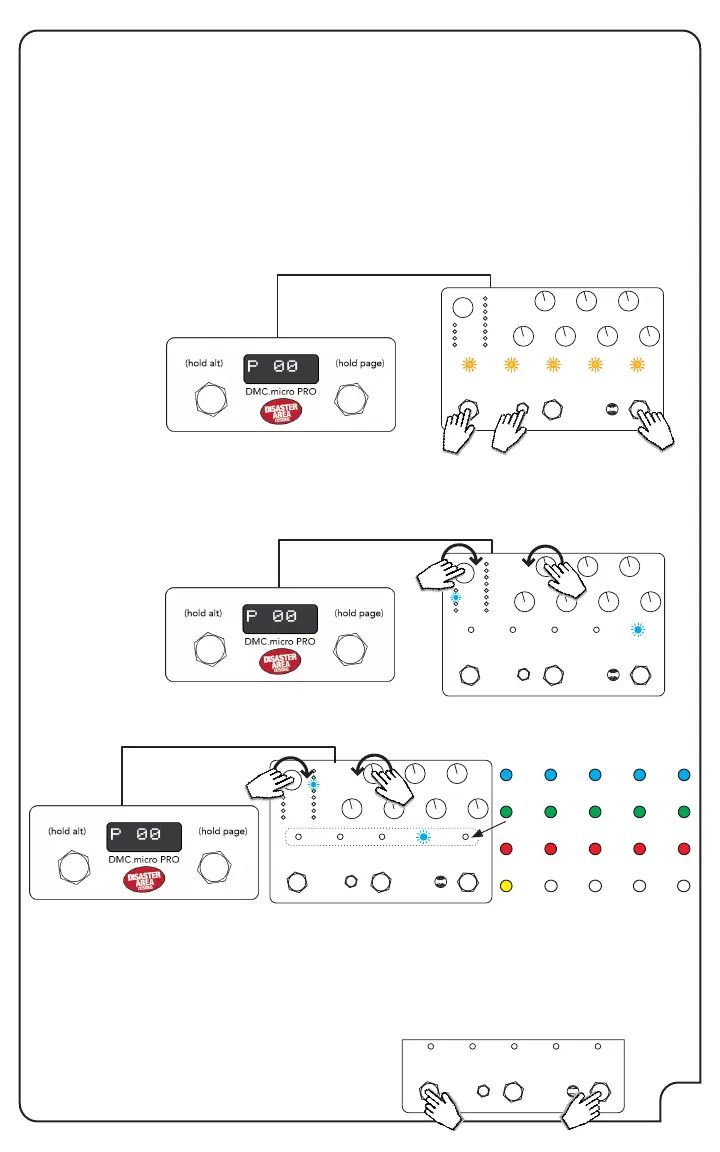
Enter the Advanced Conguration mode on the Empress pedal by holding the Select and
Bypass footswitches, then pressing the Save button. The preset LEDs on the Empress pedal will
blink yellow twice to indicate that you are in Advanced Conguration Mode.
Rotate the mode selector knob until the second mode LED lights (plate or tape) then turn the
upper left knob (decay or delay time) until the fth preset LED lights blue.
1
2
1
HOLD
Then rotate the mode selector knob to the seventh mode LED lights (ambient swell or ambient,)
and then turn the upper left knob to select the MIDI channel. The preset LEDs will light to show
the MIDI channel from 1 to 16. Example: To set the Reverb to MIDI channel 4 (DevD), turn the
decay knob until the fourth preset LED lights blue.
Hold the Select and Bypass footswitches to save and exit Advanced Conguration mode.
Your Empress pedal is now congured!
01 02 03 04 05
06 07 08 09 10
11 12 13 14 15
16
PRESS HOLD