21
looper Mode
The DMC.micro can also use the UTIL Y mode to control the phrase looper on supported
devices.
utIlIty Modes (ContInued)
One of the more popular uses for Utility Mode is to control device functions on the Line 6 HX
Stomp. We’ll provide an example of a useful conguration below.
Left button: Tap for tap tempo, hold for tuner activate.
Right button: Tap to switch between Snapshot and Preset footswitch modes.
Congure your HX Stomp with MIDI Base Channel 1, then enter Setup and congure the
following:
Devices / DEV = Dev A Device A / DEVA = HX Stomp Util Mod X = ON
UT.X L TYP = ONE
UT.X L NUM = 64
UT.X L LOW = 0
UT.X L HI = 127
UT.X L CH = CH A
Fires tap tempo
command (CC 64.)
UT.X R TYP = TOGG
UT.X R NUM = 71
UT.X R LOW = 2
UT.X R HI = 3
UT.X R CH = CH A
Toggles between
Preset (CC72, 2) and
Snapshot (CC71, 3)
modes.
UT.X A TYP = TOGG
UT.X A NUM = 68
UT.X A LOW = 0
UT.X A HI = 127
UT.X A CH = CH A
Toggles between
tuner o (CC68, 0)
and on (CC68, 127.)
Then save and exit setup. Connect your HX Stomp to the DMC using a MIDI cable then
navigate to Util X mode. Tap those buttons and see what happens!
UTIL LOAD: The DMC.micro also has the option to save and recall any Utility Mode
commands that are congured as TOGG. To enable this functionality, set UTIL LOAD / UT.LD
to either X, Y or BOTH. The mode(s) congured will save and recall the states for each preset
from PRESET mode.
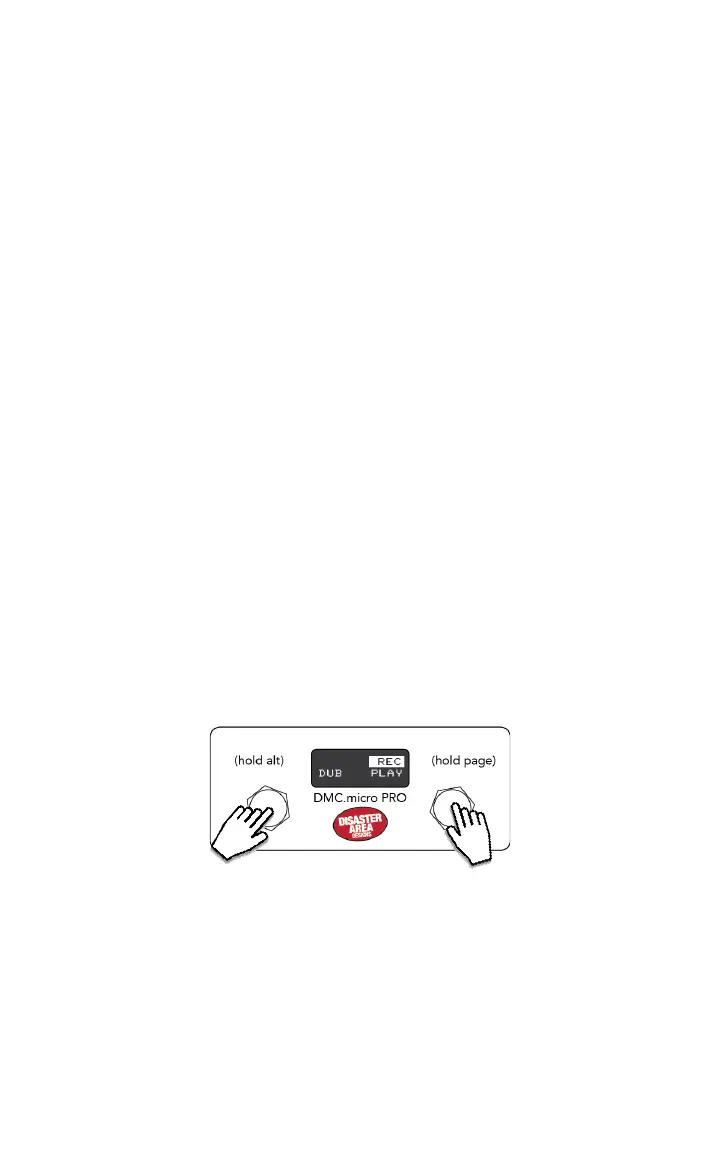
TAP LEFT TO RECORD / OVERDUB
HOLD LEFT FOR UNDO / REDO
TAP RIGHT TO PLAY / STOP
Enter Setup and congure UTL MOD Y to match the device slot of your looper-enabled
pedal. For example, if you want to control the looper on your Timeline as Device B, you would
congure UTL MOD Y = LOOPER B, then save and exit.
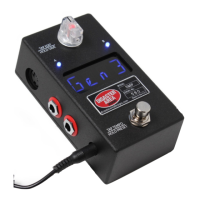
The looper mode displays the function of each button on the DMC.micro PRO, or the current
state of the looper on the LED4 version.
Supported devices include the Strymon Timeline, Line 6 HX Stomp, HX Eects, M9, and M13,
and the Eventide H9 or Timefactor.