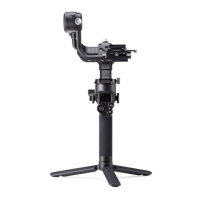
Ronin 2
User Manual
©
2017 DJI OSMO All Rights Reserved.
19
After any of the above-mentioned protection issues are resolved, press the Battery Level
button to turn off the Battery Level Indicator. Unplug the Intelligent Battery from the
charger and plug it back in to resume charging. Note that you do not need to unplug
and plug the charger in the event of a room temperature error. The charger will resume
charging when the temperature falls within the normal range.
DJI is not responsible for damage caused by third-party chargers.
Speaker Beeping Descriptions
Toggle the Speaker switch to turn the warning sound on or off.
Descriptions Beeping Pattern
Toggle the buzzer switch to turn it on Quick beeping
Connect to the Battery Charger Quick beeping
A battery pair is fully charged Quick beeping
Four Intelligent Batteries are fully charged
Alternating two short and one long
beeps, last for about 1 hour
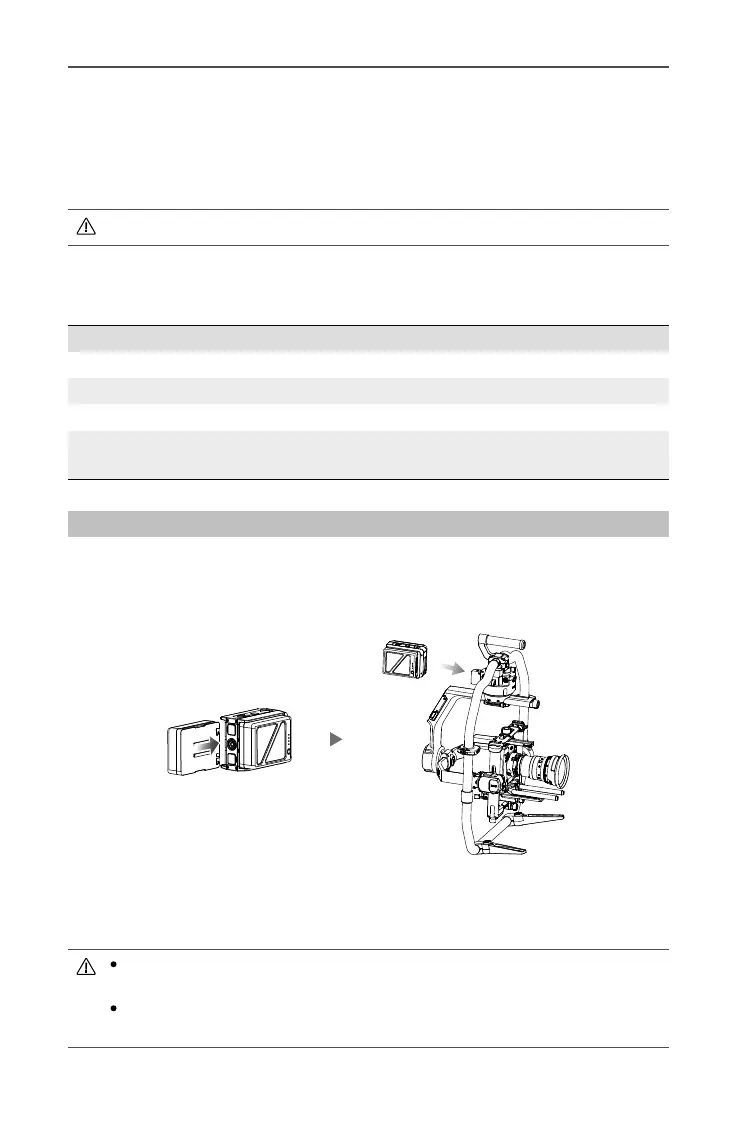
Mounting the Intelligent Battery
1. Insert the Intelligent Batteries into the Battery Mount until the battery's Eject buttons are
engaged.
2. Attach the Battery Mount to the gimbal until the Release button is engaged.
3. The Battery Mount can also be separated from the Ronin 2 during usage. Power the
Ronin 2 by connecting the 22.8 V DC-Out Port on the Battery Mount to the Power Port
of the gimbal using the provided Ronin 2 Power Cable.
An incorrectly installed battery may lead to (1) dropping during usage, (2) poor
battery connection, or (3) unavailable battery information.
Be sure to press the Release button on top of the Charging Hub when removing
the battery.