Acoustic vehicle alerting system (AVAS)
4.3-35
Removal and refitting of acoustic alerting
control unit
1- Protection
Place protective pads at following locations:
• Front fender;
• Front bumper;
• Driver’s seat;
• Carpet (on driver's side);
• Steering wheel;
• Parking brake lever;
• Shift lever.
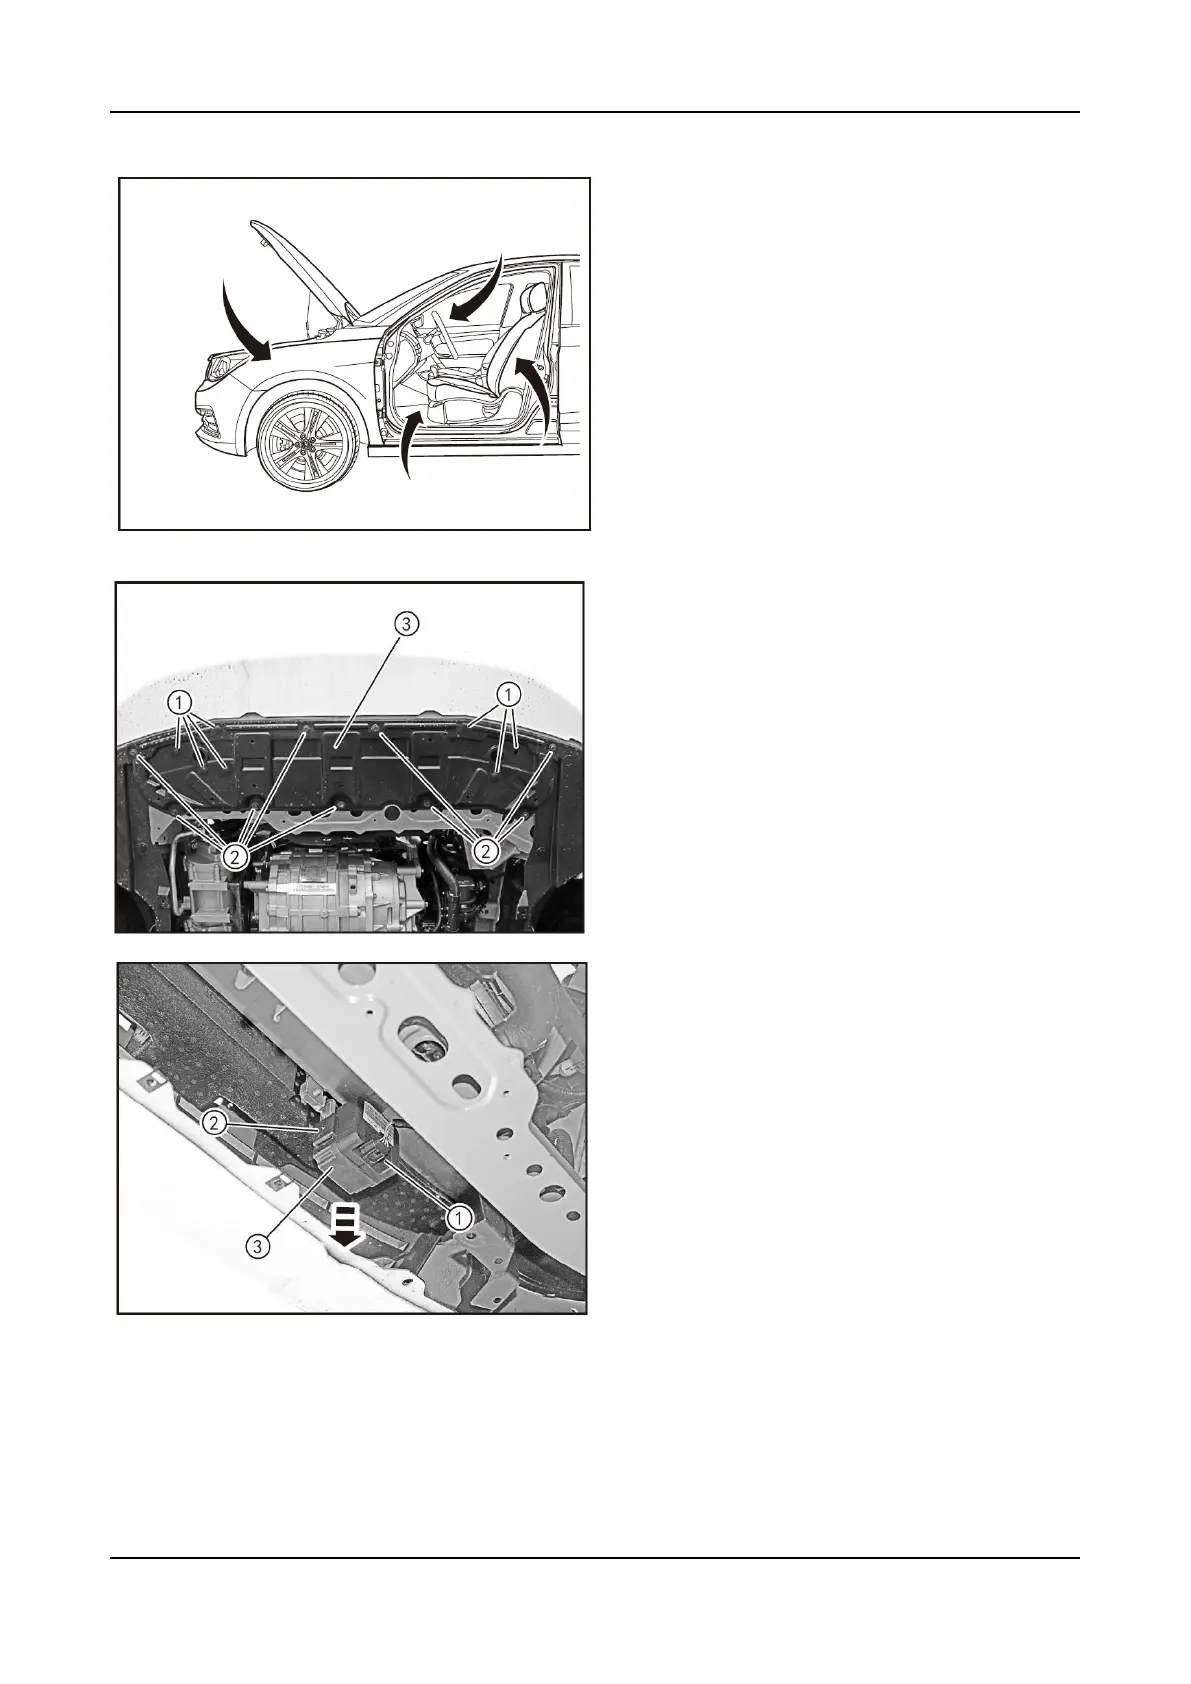
2 - Removal
• Turn off the ignition switch, and disconnect
the battery negative cable.
• Lift the vehicle to an appropriate position
with a lift, and use the interior trim removal
tool (BF1102) to remove the 7 fixing clips (1)
of the front bumper lower protective plate.
• Remove the 9 fixing bolts (2) (M6X19) of the
front bumper lower protective plate with a 10
mm socket wrench.
• Remove the front bumper lower protective
plate (3).
• Press the locking clip of the connector and
disconnect the acoustic alerting control unit
connector (1).
• Use a Phillips screwdriver to remove the
fixing screws (2) of the acoustic alerting
control unit. (one acoustic alerting control
unit for left/right side)
• Pull the acoustic alerting control unit (3)
down from the acoustic alerting control unit
bracket.