Mounting ED UPS Assembly Instruction
8 ED UPS 060675 45532/17224 - 07/2023
Procedure
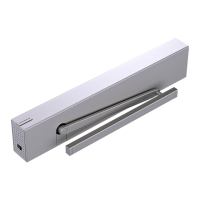
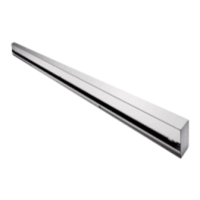
The ED UPS must always be placed on the side where the program switch is
located.
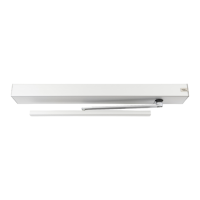
1. Switch off the ED100/250 at the power switch (1).
2. Dismantle the ED100/250 up to the base plate. The description can be found
in the ED 100, ED 250 mounting and commissioning instructions.
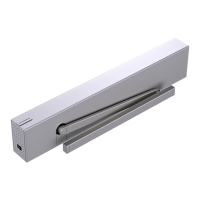
If available, disassemble the two variable brackets from the casing cover.
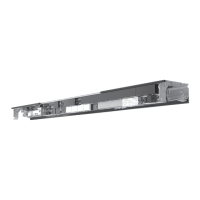
The components shown are not mounted on the mounting plate upon delivery.
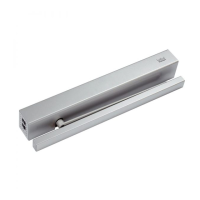
dormakaba recommends the use of the connecting lug (4) both when mounting
the ED100/250 for the first time and when retrofitting.
The ED100/250 must first be dismantled.
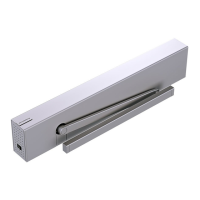
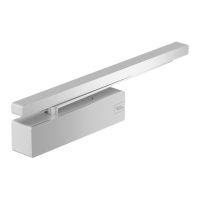
3. Remove the ED100/250 program switch from the end cap (2).
4. If available, disassemble the Vario bracket, which is located between the ED
UPS and the ED100/250.
5. Mount the connecting lug (4) with the drill hole (not with the elongated hole)
on the mounting plate of the ED UPS (3).
6. Position the ED UPS mounting plate on the ED100/250 mounting plate and
provisionally mount it with the connecting lug.
7. Transfer the four drill holes of the ED UPS mounting plate to the plate below.
8. Disassemble the mounting plate again.
9. Drill the holes in the plate below.