English: 10
Remote Injecting
Rinse Injector After Each Use
Additive allowed to remain in injector can dry, foul or
damage the lower end at the next start-up. Place suction
tube into a 1 qt. (0.95 liters) or more container of fresh
fi ltered water. Flow fresh water through the injector by
operating until container is empty. This procedure is not
needed for continuous operation.
Clean Solution Container
Keep covered to prevent dirt, fl ies and fl ying debris from
entering the container. Rinse container thoroughly and often.
Do not mix chemicals together that might react and cause a
precipitate. Use FILTERED fl uid when fi lling container.
Clean Suction Tube Filter Screen
Inspect each time new solution is added. Clean fi lter
screen (#27) and suction tube (#25) as necessary by
rinsing in fresh water. Replace if necessary. Keep fi lter
screen off bottom of solution container to prevent dirt
and precipitate from clogging fi lter.
Clean Inlet Filter
Clean or replace inlet fi lter as required to increase the life
of the unit as well as reduce pressure loss.
Bypass Injector
When not in use place the injector in bypass mode by
using the three valve bypass (preferred) or turn the
on/off lever on the top of the injector to the off position.
Storage
For extended storage, rinse injector (see "Rinse Injector
After Each Use") and place underwater in a container.
Apply monthly, <0.1 oz. (29 ml) of chlorine bleach to
avoid algae growth. KEEP FROM FREEZING.
Maintenance
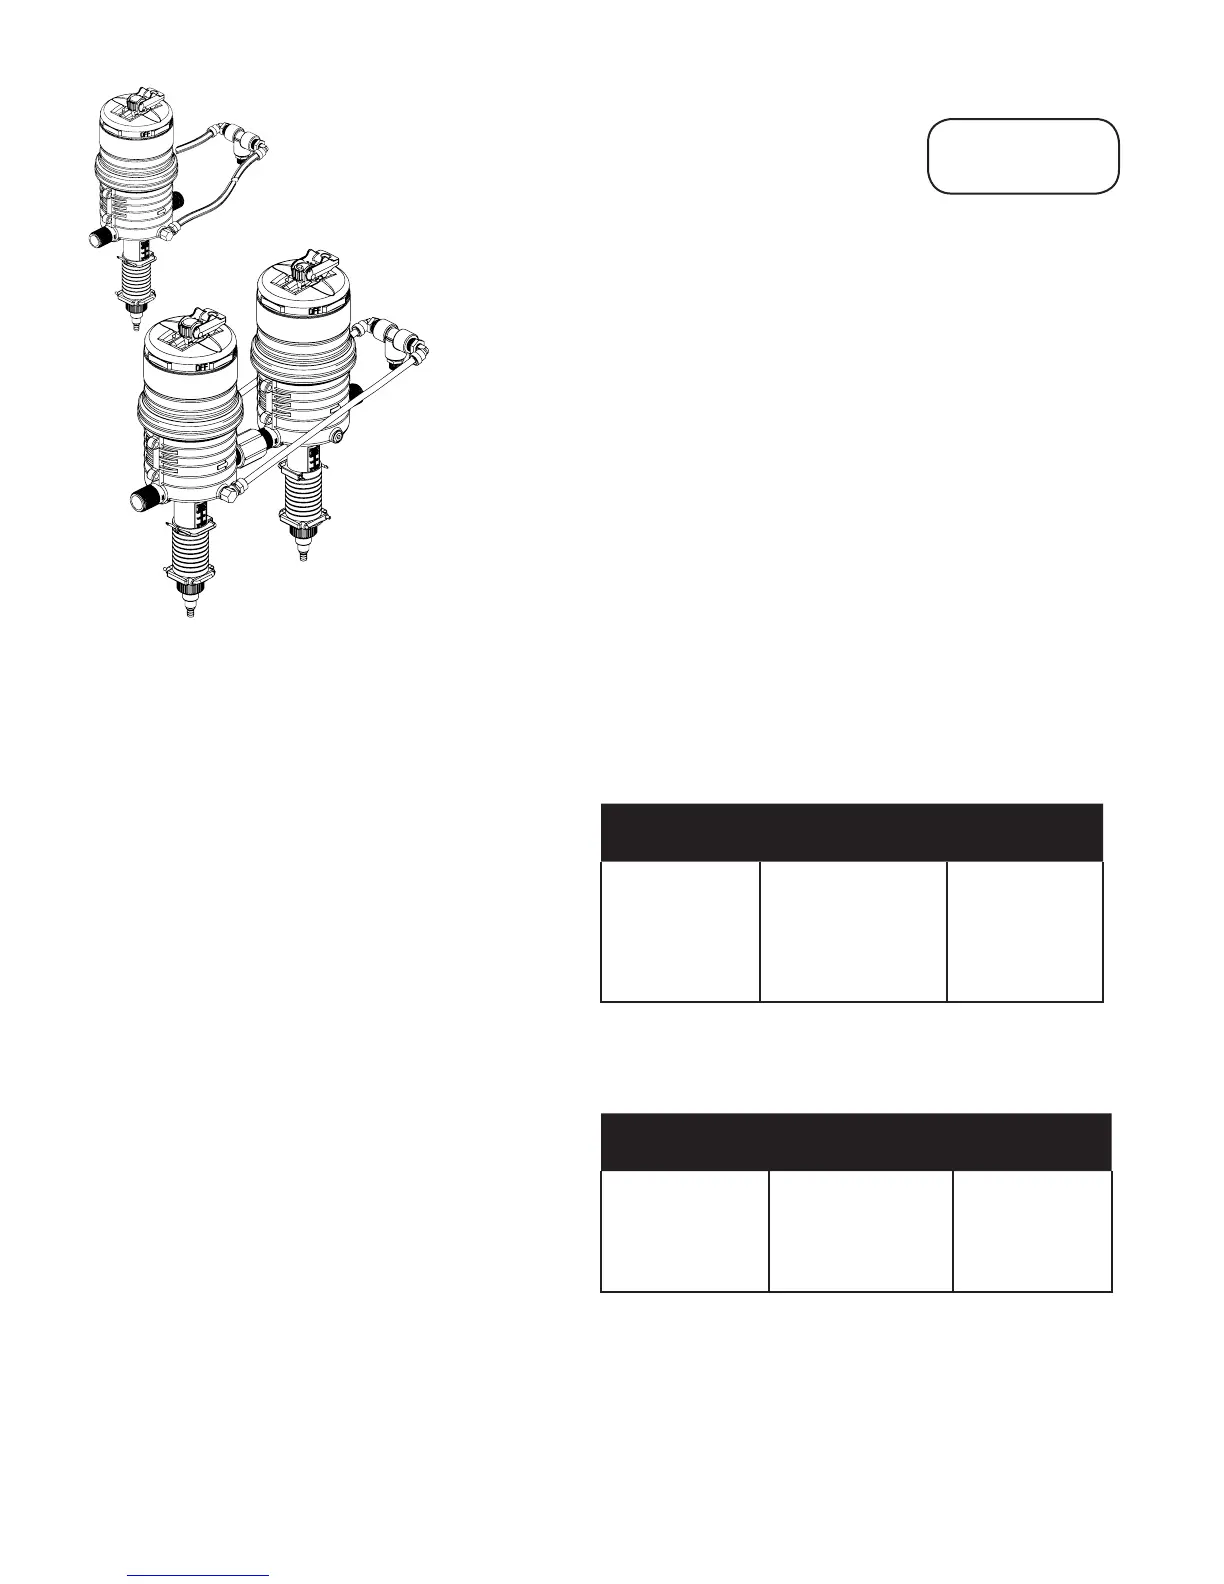
Remote Injector Kit (not included)
Is recommended for the following:
Single Injector:
To prevent mineral buildup within the body of the unit.
Use when injecting chemicals that cause minerals to
precipitate from fl uid (see Fig. 6)
Injectors In a Series:
When injecting multiple chemical injections, using two
or more injectors. Each injector adds chemical to the
fl uid(water) system, while bypassing the next injector and
eliminating the potential damage to that injector (see Fig. 7).
NOTE: when mixing more than one chemical, always
refer to your chemical manufacturer information guide
for proper application. Contact your local distributor or
Dosmatic customer service for information or to order.
Remote Injector
Kit shown in a
series.
Remote Injector
Kit shown on a
single injector.
Fig. 6
Fig. 7
Perform these maintenance
procedures to extend the life of your unit.
Every 3 - 6
Months
Every 6 - 12
months
Replace as
necessary
1. Clean seal areas
(# 17 & 13).
2. Check #17 O-ring,
#68 Cylinder, clean
and/or replace as
necessary.
1. Replace #17 O-ring and
#51 Lower Shaft Assy.
2. Clean and/or replace
#13 Check Poppet, #11
Suction Tube Fitting.
1. #68 Cylinder
2. #51 Lower Shaft
Assembly
Refer to page 14 - 15
SuperDos 30 (0.3%) (0.3% PAA) Models
Every 3 - 6
Months
Every 6 - 12
months
Replace as
necessary
1. Clean seal areas (#
13 & 14, #44 - WSP).
2. Check #17 O-ring,
#7 Cylinder, clean
and/or replace as
necessary.
1. Replace #17 O-ring
and #44 Dosage piston/
gasket (WSP model).
Clean and/or replace.
2. #13 Check Poppet ,
#11 Suction Tube Fitting.
1. #7 Cylinder
2. #14 (#44 - WSP)
O-ring
Refer to page 16, 17 & 18
SuperDos 30 (2.5%), (2.5% WSP), (5%) Models
Reference numbers refer to Page 13 - 18
Kit Part Numbers
012705
 Loading...