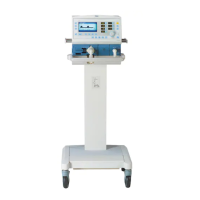
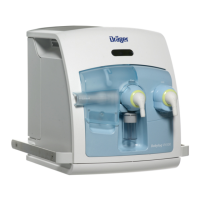
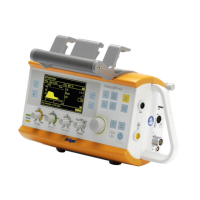
Testing Ventilator Function
Set rotary knobs:
1 knob »VT« to 0.5 L.
2 knob »f« to 12 bpm;
3 knob »Tinsp« to 1.5 seconds.
4 knob »Pmax« to 60 cmH2O.
5 knob »PEEP« to 5 cmH2O.
6 Set switch for ventilator modes to »CMV«.
7 Switch ventilator »ON«.
8 Set alarm limits "MV" to 4 and 8 L/min.
● The ventilator will now perform an electric and
pneumatic self test.
● Display:
The bottom line displays the software version cur-
rently in use.
● The red alarm status light and the LCD backlighting
will be turned on briefly.
● The audible alarm will sound twice
NOTE: For safety reasons, the audible alarm output
uses two channels which are both tested during the
self test. Therefore two audible alarms of the same
duration will be heard.
● The green status light » « will be on continuously
as long as an external power source is connected.
The self test will be completed after no more than
6 seconds
● Display:
● MicroVent will now ventilate the test lung with
the preset ventilation pattern.
● The pressure gauge should alternate between a
consistent inspiratory pressure and an endexpiratory
pressure of about 5 cmH2O.
● The display should show a minute volume of:
(Tolerance: ±1.0 L/min)
If the value is outside the tolerance:
● Replace flow sensor
CMV MV = 6.0
Self test O.K.
Self test
Software xx.xx
Testing Readiness for
Operation
Testing Ventilator Function
25
Operating Instructions MicroVent
D
2 1 3 6
4 8 5 7