Tamarisk
®
Camera Control Software User Guide
4 S ET- UP AND OPERATION
4.1 GETTING STARTED
Make sure your camera is connected and powered up. Refer to the user manual for your specific
camera to ensure the proper power-up procedure is followed.
Connect the USB or RS232 serial cable to the proper port on your PC or laptop. If connecting to the
camera via USB for the first time, drivers will need to be installed. You can skip obtaining the
drivers from windows update since these drivers were installed on the PC as part of “Launching the
Camera Control Software Installer” on page 8.
4.2 STARTING THE CAMERA CONTROL SOFTWARE
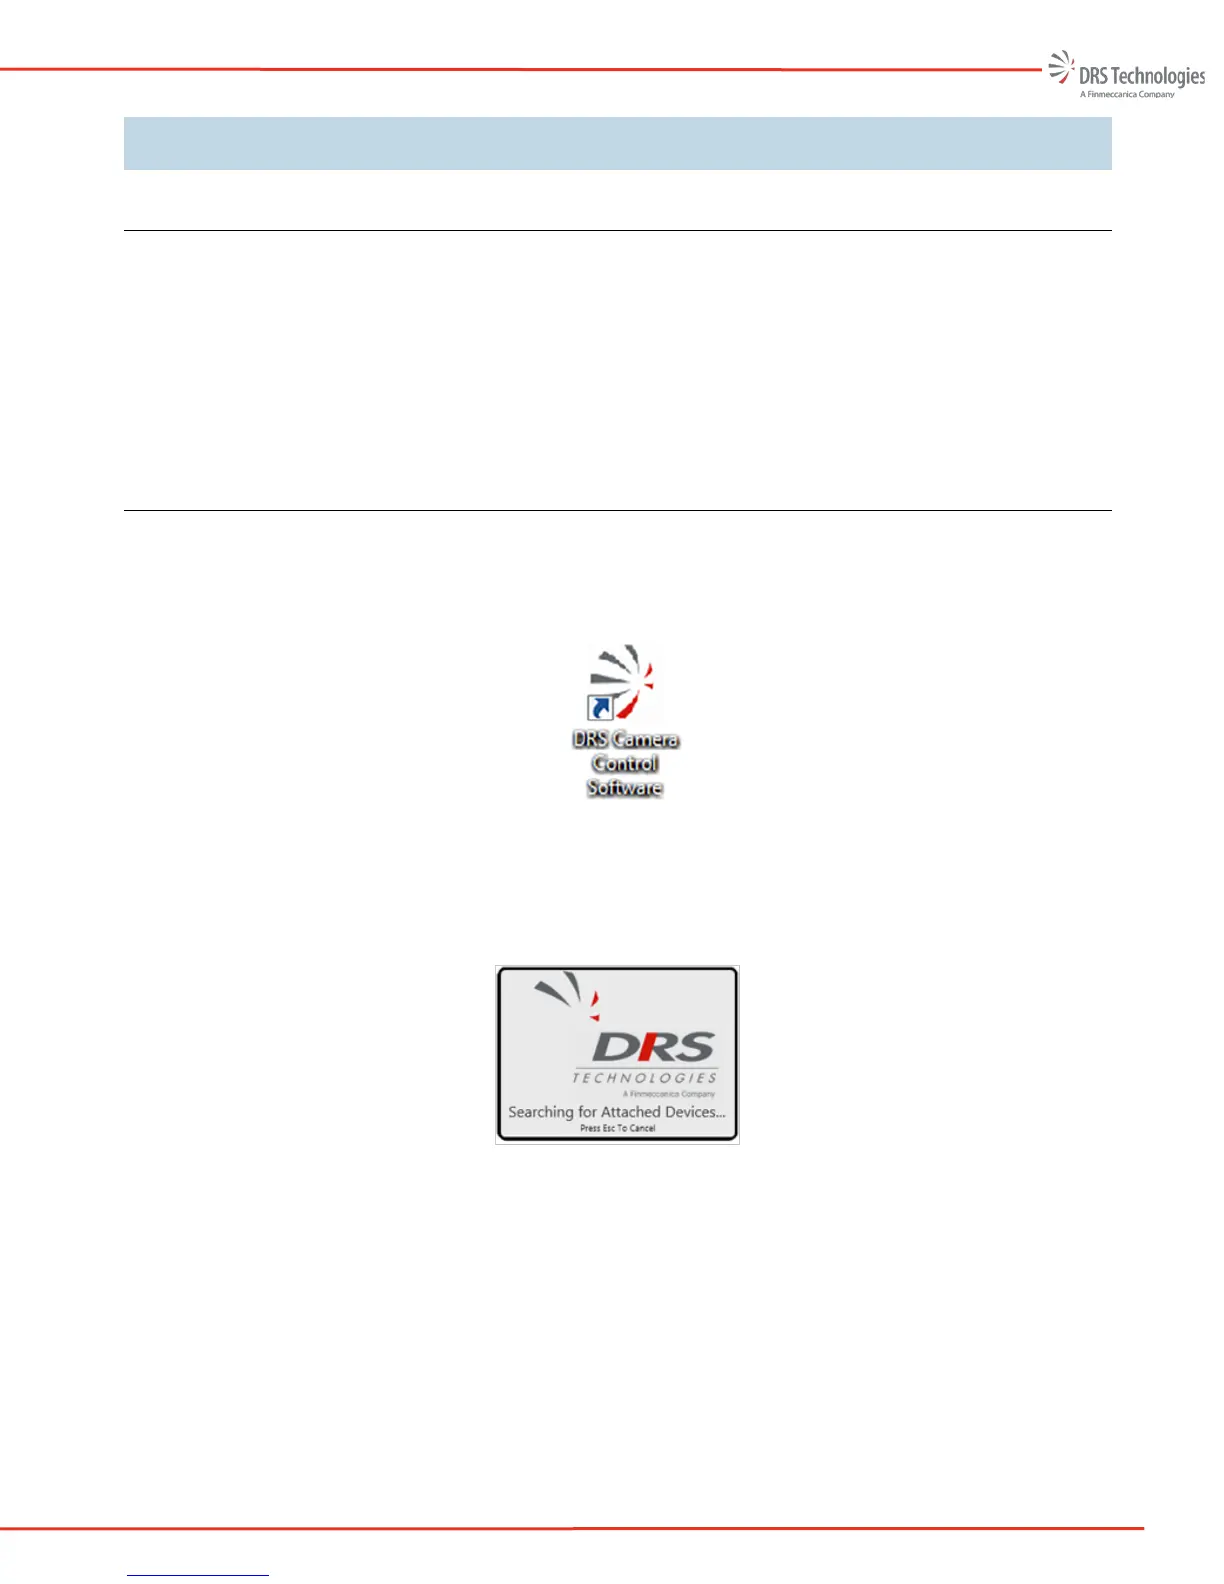
Once your device is properly connected and powered, start the Camera Control Software by clicking
on the icon (refer to Figure 15).
Figure 15. DRS Control Software Icon
The software will automatically search for and connect to any supported and attached camera(s) (refer
to Figure 16).
Figure 16. DRS Control Software Icon
While the system is searching you may press the ESC key to manually add a camera.
If the key ESC is pressed or no device is found, the No Attached Devices Found dialog box is
displayed (refer to Figure 17). Check to verify that the device drivers have been installed. Go to
Control Panel, select programs and features and look for FTDI Driver Install Package. If drivers are
present then follow the steps below to manually connect the camera. If drivers are not found, then
install drivers from the media used when installing the software.
Click Manually Add Device to open the Add Devices dialog box (refer to Figure 18).
 Loading...
